
If you’ve been around on the internet in the cosplay sphere, you might be aware of people talking about combining two of the same wig — it’s good for when you have a wig that’s a very particular colour, or already roughly the correct shape, but you want it to be thicker.
We’ve already covered wefting a little bit, but I’m going to go a little more into it in this tutorial, for how I did both 9S and 2B’s wigs.
Let’s start off with taking a look at my old 2B wig, compared with the new one:
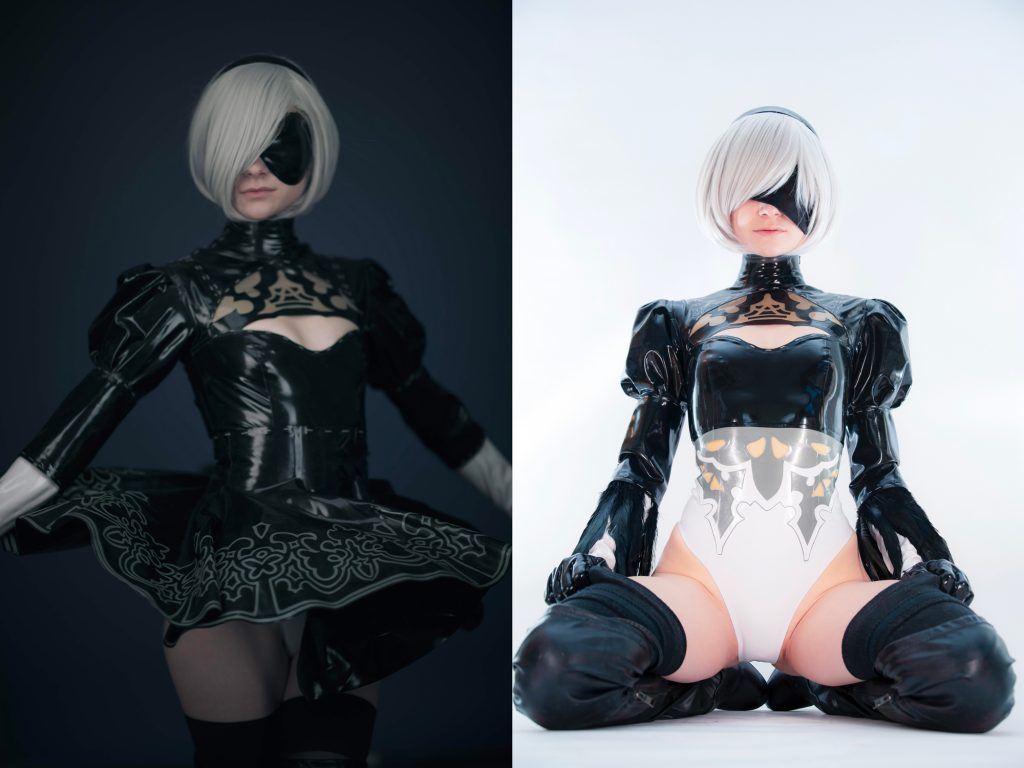
Also can we please take a moment to appreciate the new fit on those shoulders and the neck? 🥲
Would you believe that these are sort of the same wig? They are — but the one on the right is two of them. (And I absolutely trimmed the bangs, they were too long.)
I did the same thing with 9S’ wig, combined two easy to get wigs! I did a much more intense cut on it, but we’ll cover that at the end, because first I want to go over 2B’s —
Let’s start with the wigs. 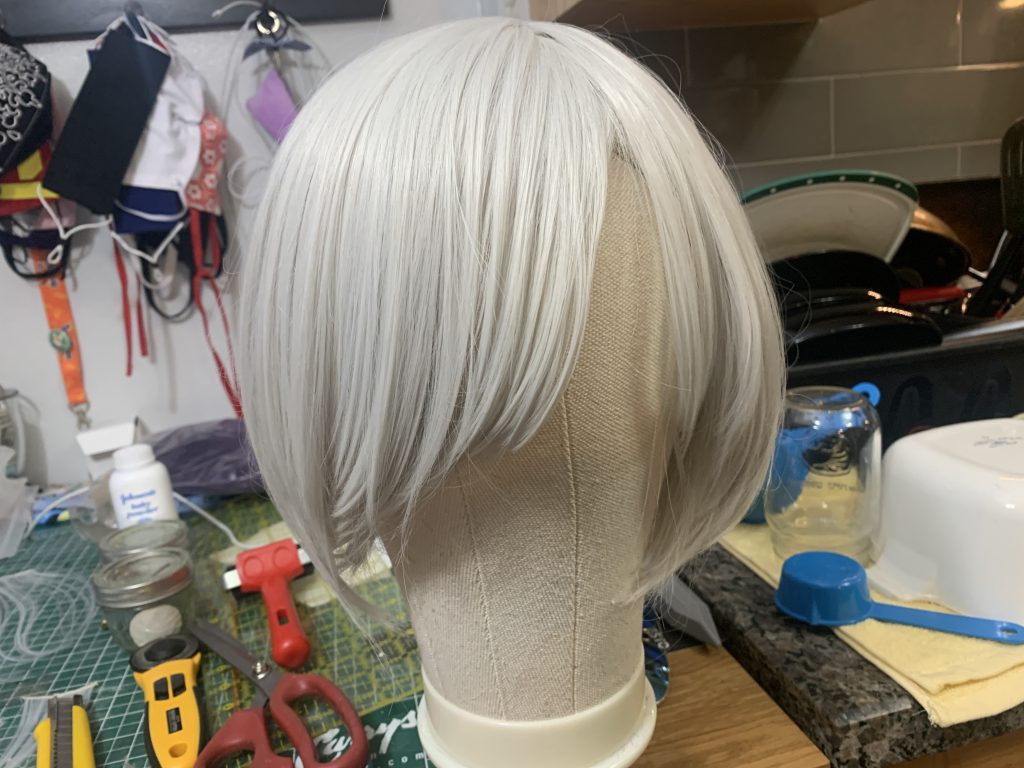
I think these are the last of my tutorial photos that are on the old work table that’s sort-of in my kitchen! The 9S photos start to be in the studio, which is thankfully a little more photogenic.
Anyway, here’s the original 2B wig. I bought another of the exact same wig — which is this one, by the way — so that I could take it apart and sew it into this one.
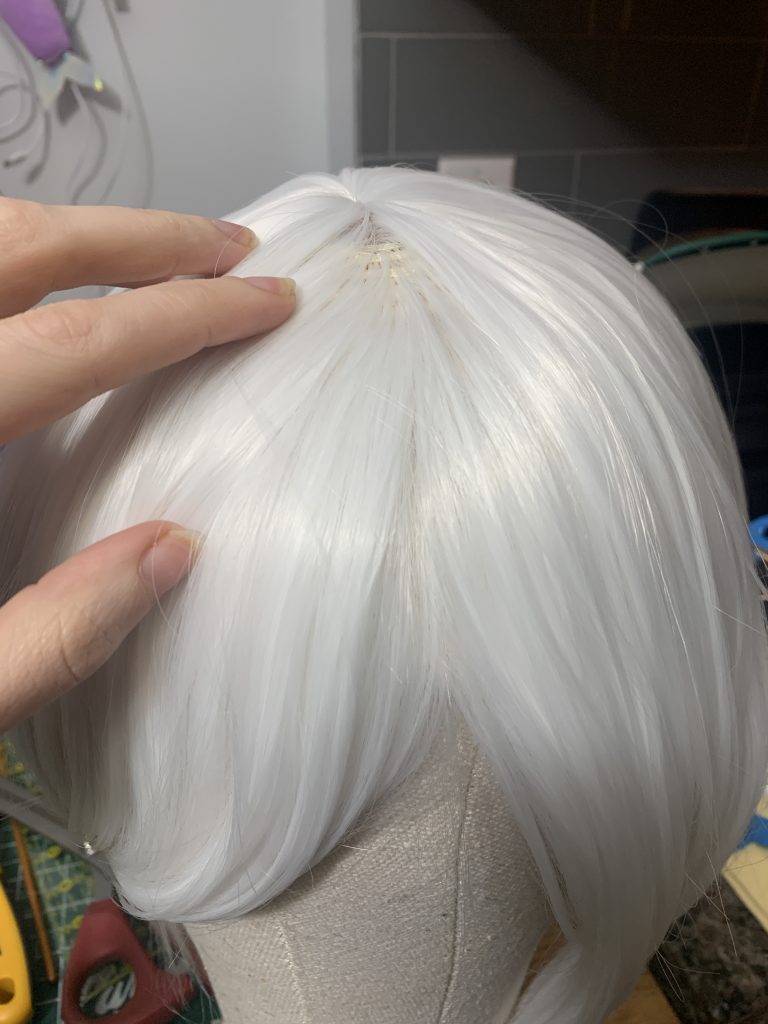
You can see that this one’s a little thin, it is basically a $12 wig. But even at buying 2, that’s still only $24 in hair, which, if you have the time to sew them together, can save you a pretty half-decent chunk of change.
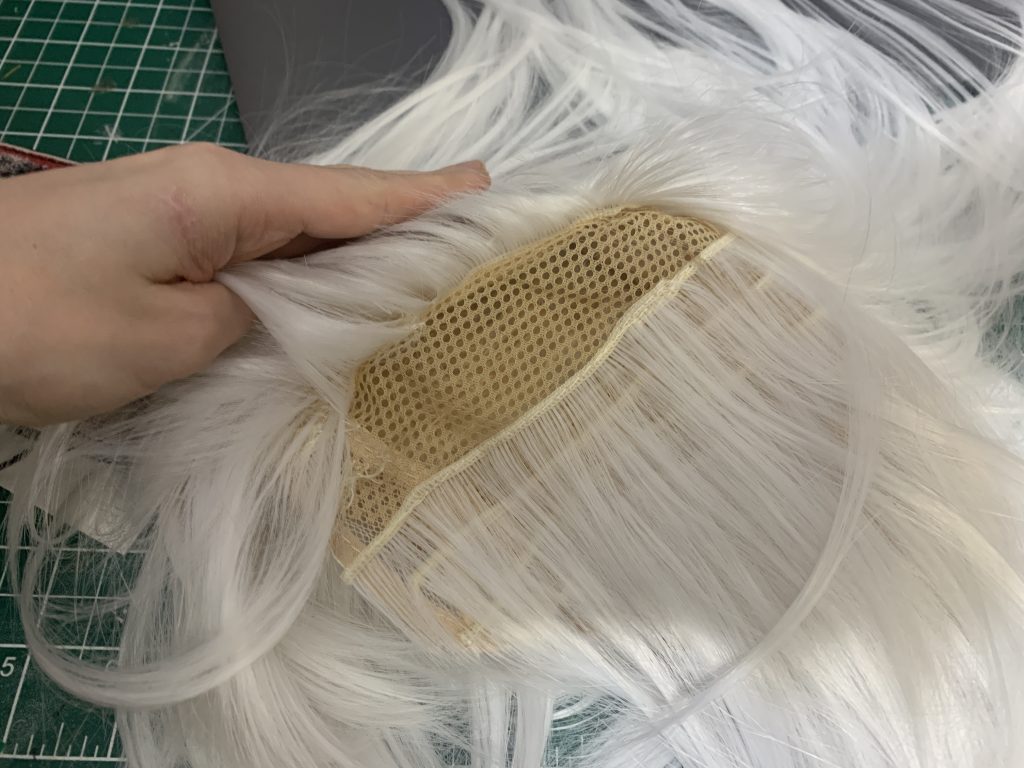
Ok, so — wigs are made up of tracks of hair called wefts that are sewn to the fabric of the wig cap. These are what we’re going to take from this wig, and attach to the other wig — first, by pulling the wefts off.
You can do this by simply cutting into the wig cap, and cutting close to each weft, or you can choose to unpick the stitches holding the wefts on. I usually do the latter — though I use a seam ripper that is actually a medical scalpel.
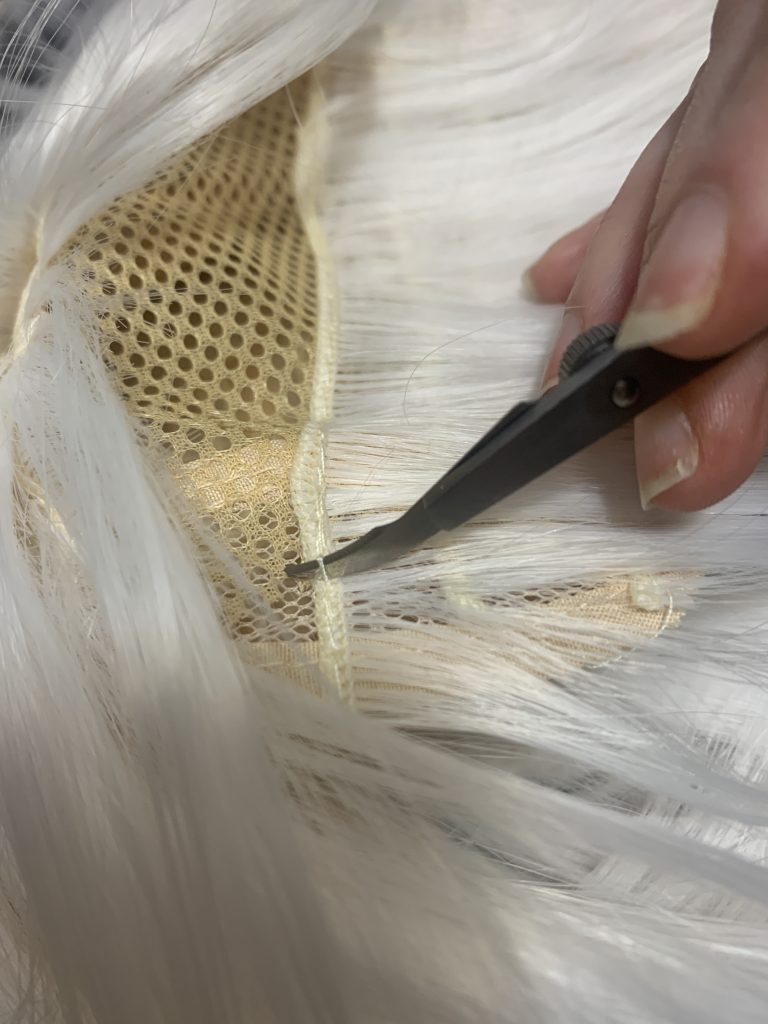
To unpick, just rip a couple of stitches from the outside, like this, to make a hole that the blade of your seam ripper will fit in.
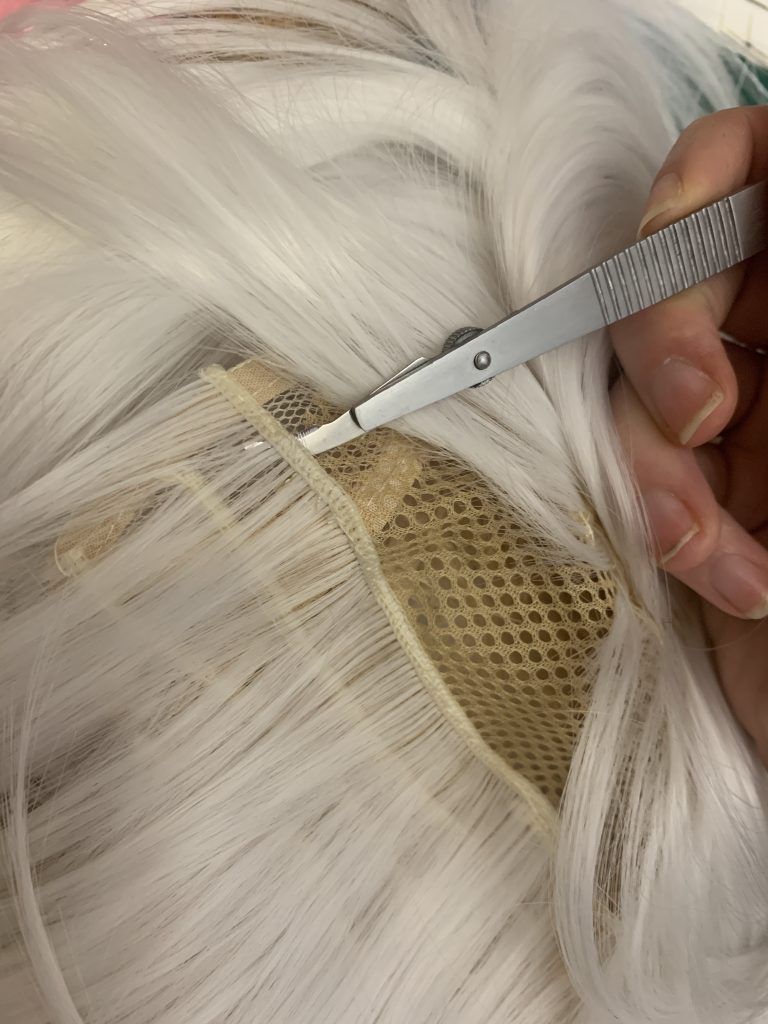
Then gently pull the seam ripper/scalpel along the line of the stitching, and it should slide through the threads and let you pull the weft out.
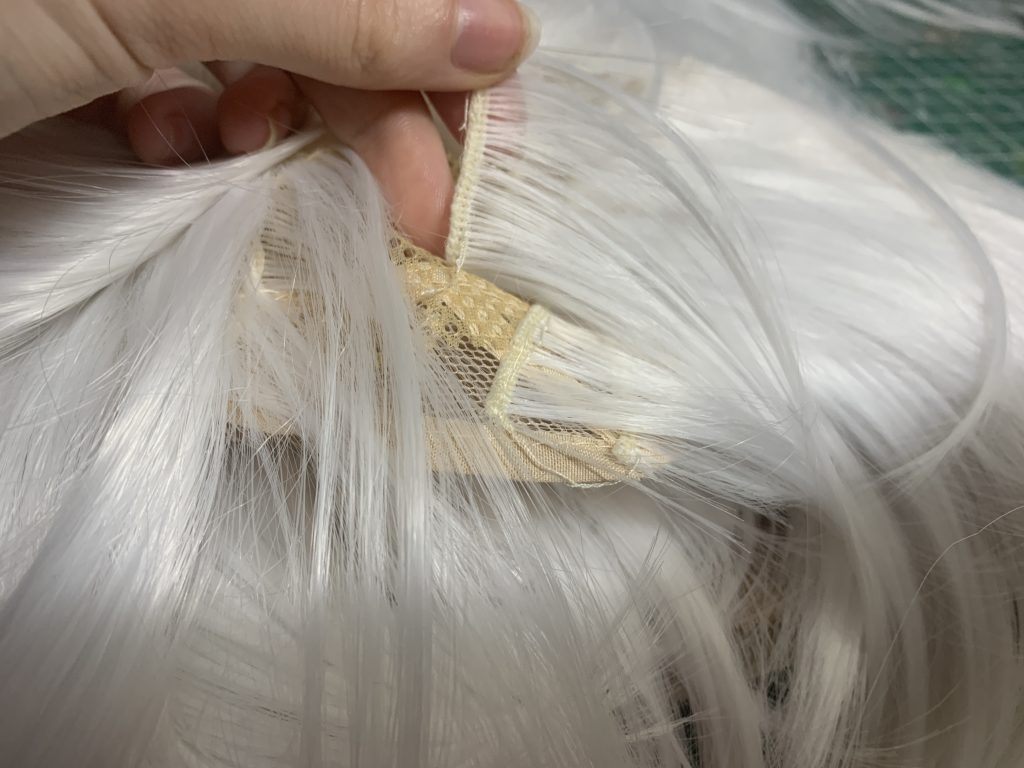
Here’s what the weft looks like once it’s out:
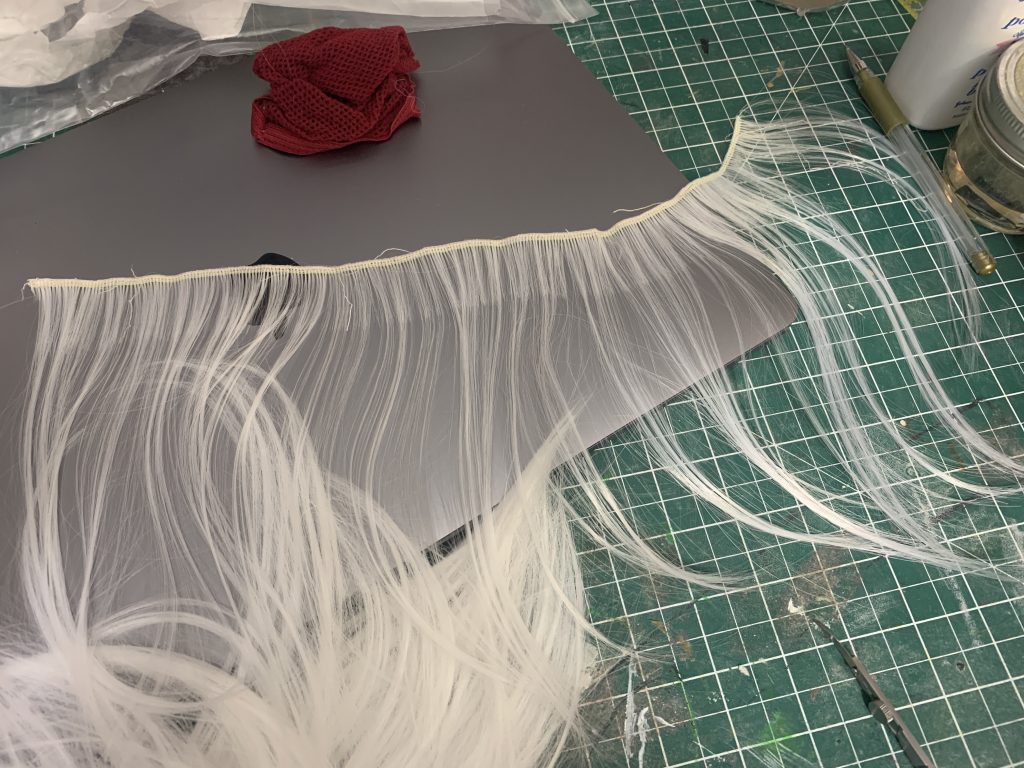
Since I have two of the exact same wig, I directly transplanted the wefts over — I counted how far down the weft I removed ones, and then just located the same weft in the other wig, so I could sew it in!
Now, it’s important to note here — you absolutely can just glue these in. I’ve done it before, it’s much faster, it’s still roughly as strong. You just use sparing amounts of hot glue wherever you want to stick down the weft, and work slowly, and make sure you work neatly, to keep the wig from getting globs of hot glue in the hairs. The other thing I’d recommend if you go the hot glue method is to cover your wig head in a plastic bag, or cling wrap, so that you don’t accidentally glue your wig to the head.
The downside to hot glue is that it does make the wig cap a little stiffer, and it adds some bulk and weight at the roots.
I honestly find hand sewing very soothing, so I tend to decide to hand-sew these in, which is what I’m covering here.
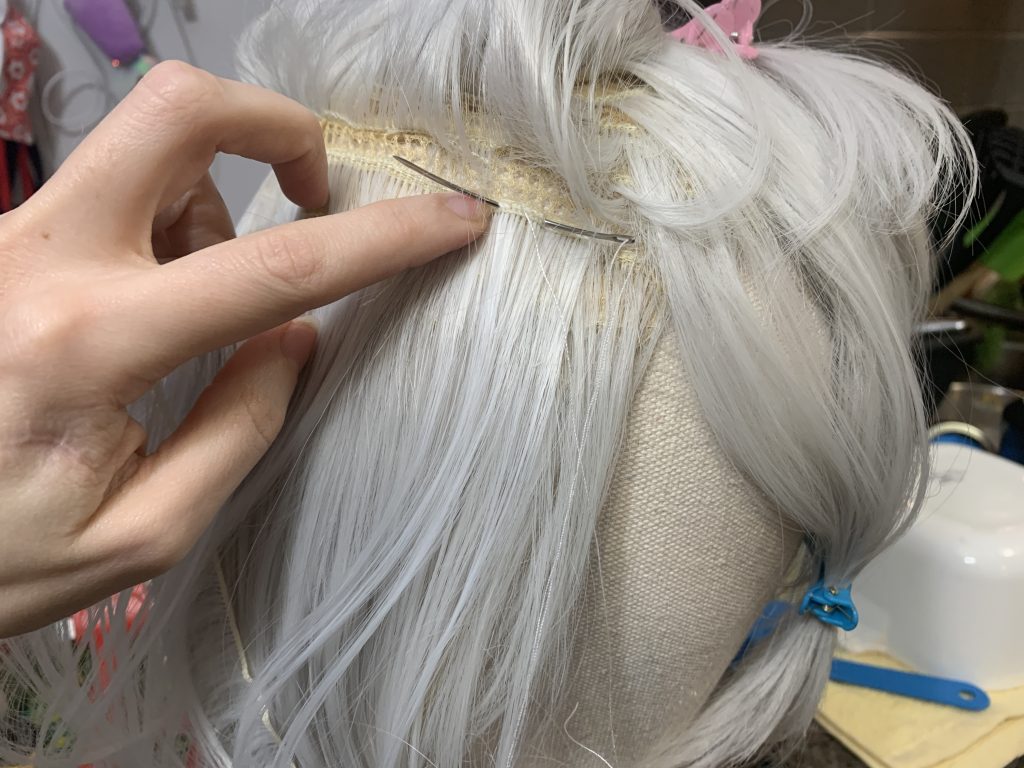
I clipped all of the other hair out of the way, and then, using a curved needle, just sewed the weft on top of the matching weft on this wig.
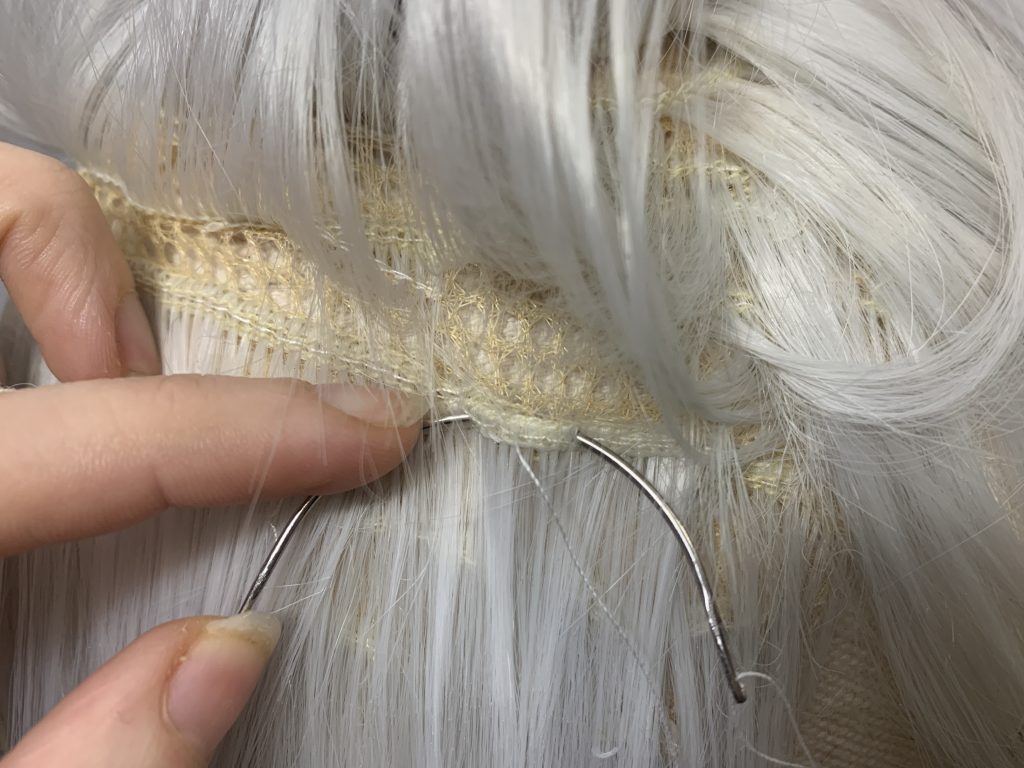
Because this wig cap is a relatively loose mesh, I sewed into the same section of the weft below it, just to make sure it’s in there.
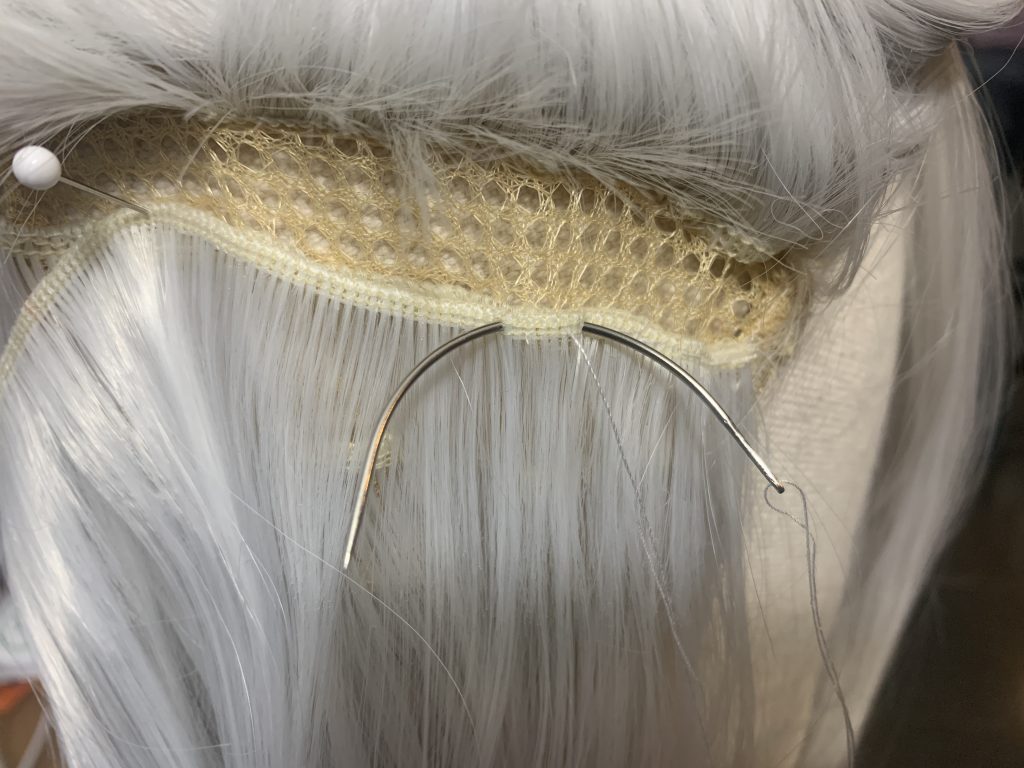
I copied the way the wig I was taking apart was wefted, so in some spots there were shorter wefts, and the bangs were wefted forwards instead of in rows around the back. I just mirrored what was already there, with the same weft on the other wig, and sewed them all together.
How long did it take? Well, I was watching something on TV, and taking breaks, and just kind of hanging out while I did this, but I’d say wefting this wig probably took me a solid work day, so somewhere around 8 hours.
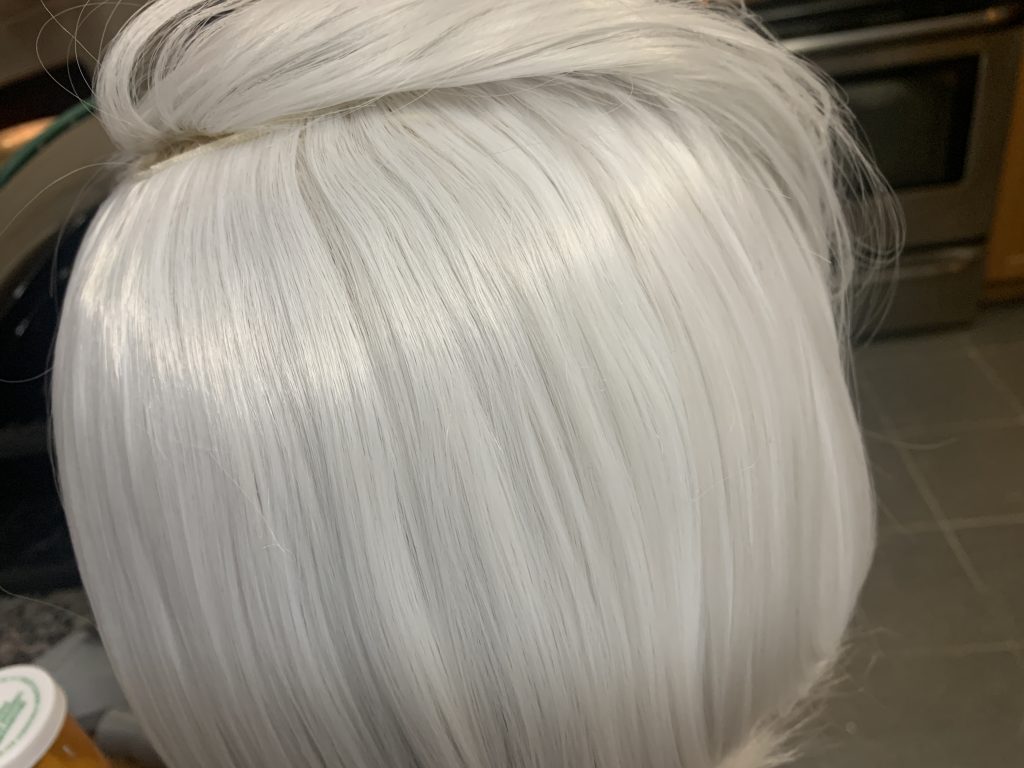
Here, you can see that my original 2B wig is actually silver (which I don’t think is available in this cut anymore on the website) and the new one is a harsh white. You can see the colour mixing beginning to happen here.
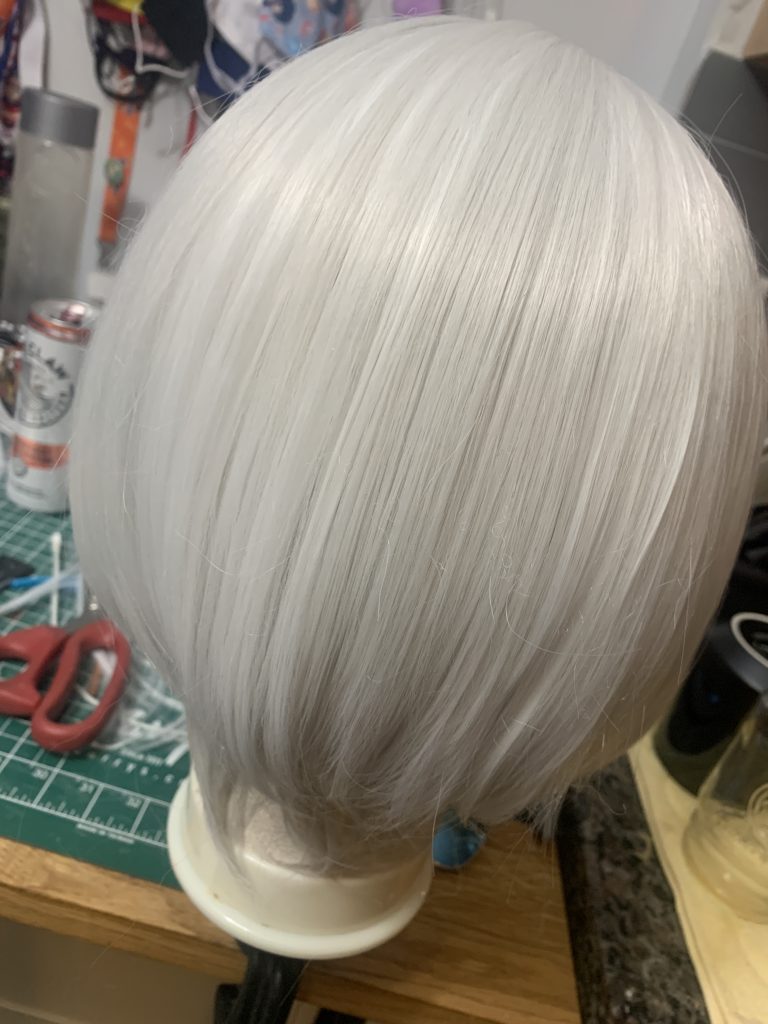
Here’s the back, once I had all of the wefts together — you can see how it’s already taking on its circular bob shape, much better than it was before.
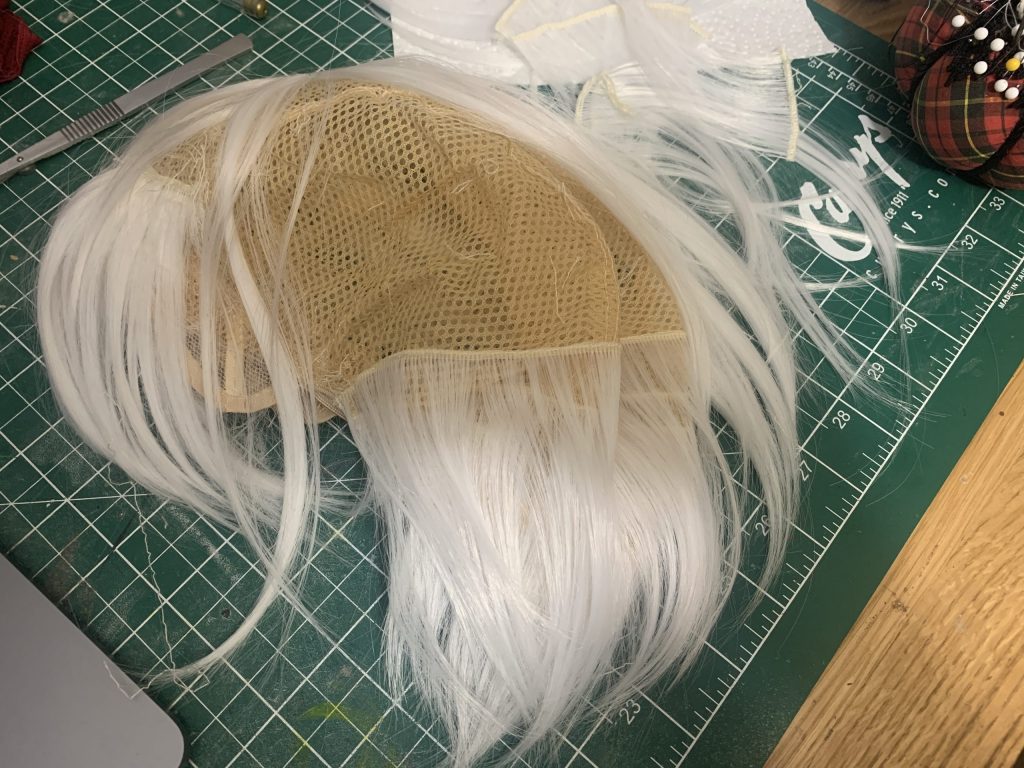
I didn’t wind up transferring a couple of the bottom wefts, because the wig was thick enough, and a couple of the lawyers of wefts in the bangs, because I was finding they were almost too thick as well. I did harvest these, though, and I saved them and wound up using them in 9S!
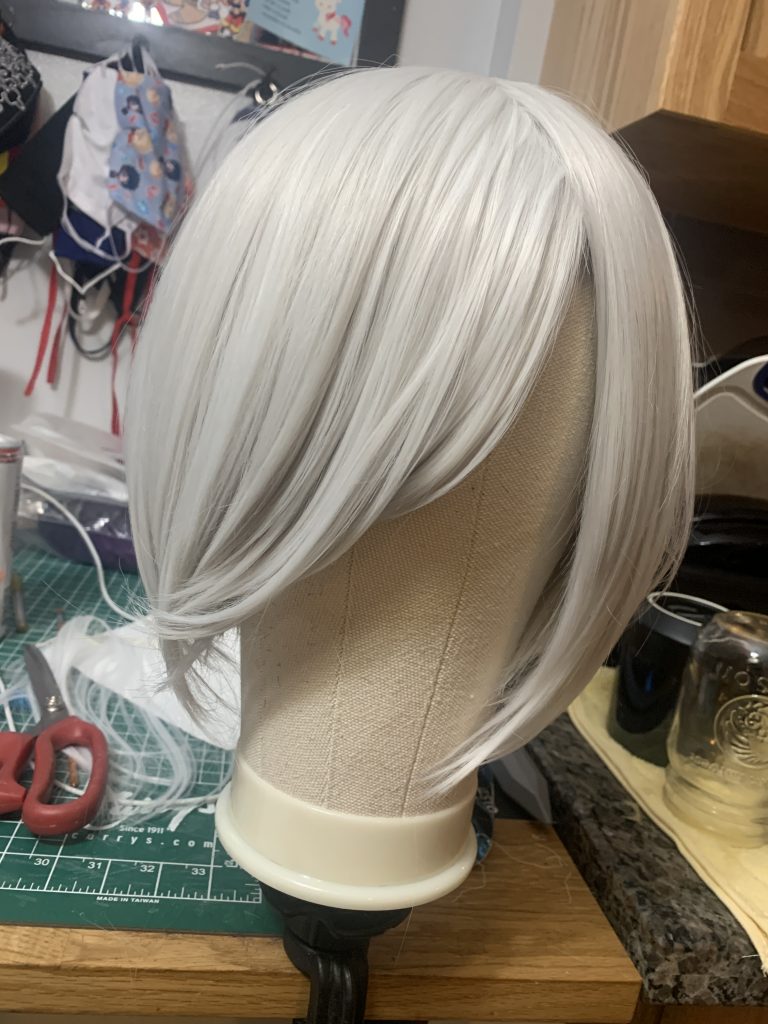
You can see from the above photo that the back needed to be trimmed down, and the bangs in the front were too long on a whole. I trimmed up the back layers so that some of them were quite short, and it lets the others curl inwards overtop of them, and then I trimmed and significantly thinned the bangs.
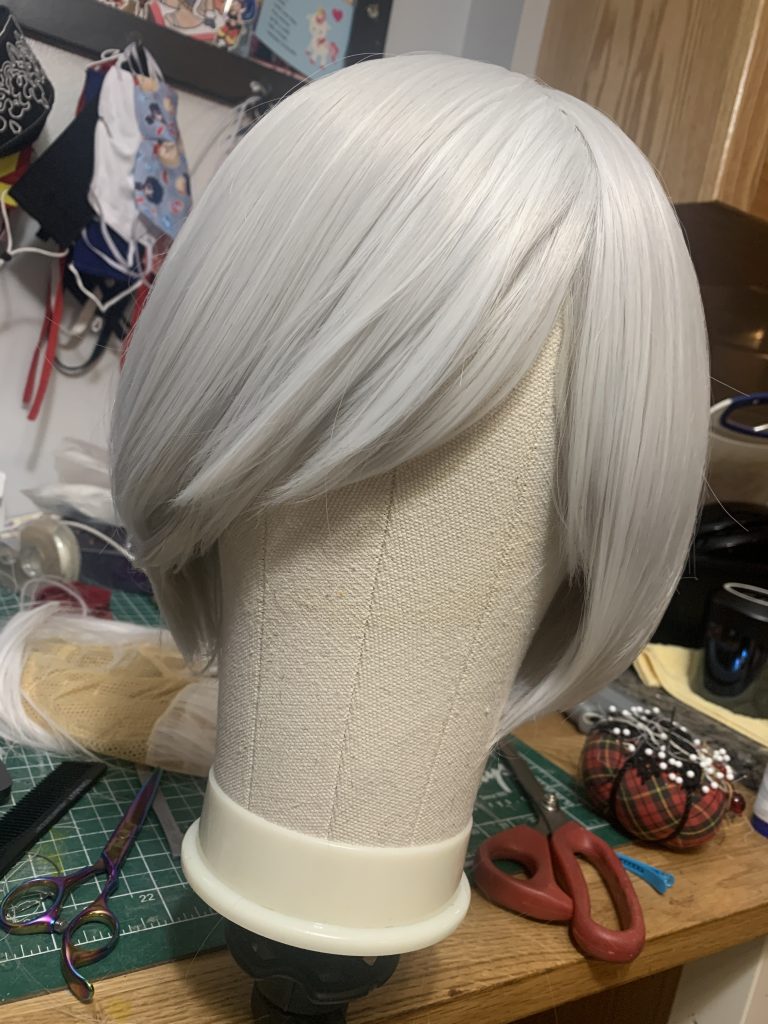
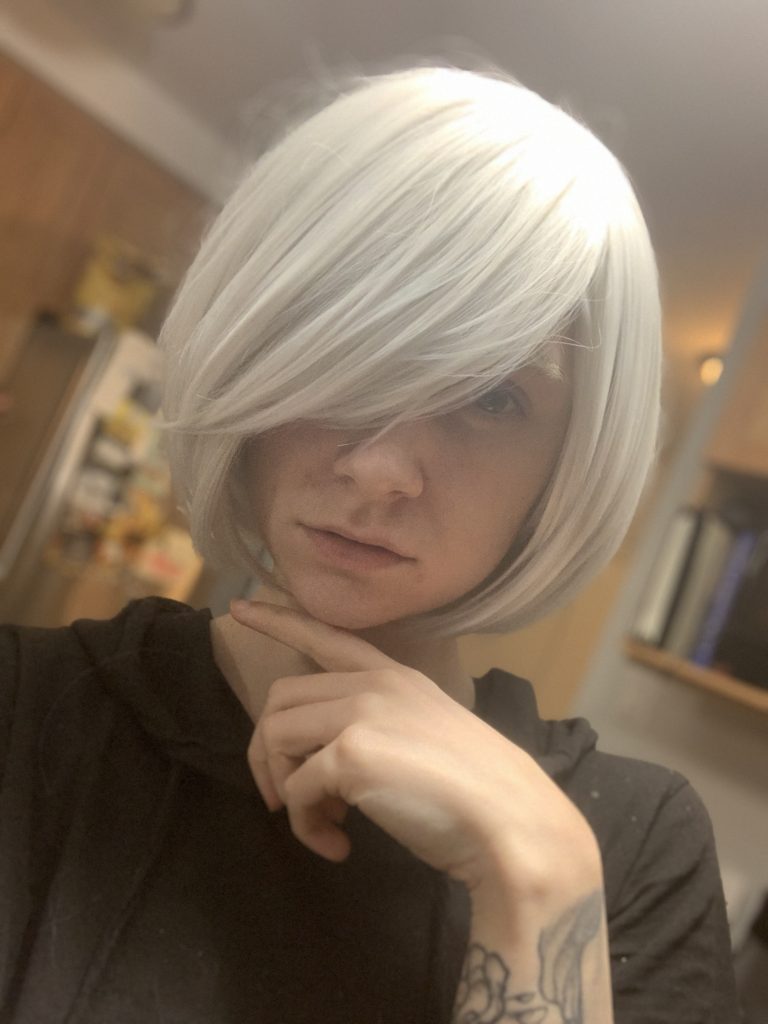
The bangs were still just a little long, so I did another round of trimming and thinning, and finally wound up with the final product, which is what you can see in the finished photo at the beginning:
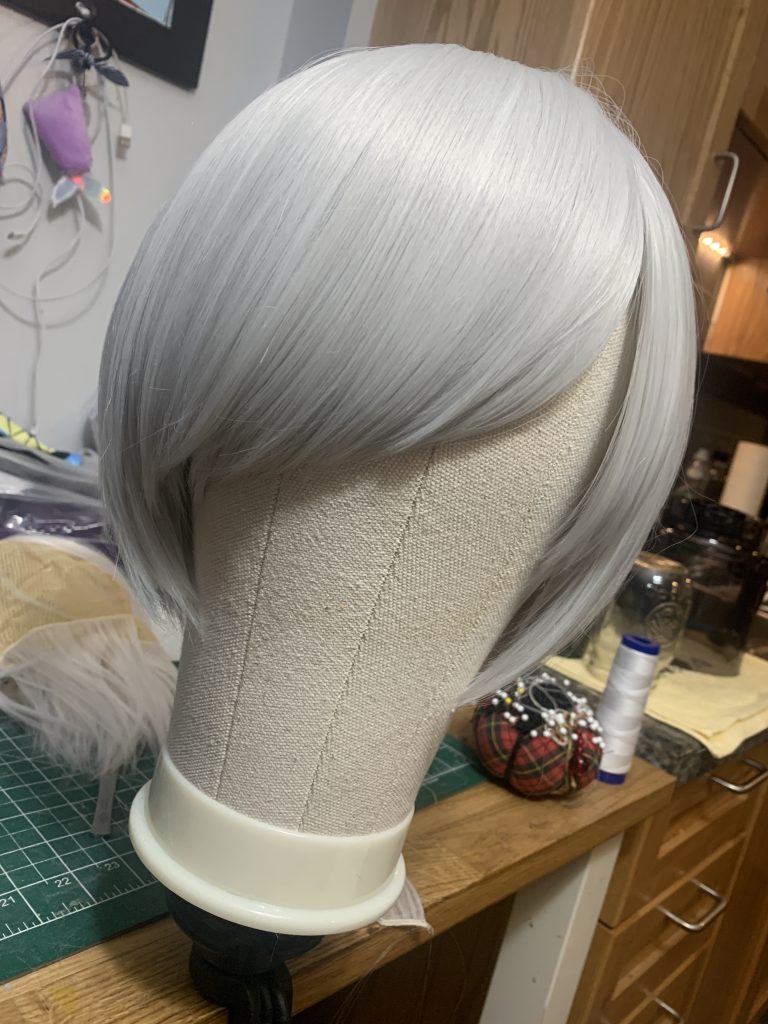
Another tip for wigs: if there are a few persistent flyaway hairs, just go ahead and pluck them out. I’ve had a much better time with flyaways since I started plucking them.
I also gave this wig a fabric softener bath after this — that will also help with flyaways, and it will take any cheap-wig shine out of the fibres. For maintenance at shoots, I tend to carry sheets of fabric softener, which you can gently rub down the wig to tame flyaways that are caused by static — like from rubbing up against your costume, being in a wig bag, etc.
Ok, now for 9S — I ordered two wigs for him as well! Specifically, one silver, and one white in this style, which you’ll notice is from the same brand as 2B’s wig. I really wanted them to have the exact same hair colour.
Exactly the same process insofar as sewing them in, harvesting them from the white wig, and putting them into the silver.
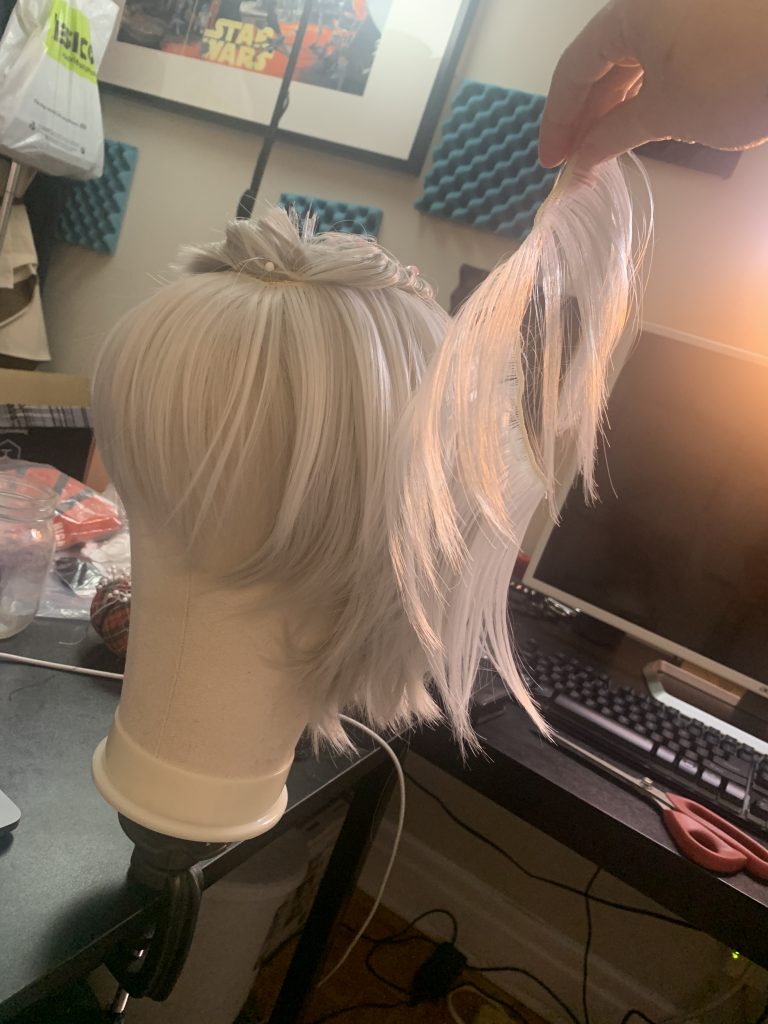
More sewing! If you’re finding that it’s difficult to get your wefts to stay in place, I was pinning them straight through the wig and into my wig head, just to hold them where I wanted them, and just pulling the pins when I got to that part to sew! Worked really well.
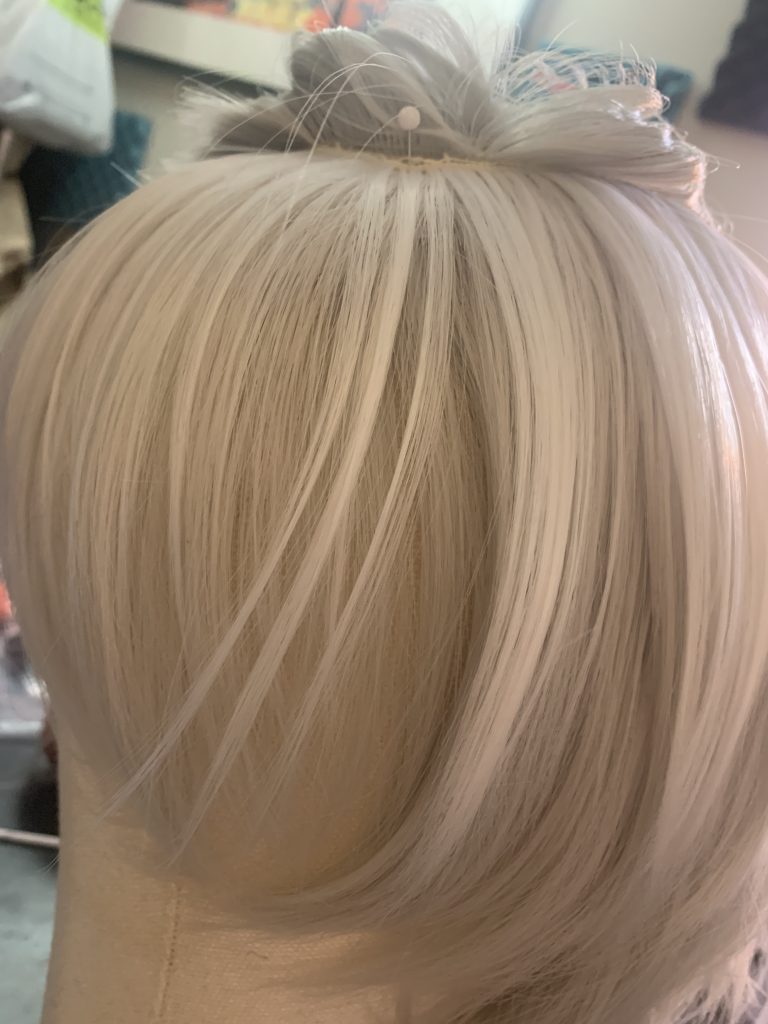
Another look at the colour mixing.
Here’s the wig before I started trimming it:
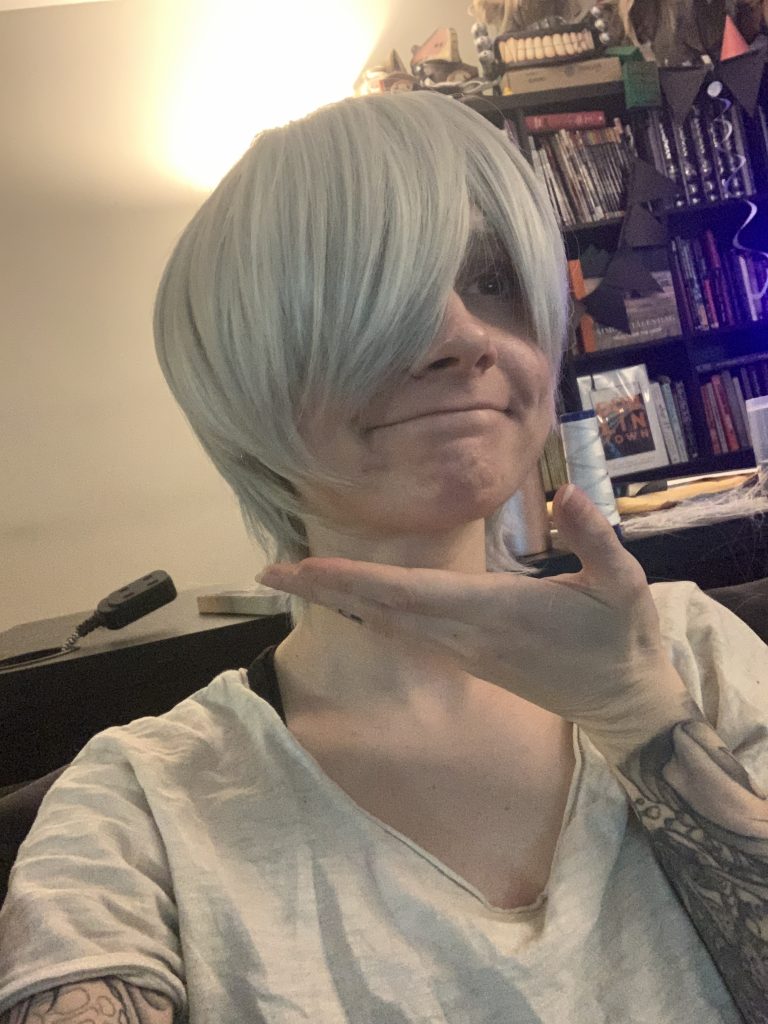
Obviously, this needed some pretty major trimming, which I did:
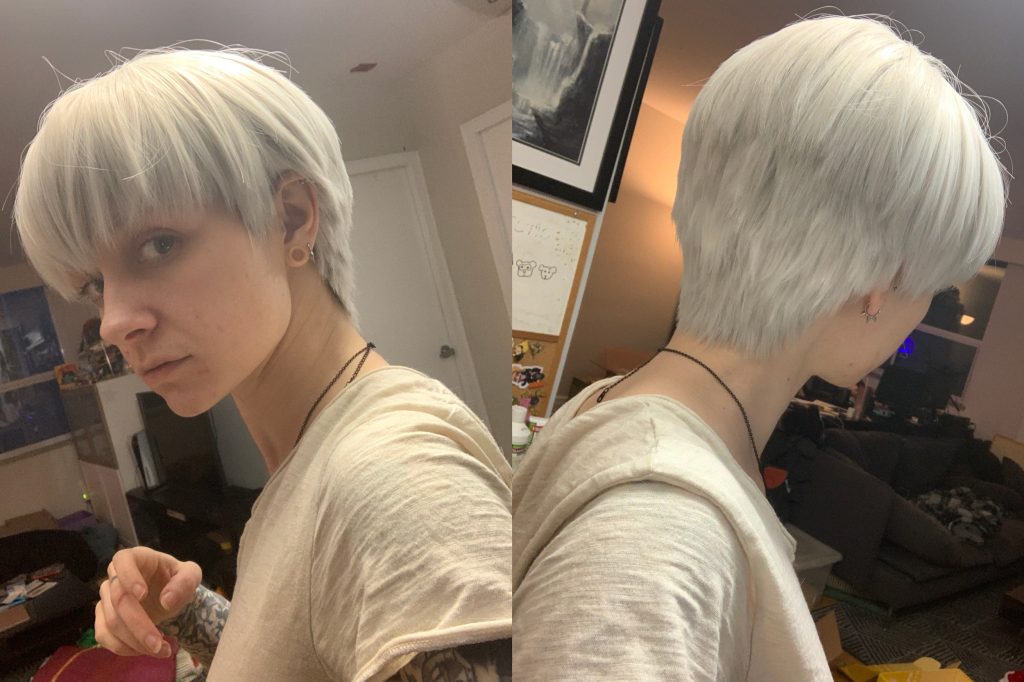
Now, let me tell you about the back of this wig.
So, in the other wig, I omitted some of the back wefts — I put them in the back of this. The wefts in the back here are triple-thick — I did the weft-to-weft technique that I’ve already used, but then I also inserted extra wefts halfway between each of those. This minimizes the lines that sometimes you can see in track-wefted wigs, where you can see where each line of wefting ends and the next begins.
It’s still there just a little bit, as you can see in a couple of these photos, taken by ConMom —

Mostly, these steps are covered by 9S’ blindfold, but I didn’t wear that for this shoot, and so you can see a little bit of the layering in the back, if you’re really paying attention. I want to try this again with another wig in the future and see if I can get less of that!

As shown here in a photo I had to crop! 😘
Hopefully that answers any questions you might have had about combining multiple wigs! Thanks for reading. I feel like we’ve really done a weirdly-comprehensive wig series now … maybe I’ll have to go in-depth into learning something else now. 😂 Any suggestions? Questions? Drop ’em in the comments section down below, don’t be shy!

