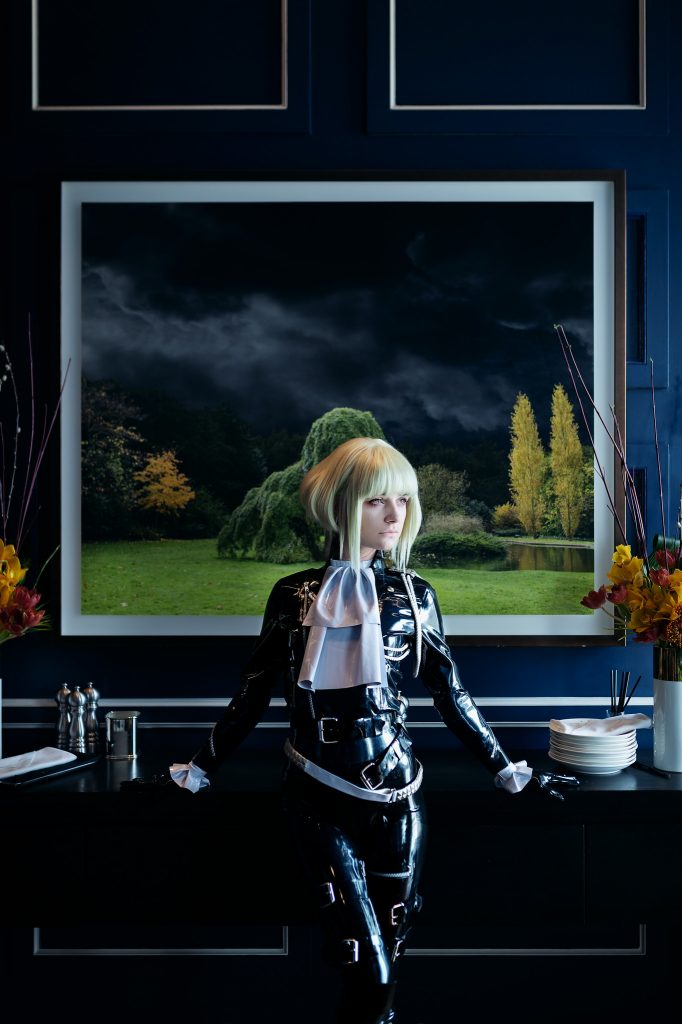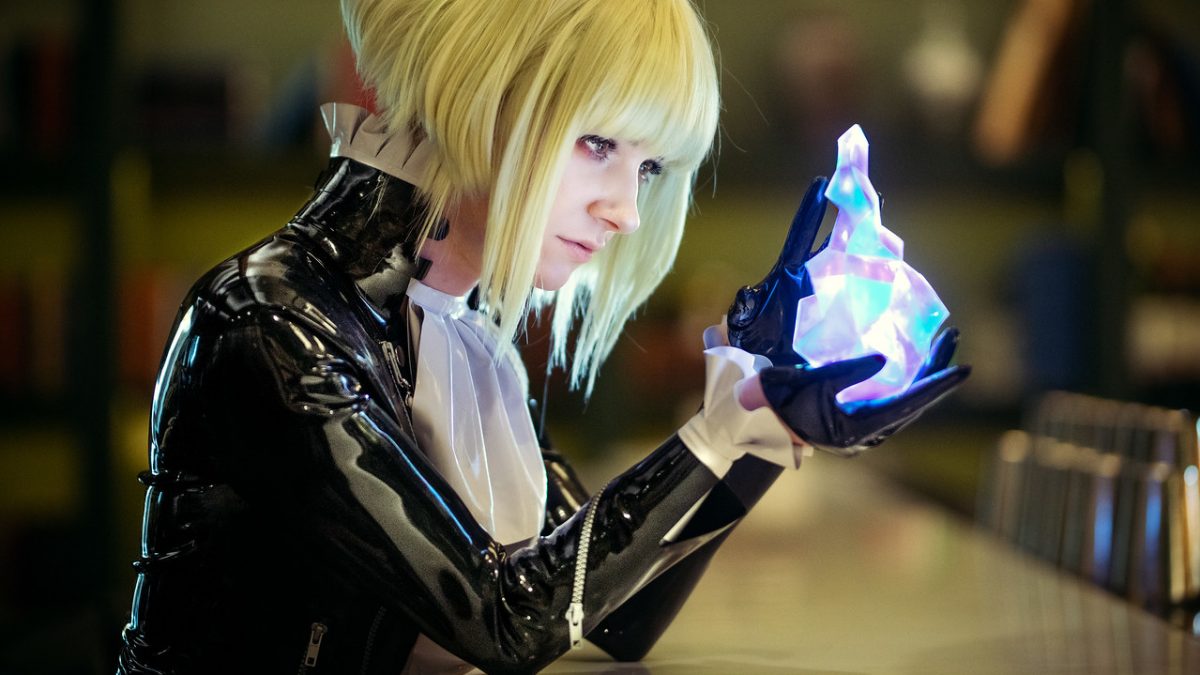
WE DID IT. THIS TIME, WE DID IT.
Ok, if you haven’t read my last foray into Wig Dyeing, please go back and do that now, so that you really, truly understand with how much relief I am telling you all that it worked this time.
Turns out, with wig dyeing, you really don’t need to reinvent the wheel, you just need to not be a dumbass and do the thing that everyone is telling you works.
So, here’s my old Lio Wig …
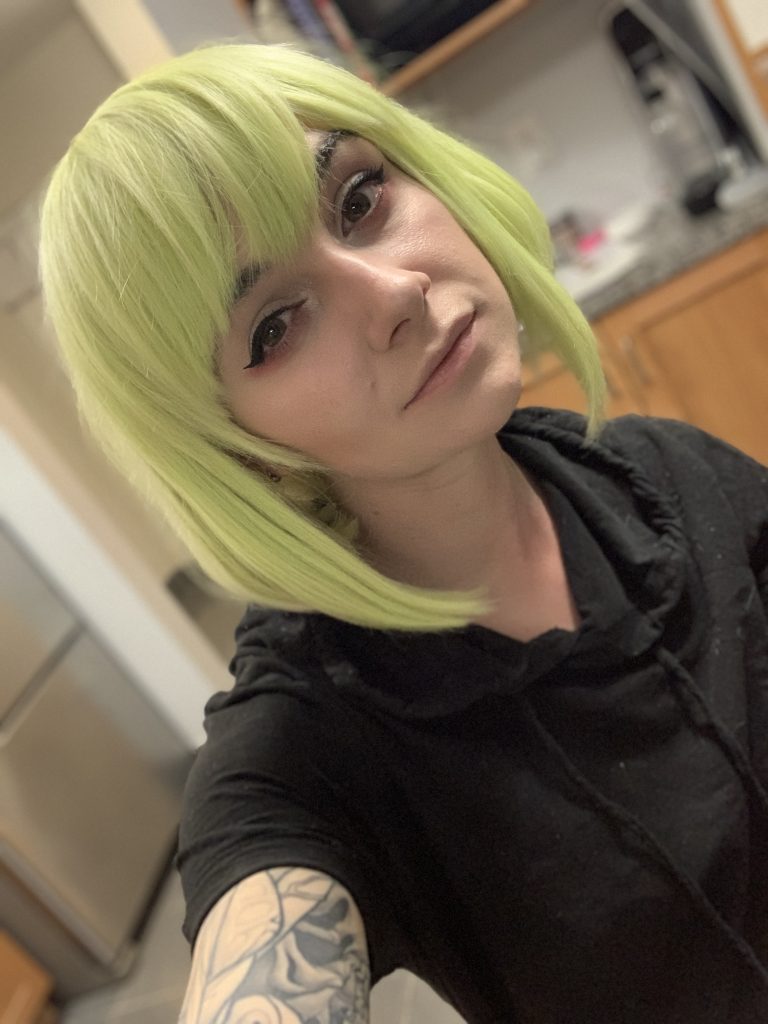
Since we’ve all read my previous story about failing at dyeing this bitch, we know what A Time (TM) it was. This was, ultimately, acrylic paint and alcohol.
While it did dye the wig, I found that the wig was pretty hard to style, and the paint had made the texture of the wig a little off, and so the wig was now extremely prone to static. (Pro tip: if you have a very static-y wig, the best thing to do is to rub it with a dryer sheet. Will help get rid of the static.) The colour was also just … off, slightly.
So I commissioned a new wig. And then that commission cancelled on me while I’m less than a month to the con it was for. So uh. Here I am, making a new Lio wig.
Luckily, it turned out really well!
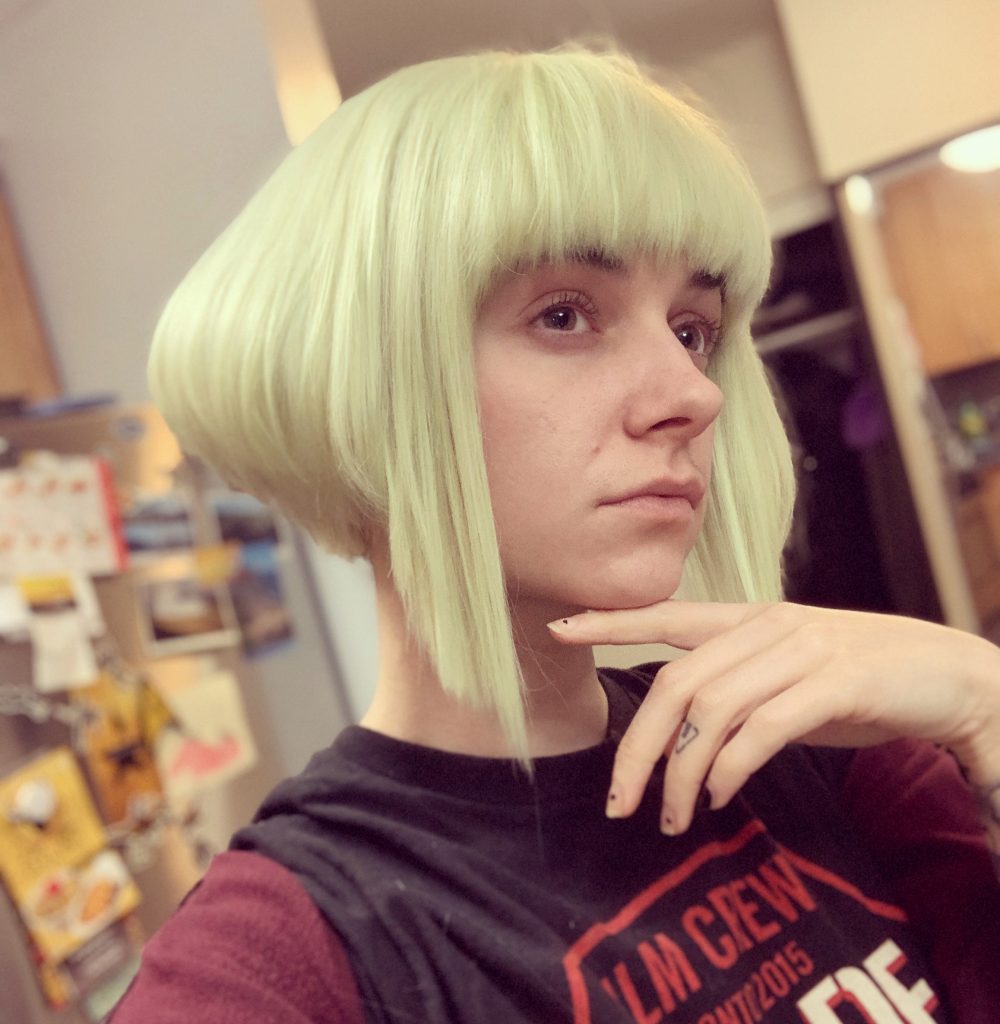
A brief reminder of what Lio’s hair is even drawn to look like …

So! Let’s talk wig dyeing!
First off: base wig really matters. I’m personally not a big fan of Arda most of the time (I once tried for four months to order one of their wigs and it kept getting deferred because it was out of stock and eventually I gave up) because I find their wigs to be really easily tangled, but Arda fibres are the ones that everyone’s done all their dye tests on, so I ordered an Arda.
Specifically, I ordered this one:
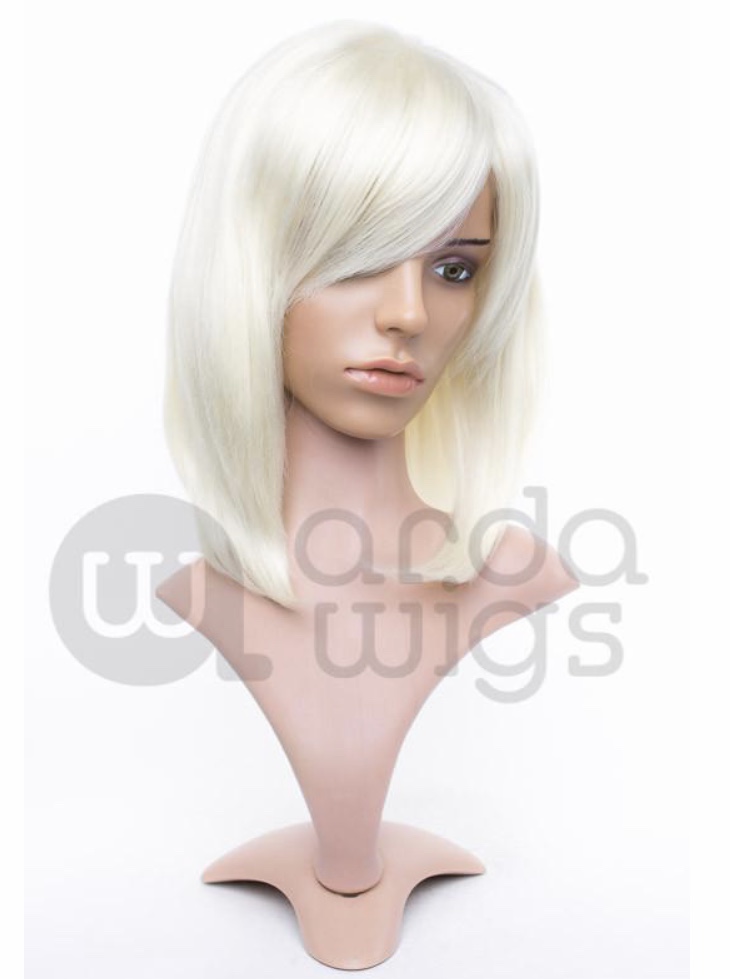
Which is an Inigo Classic in Titanium Blonde.
Here’s a photo of the colour just off my phone:
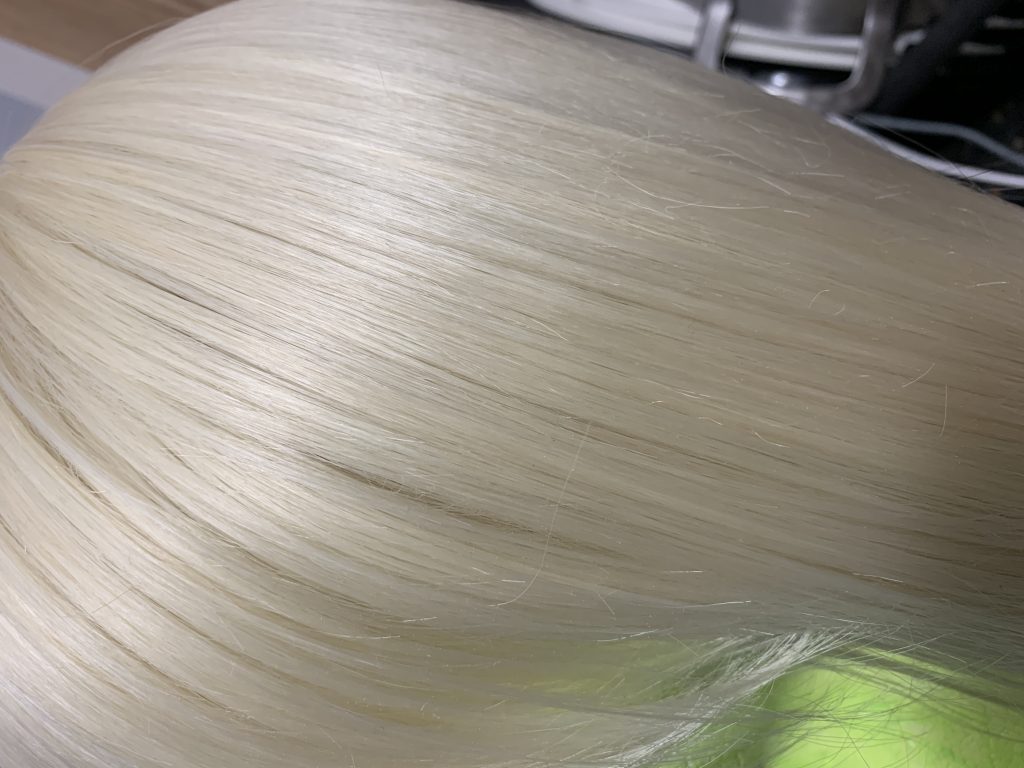
It’s a slightly yellow-based blonde, which was good because I wanted that celery green-yellow colour.
So. Now we try the stovetop dye method, again.
This time it went a lot better. A friend of mine put together a dye recipe to try, and I’d ordered extra wefts to do tests with. (I got a pack of Silky Cream short wefts from Arda, they’re essentially straight white.)
Our recipe uses RIT Synthetic dye — because, again, why reinvent the wheel, here, we just want it to work, we have been humbled by our last abject failure — in green and yellow. RIT Synthetic is available at most craft stores and also places like Walmart and I also caught it at a couple hardware stores here in Canada. Also, Amazon. Specifically, the recipe was 6L of water, to one tablespoon green and two tablespoons yellow. Put that all in a pot, stir it up, and then bring it to a boil on high.
For dyeing, you want the water to be JUST under boiling, so what I did was bring the water to a boil, then turn down the heat to medium-mediumlow and wait until the bubbles just stopped, but the surface of the water was still steaming.
Then it was time to snip little pieces of weft off, and test it.
The timing for this particular colour wound up being about five seconds; we wound drop the weft in the water, submerge it with a ladle, and then gently stir it around for a count of five, before fishing it out and taking it to the sink to rinse it with cold water until it was cool enough to be handled.
So, that figured out! We dyed the wigs.
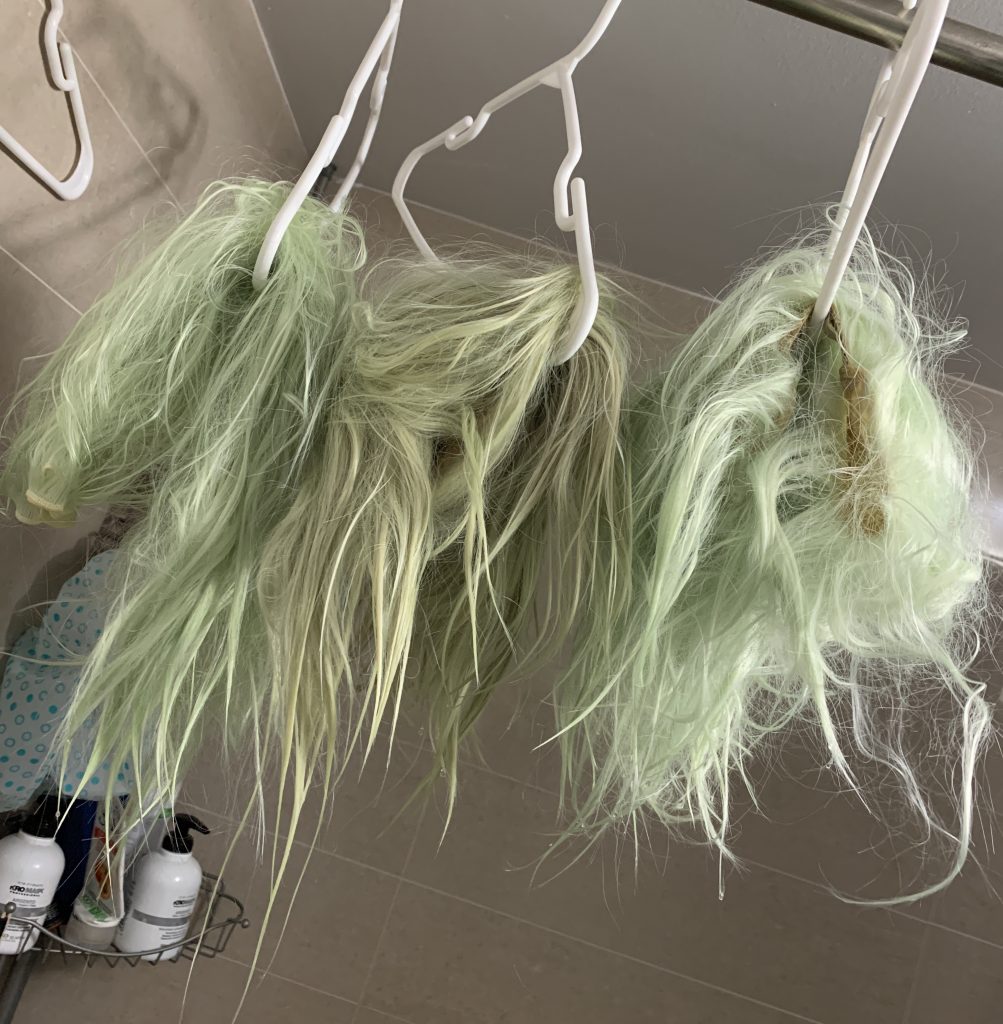
From left to right: Cream Wefts, Titanium Blonde, Lunar Blonde. (The Lunar blonde belongs to my friend Lu who brought wine for emotional support while wig dyeing.)
You can see how the wigs got a little messed up from being dunked in the hot water; I re-washed my wig and the wefts the next day in water with a couple squirts of fabric softener (which helps to de-tangle the wig), then blow-dried, brushed, and straightened everything so that it was all ready for me to start sewing the wefts into the wig.
Now, I didn’t take many photos of this because it was my first time wefting a wig, and I was afraid, haha. But essentially, I just hand-sewed the new wefts to the existing wefts that make up the wig, in the top 1/3-1/2 of the wig.
There are a couple of reasons why you might want to add extra wefts to a wig — essentially, to make it thicker, or to add new colours like highlights. I wanted to do both of those with Lio.
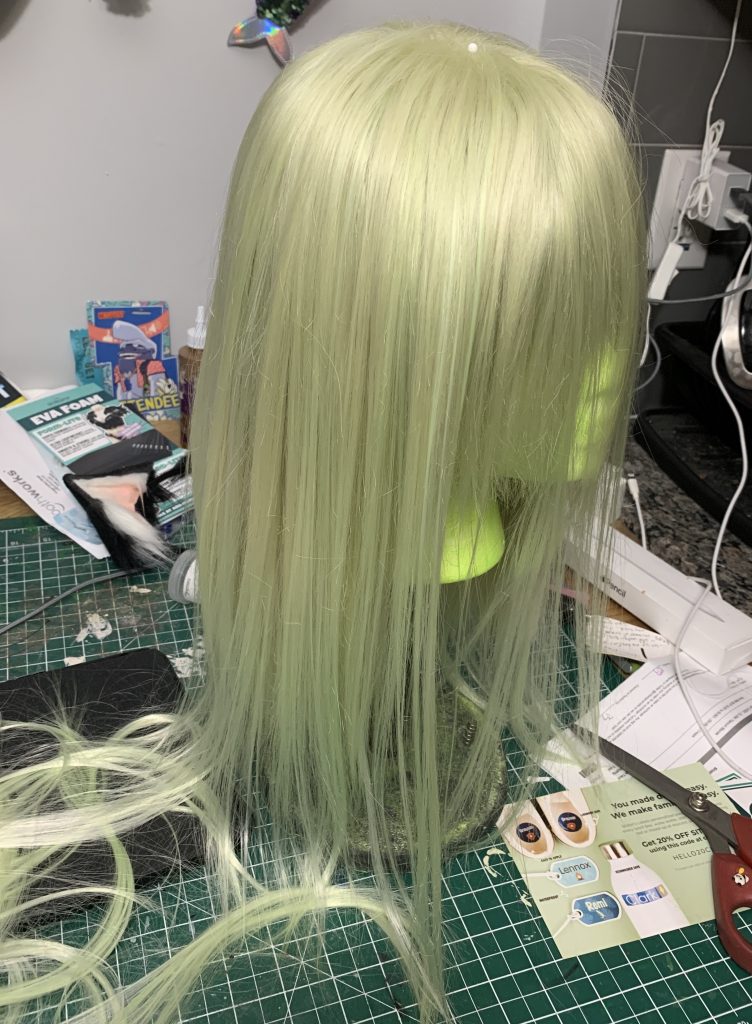
Here’s the wig once I’d added a couple layers of wefts.
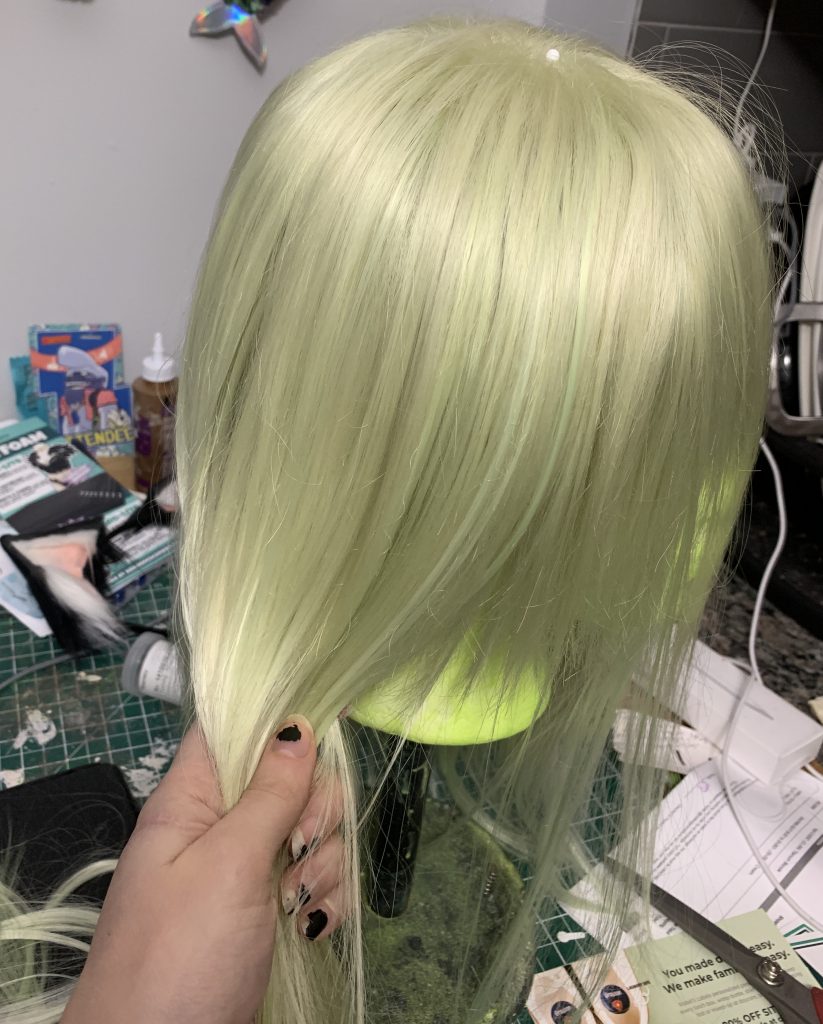
Here you can kind of see the colour mix that’s beginning to happen; it was really hard to get my camera to take a good photo of this green, it kept trying to colour-correct to white.
Once an entire pack of short wefts were in the wig, including through the bangs, it looked more or less like this:
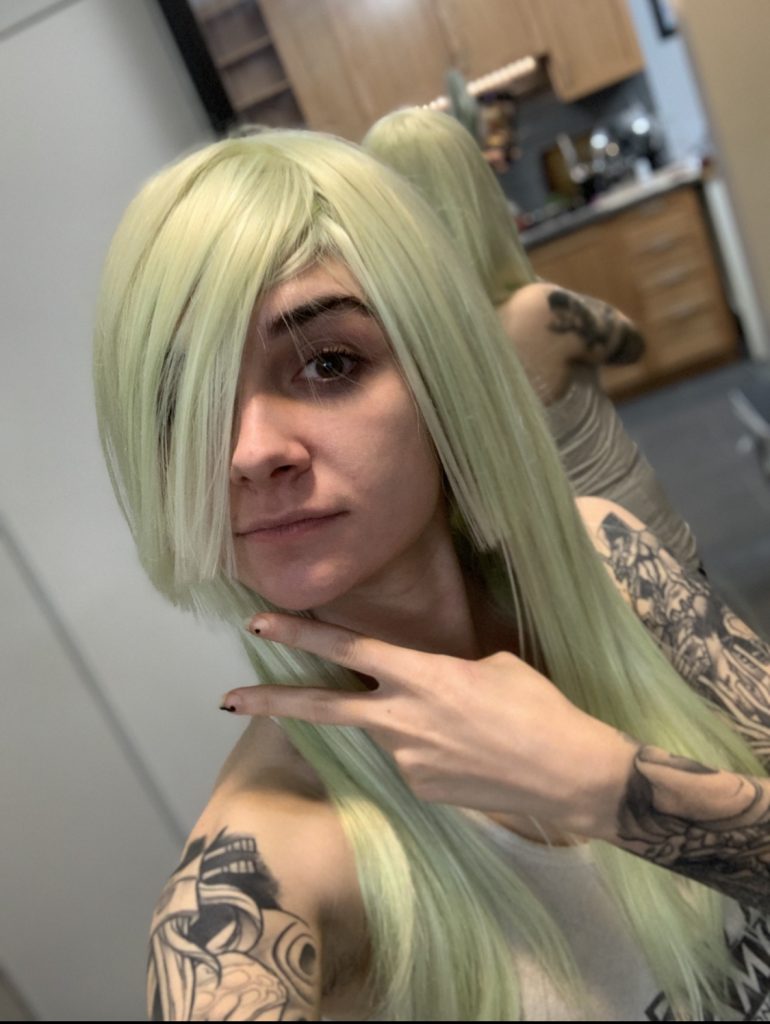
You can see how even the short wefts are pretty long here, compared to how the wig was.
So I shaved it all back down to more or less the original shape of the wig when I got it:
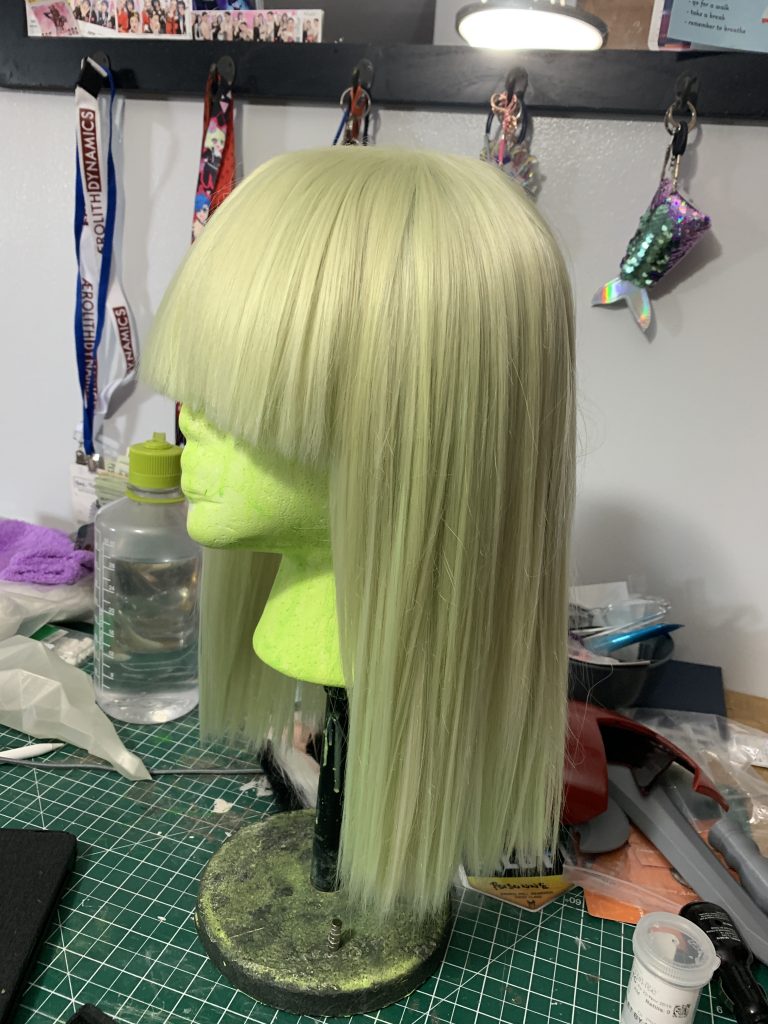
So when you’re cutting wigs, I have a couple of tips that I’ve found work the best, now that I’ve done some pretty intense cuts on a couple of wigs.
First, learn to feather your cuts. It’ll help the pieces of hair look much more natural.
Second, do really small sections, like one weft layer at a time, and err on the side of things being slightly too long, because you can always cut more out, but wigs don’t ever grow.
Here I am, cutting the bottom-most layer.
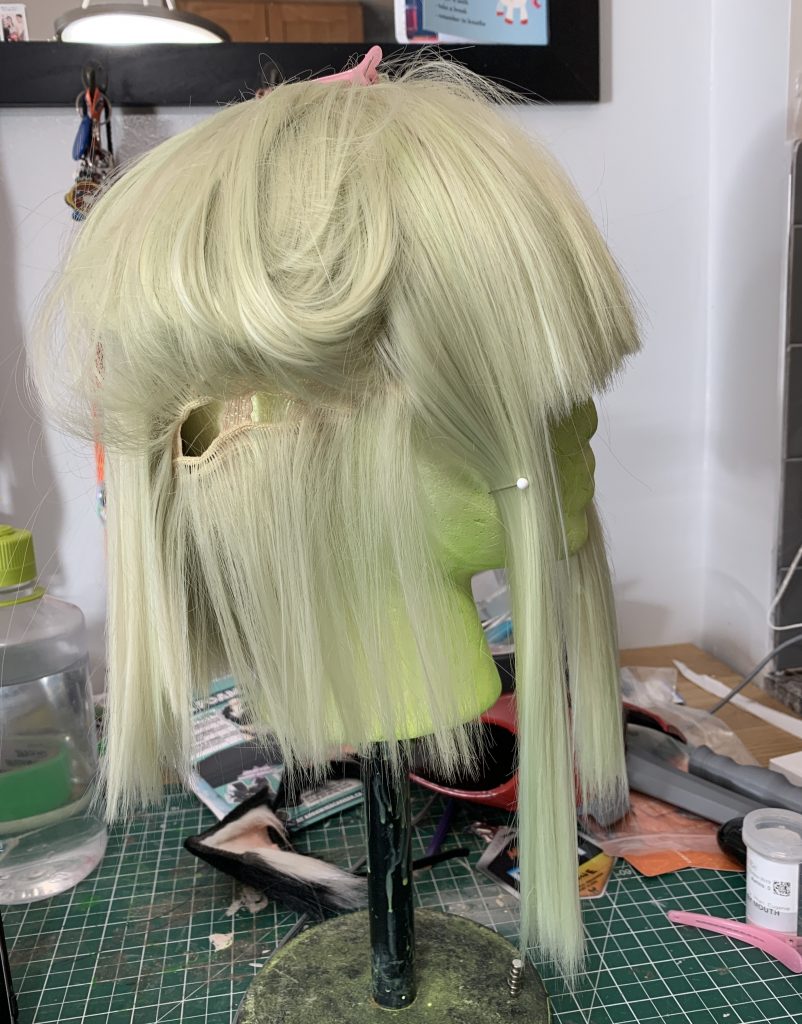
I did ultimately wind up taking it quite a bit shorter, about an inch to an inch and a half, but this was my first cut. You can see how I’ve also sectioned off the front bits, which would be the last thing that I cut.
So after slowly working through ALL of the layers of hair and getting them all that length … I decided they were too long and I cut them all again, haha.
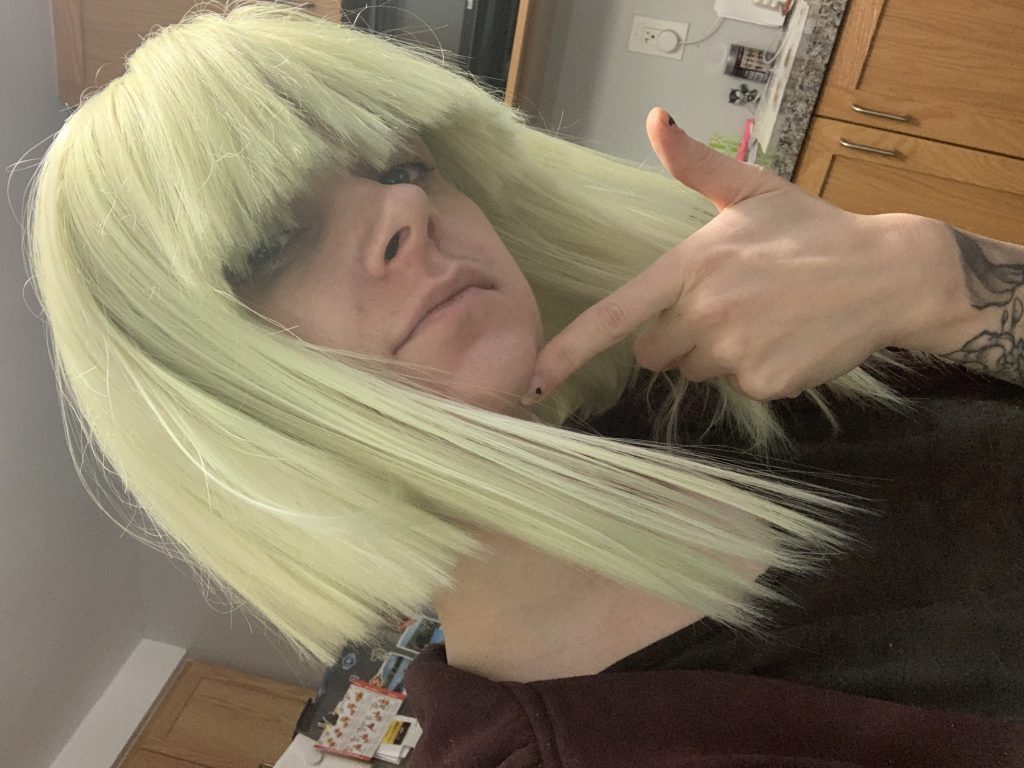
Wig without any styling!
So, here’s the fun bit. the styling. Take this with a grain of salt, because I just watched a couple wig styling toktoks and basically went I CAN DO THIS so there are probably other ways to do this thing.
You’re going to need a couple of things for this — a teasing comb. I just grabbed a cheap one off Amazon. (I prefer boar bristles, or boar bristles and synthetic bristles for teasing wigs — the full-synthetic teasing combs, I had, and tossed, I didn’t like it.) Hairspray, I use Got2b Freeze Spray because that shit will survive a nuclear bomb. A hair dryer, and a hair straightener.
First up, section the hair off again. This is the bottom half-ish of the wig.
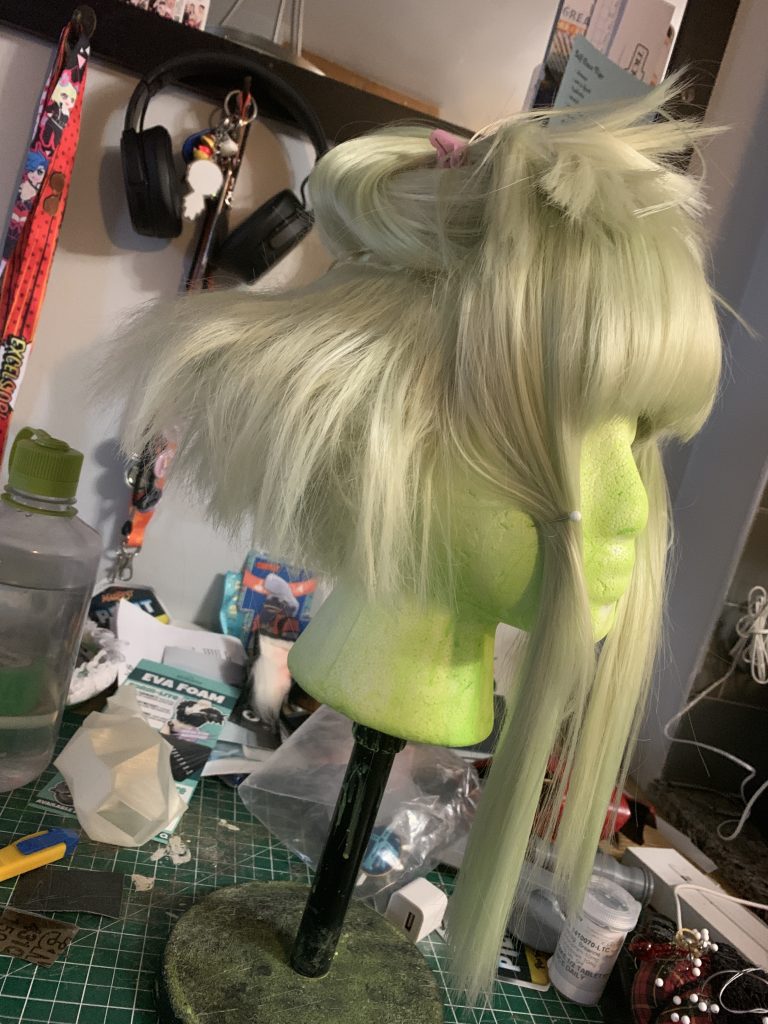
So there’s the bottom half after I teased it. No hairspray, just teasing.
Now we need to shape this — which I did by putting a couple generous sprays of hairspray on a section, and then blowing it dry with the blow drier while I shaped it with my hand.
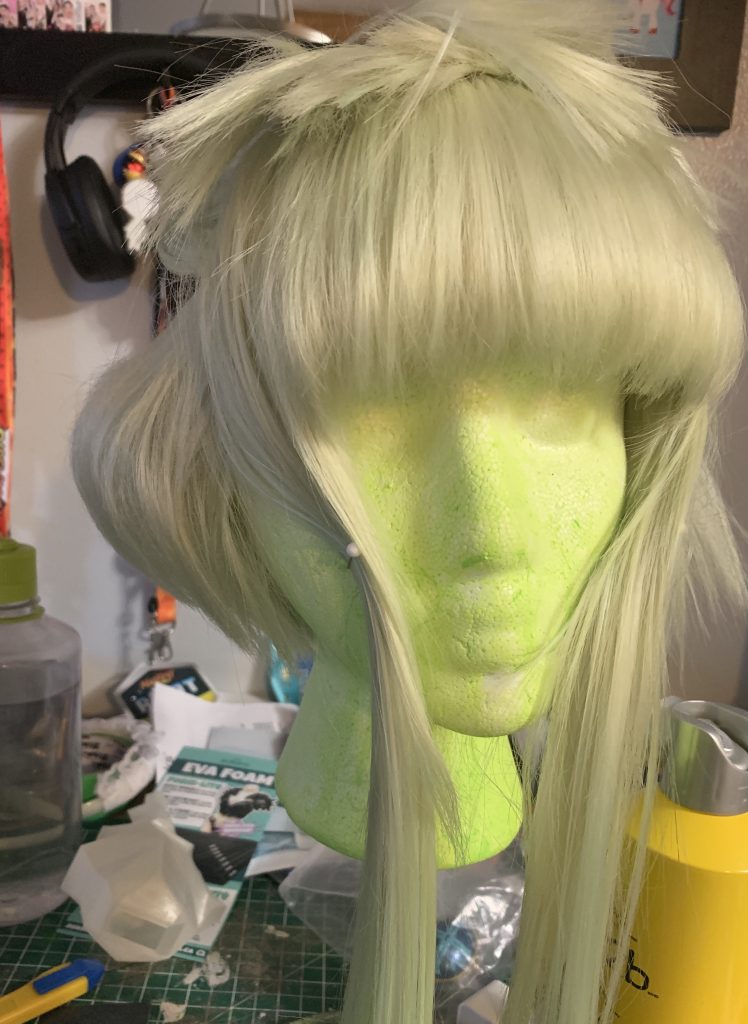
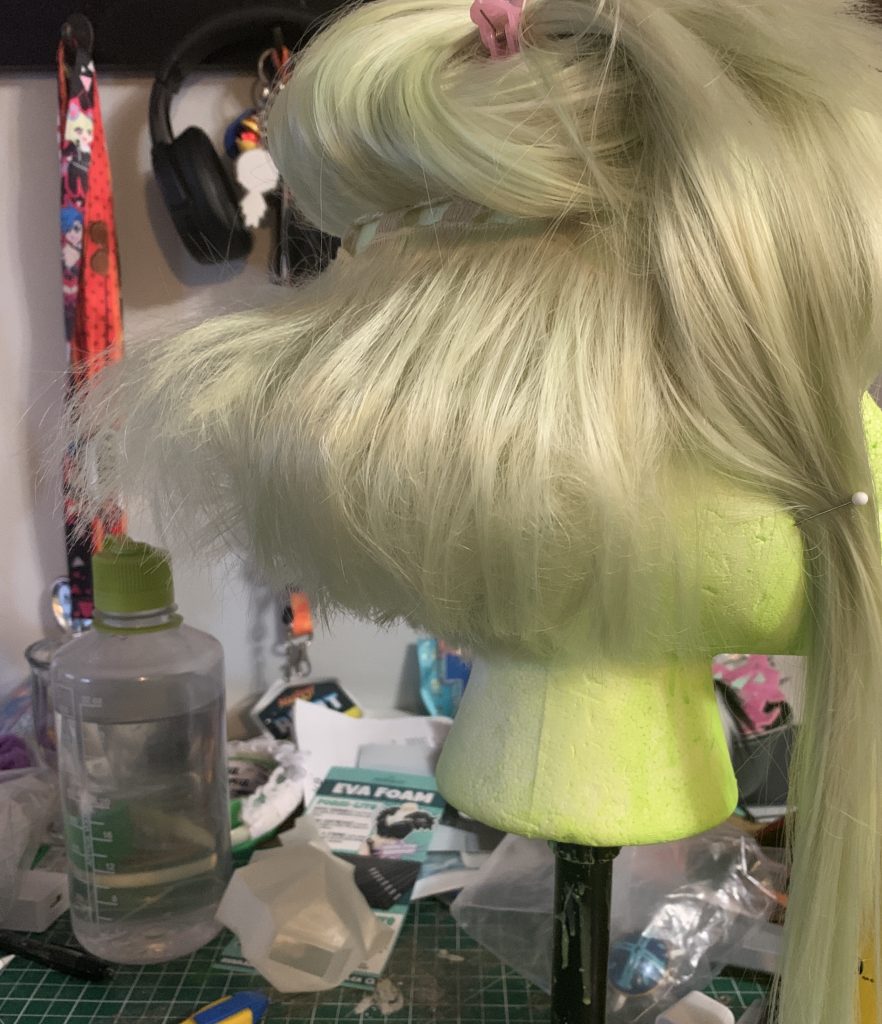
Then I did that all the way around the wig to get the shape I wanted.
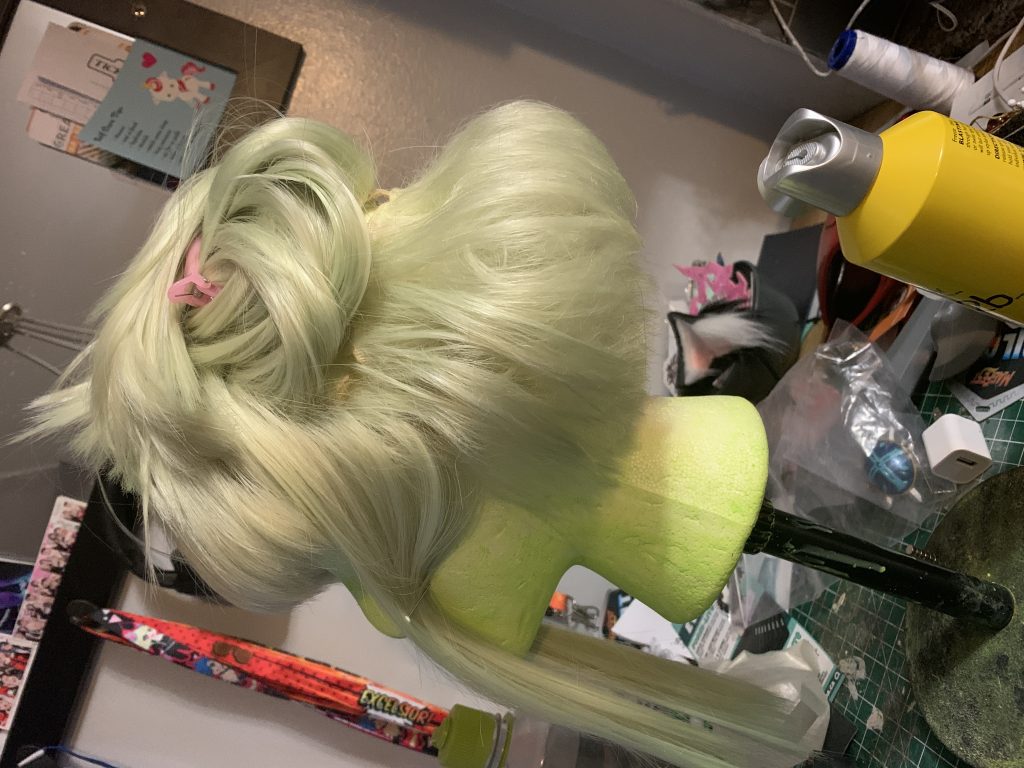
Like so.
Then it was time to put the other half of the wig hair remaining on top of it. This is where the hair straightener comes in handy.
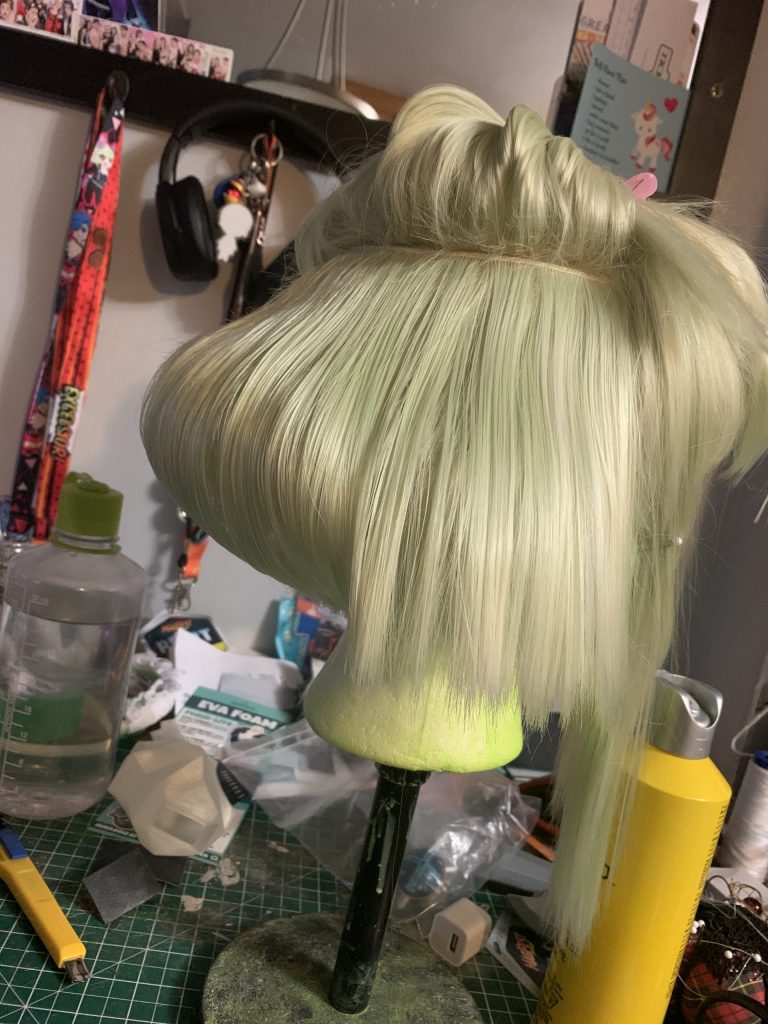
What I’m doing here, is taking down one weft at a time, curling the bottom with the hair straightener, and then spraying it into place and drying it with the blow-dryer. I did this for everything except the last two layers, which I didn’t spray into place, just styled into place with the hair straightener, and then generally sprayed the wig just to gently keep it in place. Not spraying these layers really hard means that the wig kept looking fluffy.
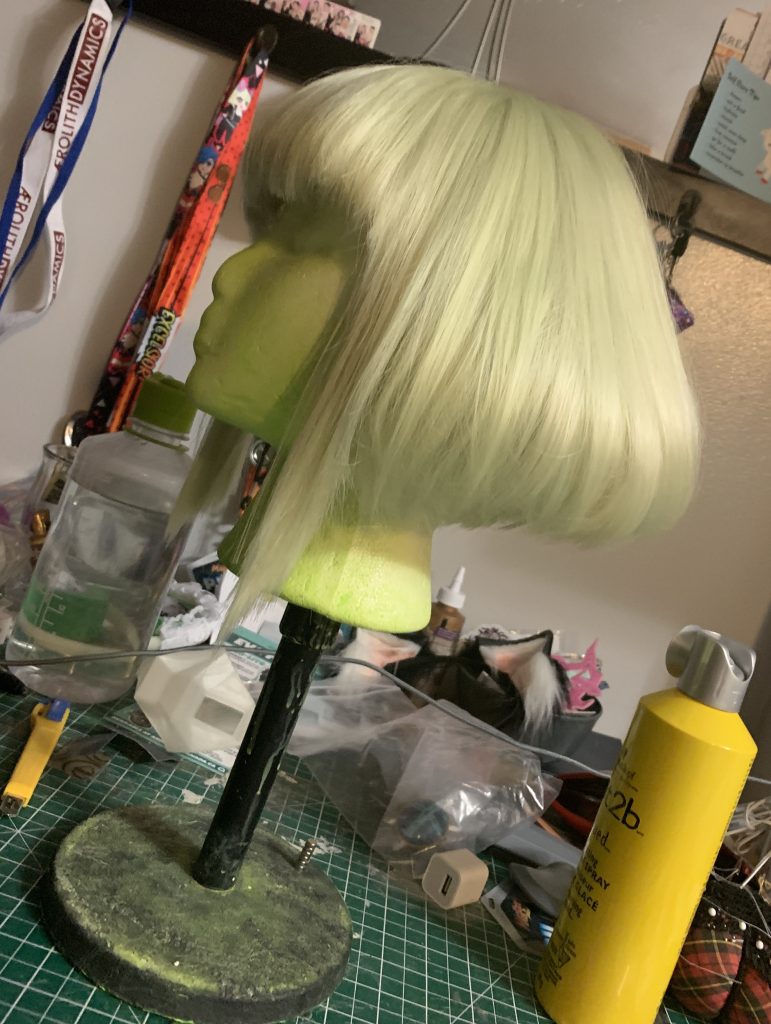
You’ll notice that I also cut the bangs in here — I essentially just curled them gently with the hair straightener, and then thinned until they weren’t a really thick nightmare and looked fluffy.
Before thinning;
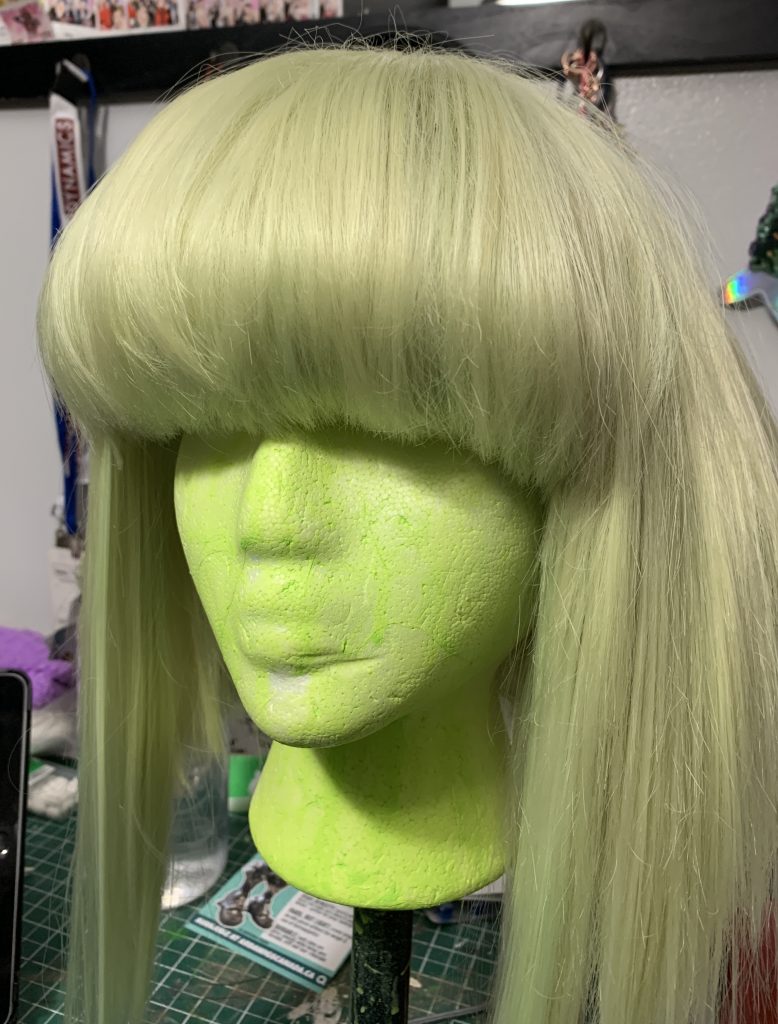
And After:
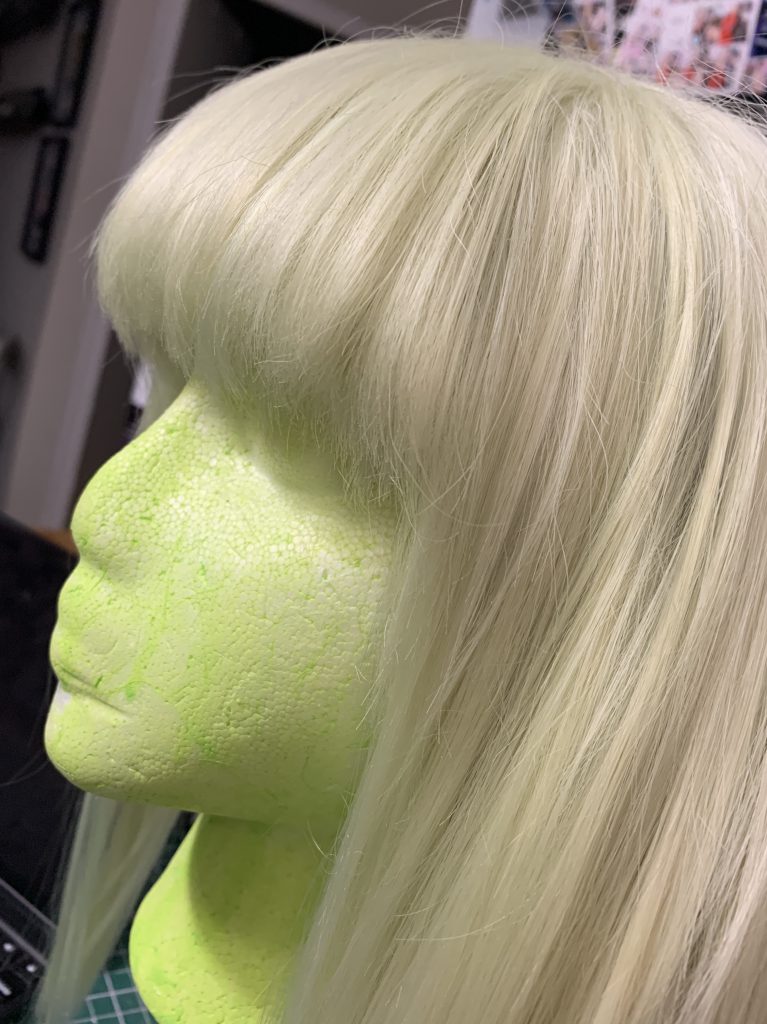
(See what I mean by my camera really wanted this wig to be colour-corrected to white?)
To thin out hair, essentially you just use your scissors to cut straight up into the wig, to cut out tiny little sections. As long as the sections of hair you’re cutting out are small, you won’t notice when you re-brush the hair down that you’ve done it, you’ve just made much more natural layering of the hair. (You can also buy thinning shears, but tbh I have never had a pair of thinning shears that I’ve liked, so I tend to do wig thinning by hand.)
So there we have it! Lio’s new wig is done!
