
This is also a good tutorial on Latex Overlays, because 2b’s skirt took a lot of them. Unfortunately, this is the only writeup that I have on 2b; I made her bodysuit before I started Patreon, so I just don’t have detailed photos of making it, unfortunately.
So! 2b. NieR Automata. Here’s the main reference I used:

I knew, when I made 2b, that I wanted the outfit to be modular, so I made a bodysuit and then a completely separate skirt. You can kind of see where the seam might be on the reference, about 2″ under the bust — though plenty of reference of her doesn’t appear to have that seam. I was using the Anime Principle here, where every reference is different, so I picked whichever one I liked best and we went with that.
Here’s the flat I drew myself when I started pattern drafting. A Flat is a drawing that details the seams and details, rather than striving to be a photo-realistic thing.
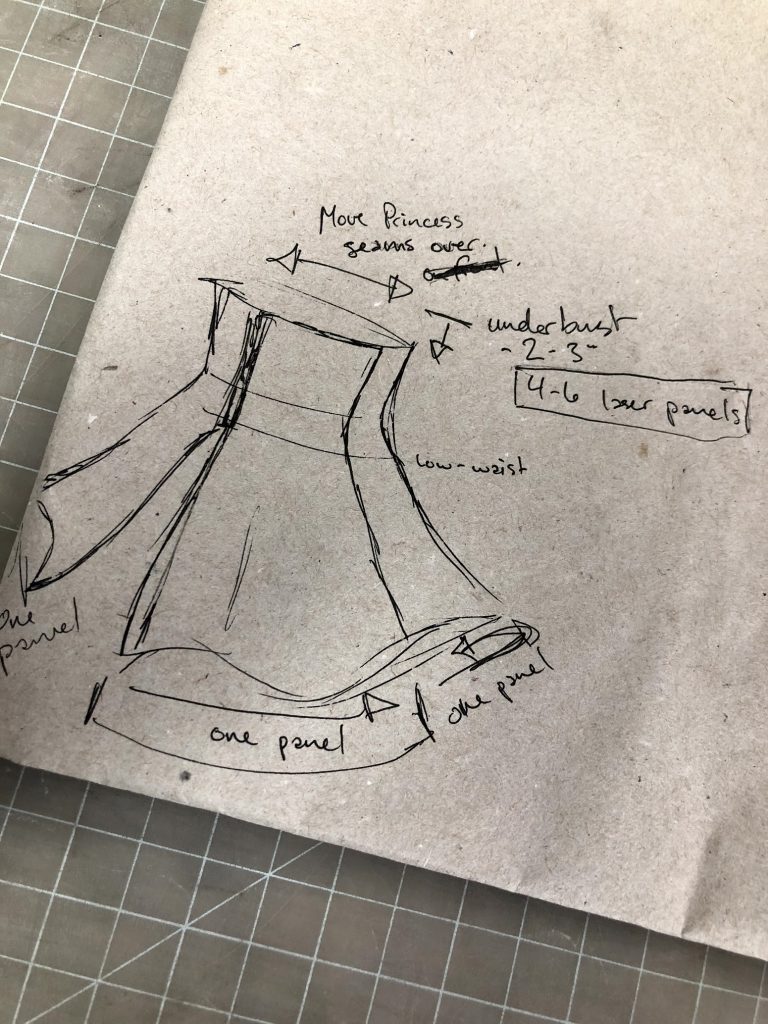
So this was my first idea of how the skirt would be done. But there was one more thing that I had to do, once I had decided roughly what the pattern was going to look like — I had to make sure the laser cut panels of overlay were going to match.
Full disclosure, I didn’t do the digital work on this. I purchased the files from another costume maker, and then had them made into laser-cutter-friendly files by Kink Engineering (warning; potentially NSFW, 18+ site), which is where I purchase all of my latex sheeting, and one of the very few places that is equipped to cut latex on a laser-cutter.
(Fun story: latex is incredibly flammable! So sometimes the laser cutter just sets the whole thing on fire, which then melts large swathes of latex, and then you have to start again! When I worked at Kink Eng I occasionally had to babysit the laser cutter with a fire blanket and a squirt bottle of water, in case it decided to light everything on fire. Good times.)
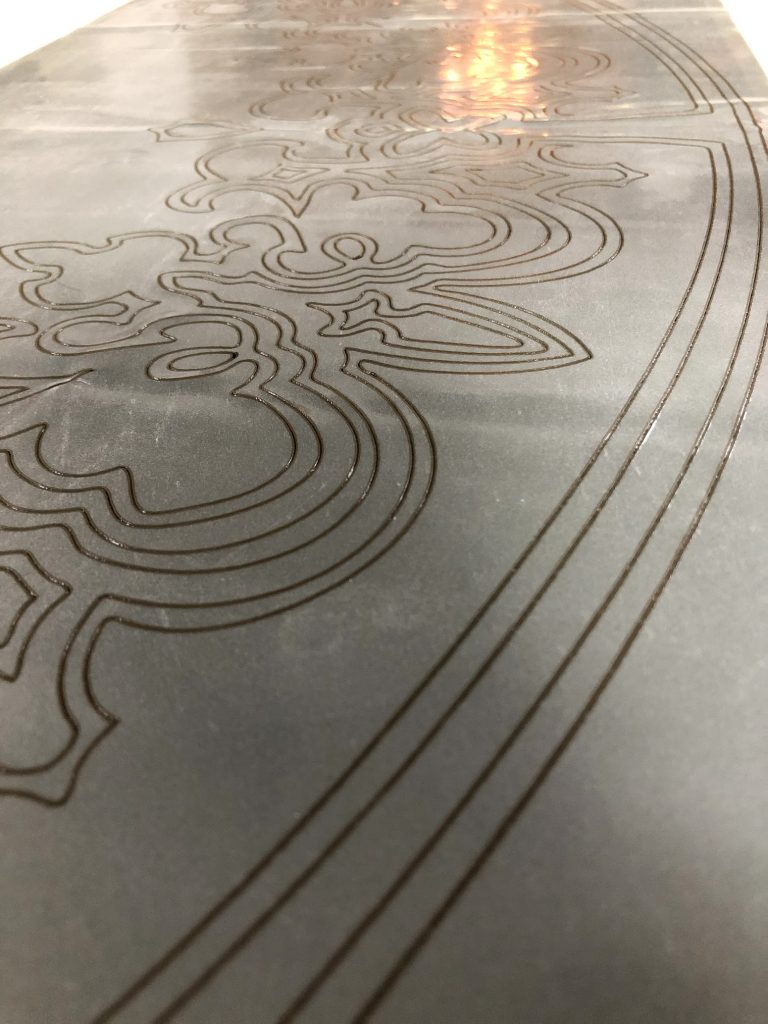
Here’s the latex fresh out of the laser cutter — you can see, in the cutes, how everything is shiny? That’s melted latex. It’s gross, it’s sticky, it gets all over your hands, it smells awful, it has to be vented really carefully because the fumes are toxic … Sorry, I’m just remembering how much I love the fact that now it’s not my job to clean this stuff! Haha.
Once the latex comes successfully out of the laser cutter without self-immolating, it has to be cleaned of all of its gross melted latex, and this is done by hand, much the same way as cleaning talc off lates — with rubber cement thinner, and a cloth! Hopefully this isn’t something you’ll ever have to do, but it was my job for a while, so I can tell you about doing it.
I would gently rub along every cut with a wet cloth, and then once it was clean, apply a layer of contact paper, which you can see below —
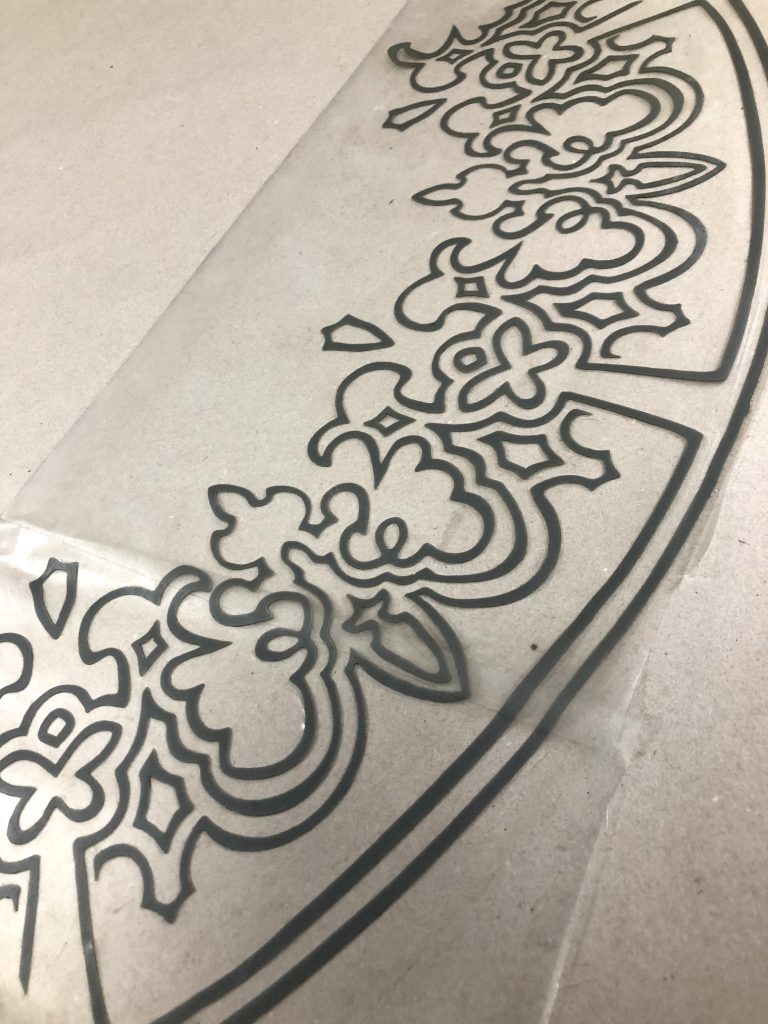
Contact paper is a clear, sticky-backed plastic sheet, which is perfect for latex (and fabric!) overlays. I would stick the contact paper to the right side of the latex, then flip it, clean the back, and then pull the negative out and scrap it — which leaves the overlay, spaced exactly correctly, ready to be glued down.
(I believe, and don’t quote me on this because I have not done it, but I believe you can also sew through it for fabric overlays.)
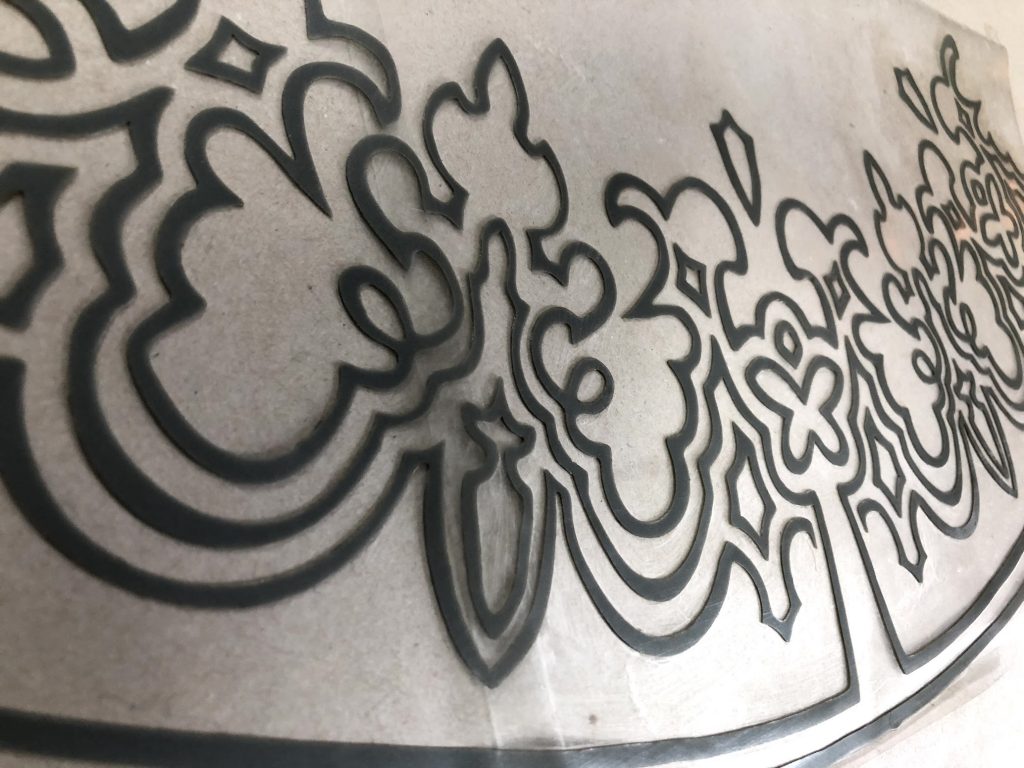
A closer look at the overlay, because it’s real pretty.
It looks pretty dark against the butcher paper I was drafting against, but it’s actually a metallic silver; I decided not to do it out of white because, to me, the reference looked more blue-toned than straight white like is in the gloves.
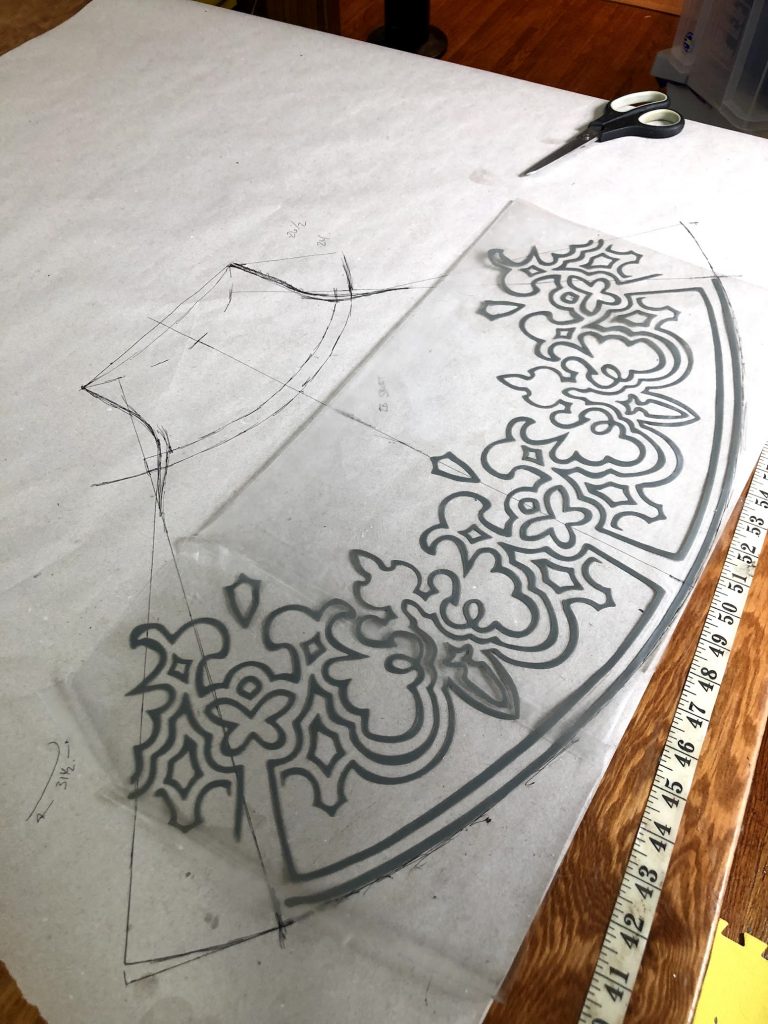
So here is where I actually started drafting the skirt panels. I wanted to make sure the bottom of each skirt panel properly matched the curve of the overlay, so that’s the first thing I drew in, then plotted the centre-line down the middle so that I could draft out the rest of the skirt from that line.
Essentially, a TLDR of flat-drafting, is that you take your body measurements, and plot them onto a flat surface. So for this, because I was planning 6 or so skirt panels, each of the top parts needed to be aprox. 1/6th of my waist measurement across (so 1/12th on either side of the line), and then expand out to the full width of an overlay panel at the bottom.
This made my life easier — if each skirt panel was the same, I just had to cut six identical panels, apply the overlay, and then glue the whole thing together.
Here I am cutting the skirt panels …
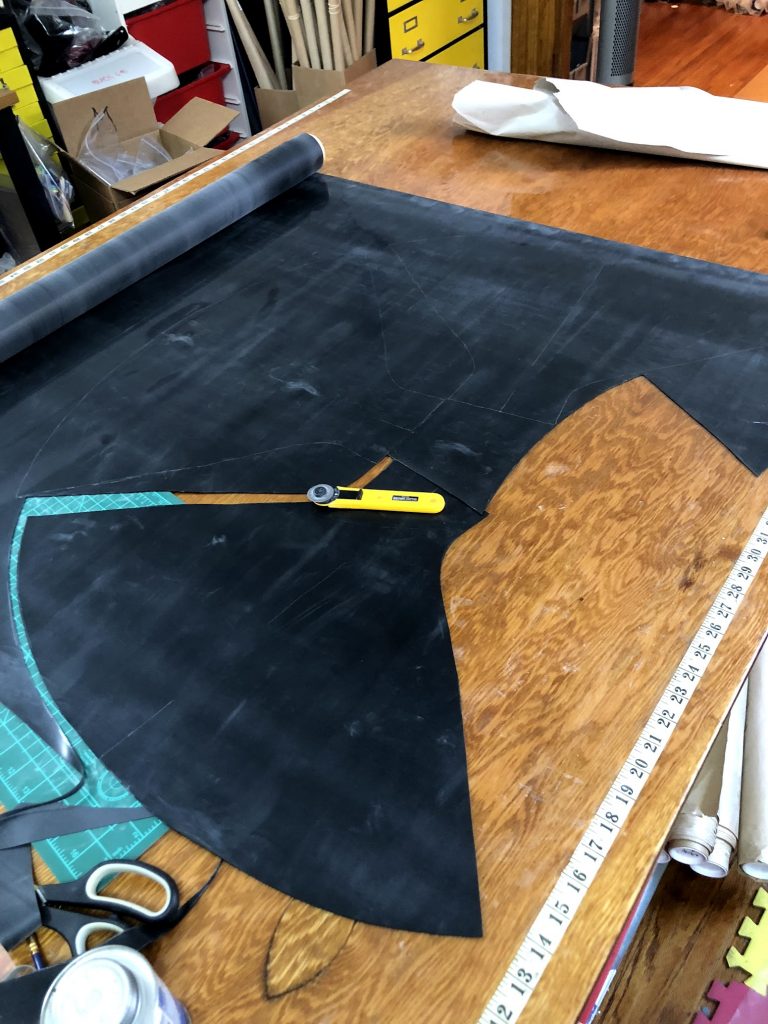
Most latex clothing is made of 0.4mm latex, but I chose 0.6mm for the skirt, because I wanted it to have more body.
You’ll notice that I have the centre-line marked on each of the pattern pieces — that was to help me line up the overlays. Honestly, the easiest way to mark that is just to only draft half of a pattern …
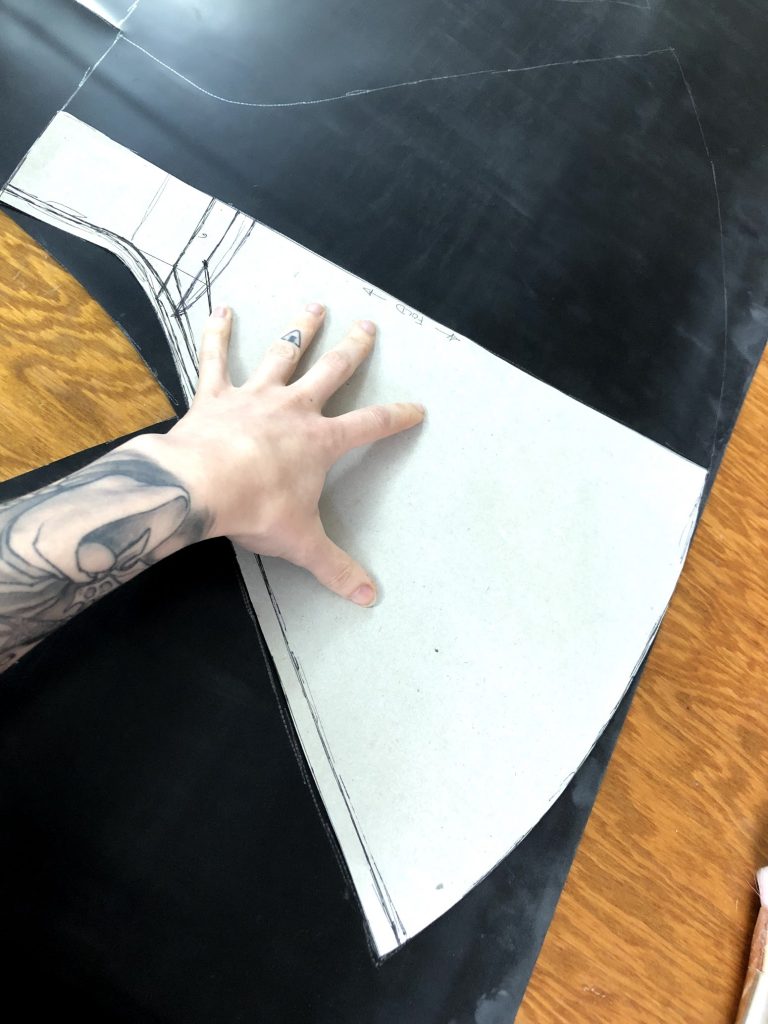
Trace out the skirt, and also that centre line, because it will make it easier to then —
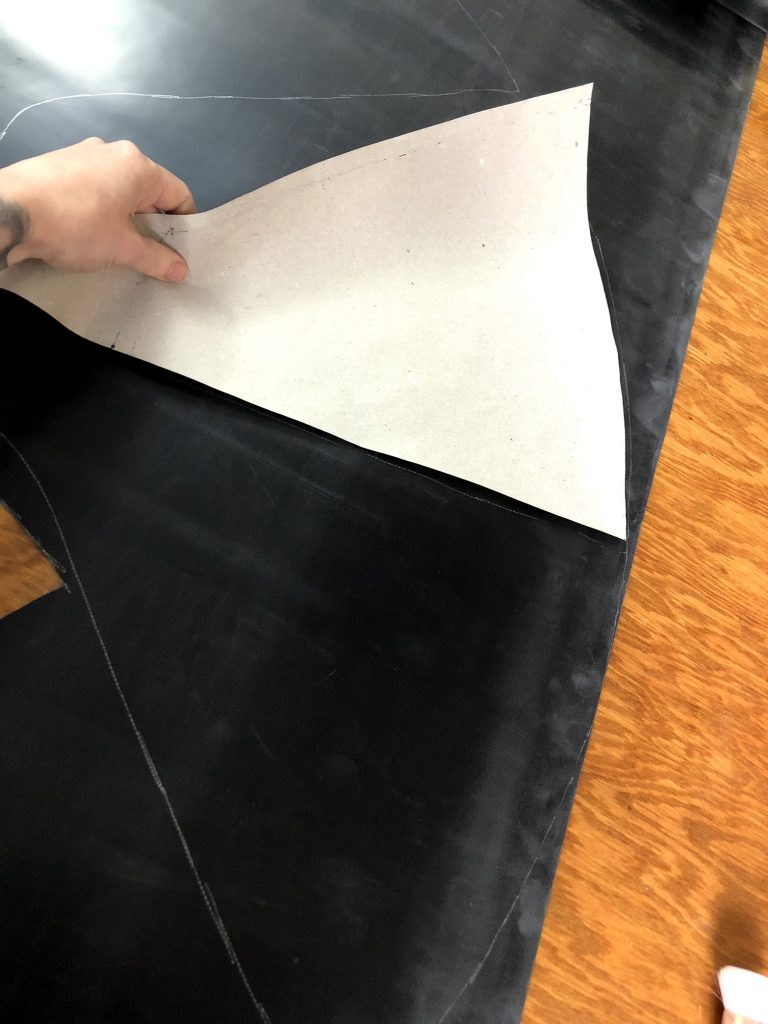
Flip the pattern on the line for the second half of your pattern.
Here’s the first panel that I applied the overlay to, once I had
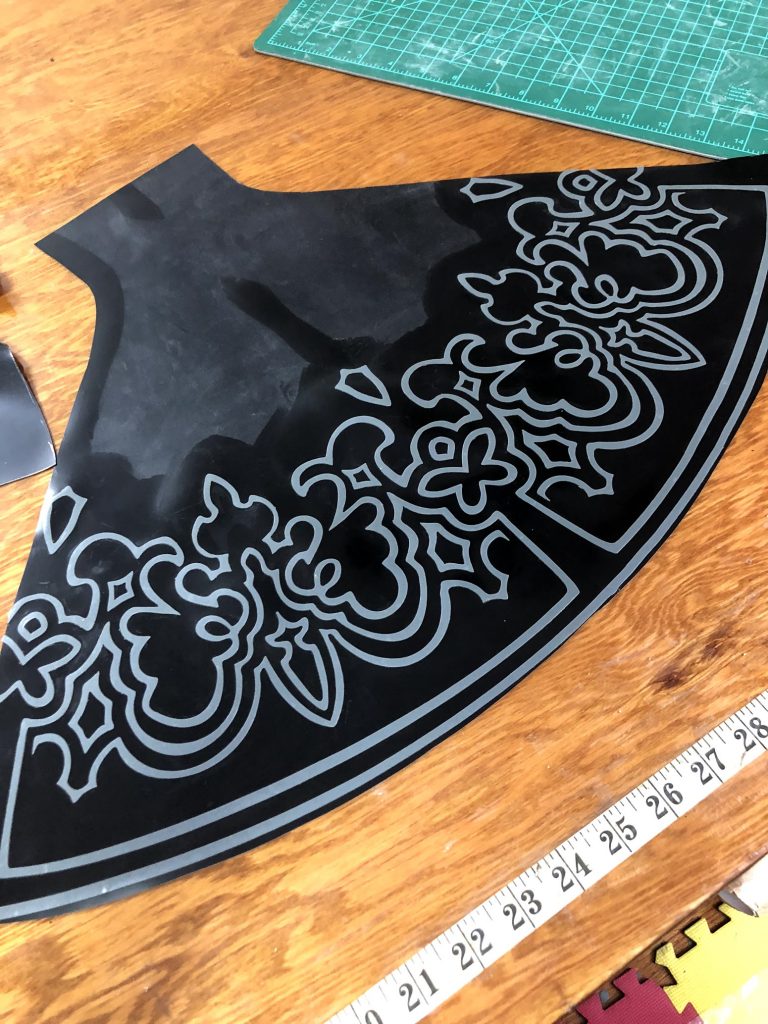
But let’s talk about HOW it looks like this.
To do a latex overlay, you first need a clean surface for the latex to stick to — so you can see that all of the latex around where the overlay is, is cleaned of the powder. Generally, to adhere latex to other latex, as you all likely know, you have to dry-mount cleaned and glued latex to other cleaned and glued latex, but with some complicated overlays, that would make a LOT of clean-up after. If I glued the whole surface of this skirt, I’d be scrubbing glue off of each panel for probably upwards of a half hour after each overlay.
So what I did in this case, was I cleaned the bottom of the skirt, and cleaned and applied glue to the overlay, and then stuck that together. This isn’t as strong as a seam (and I would never do this for anything structural), but for an overlay on an area that doesn’t stretch, this is generally more than sufficient. (The skirt is like 4 years old and I’ve never had to repair this!)
Here’s the skirt cleaned and with the centre-line drawn in:
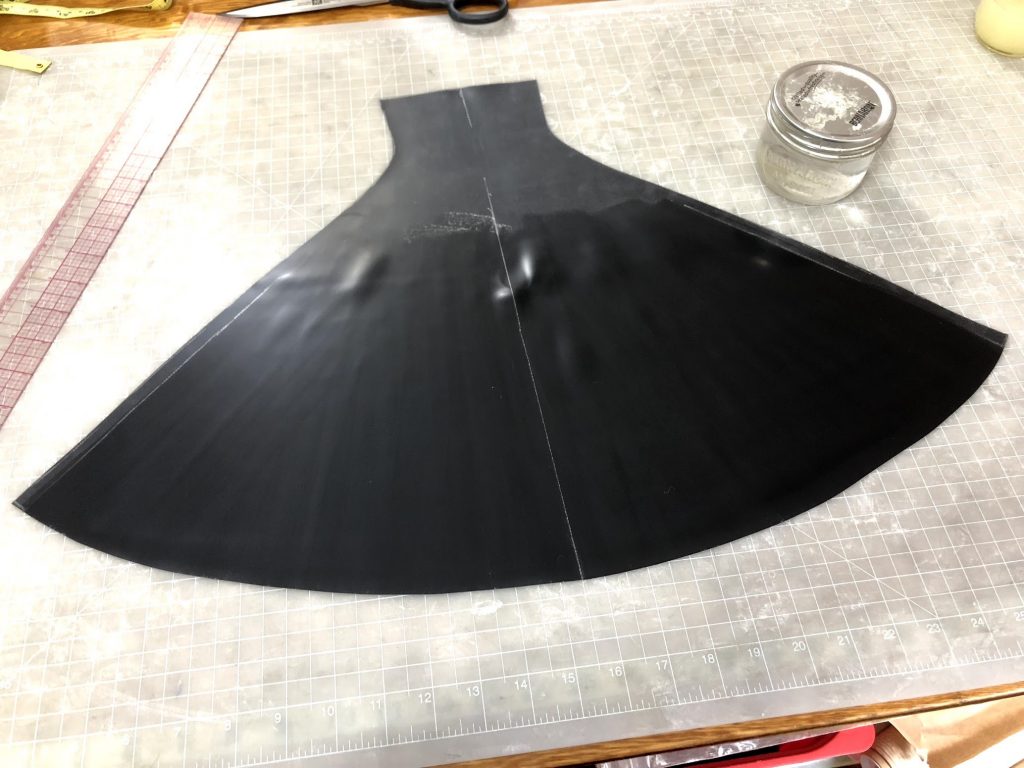
As well as the seam allowances on either end. These lines helped me to line up the overlays, because I drew in the same lines on the contact paper with sharpie on the overlays.
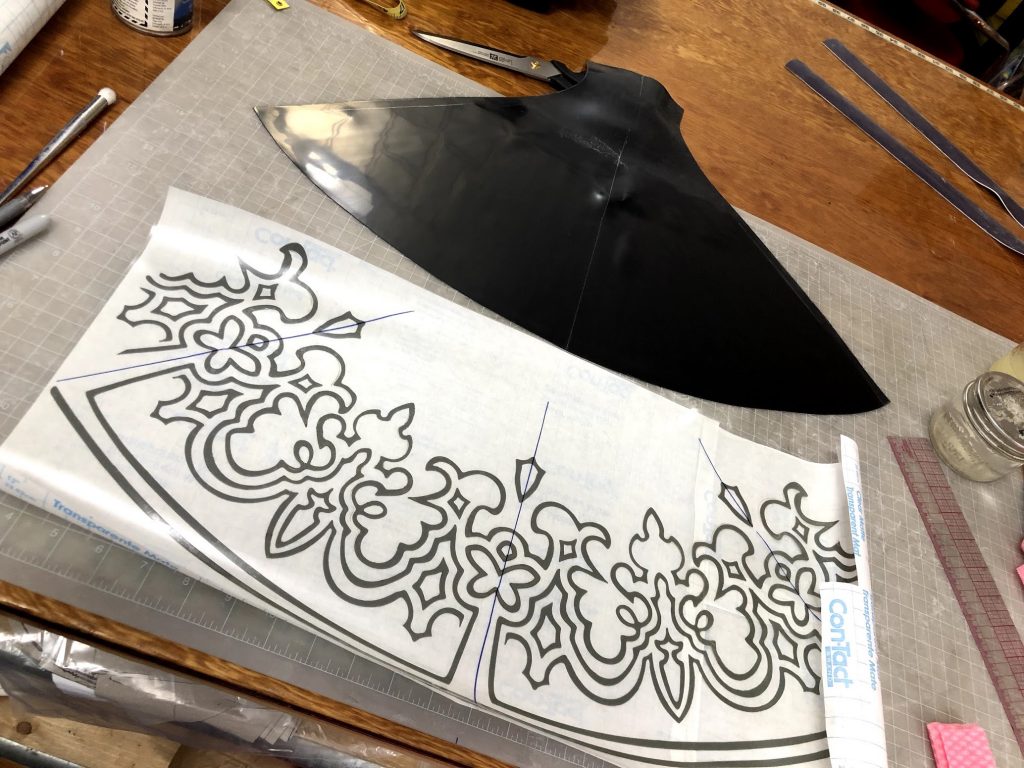
From there, it was fairly simple to just line up all the lines, visually, and then press the overlay down. Once I was certain it was in the right spot, I rolled it down to adhere it permanently.
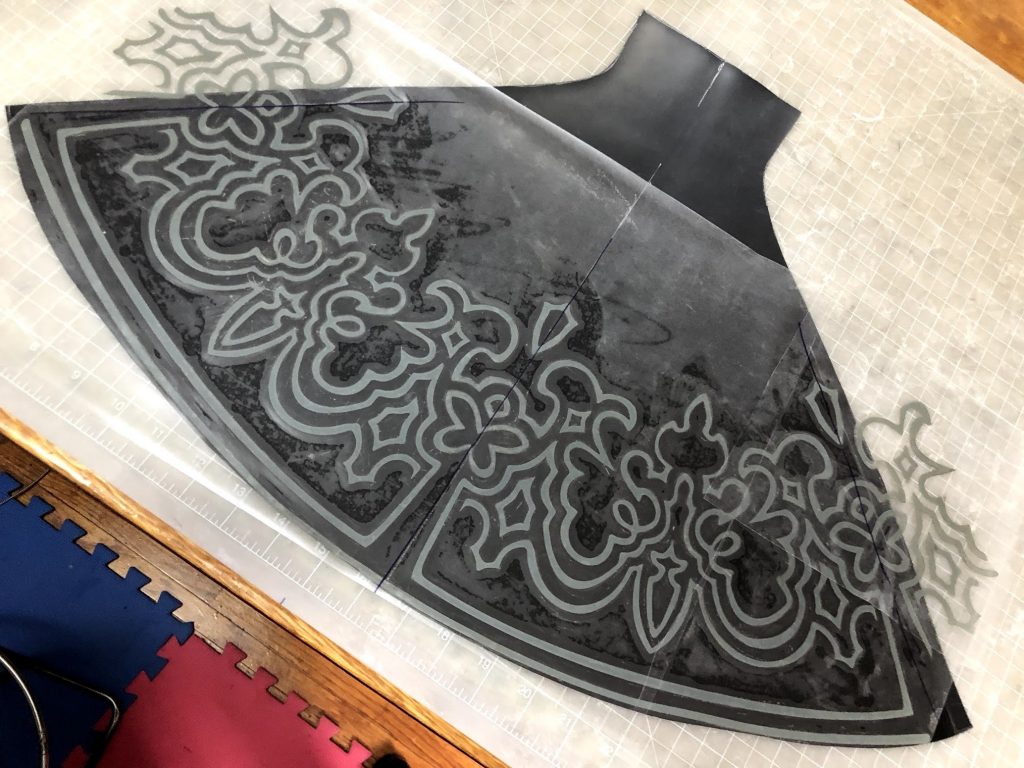
Rollin:
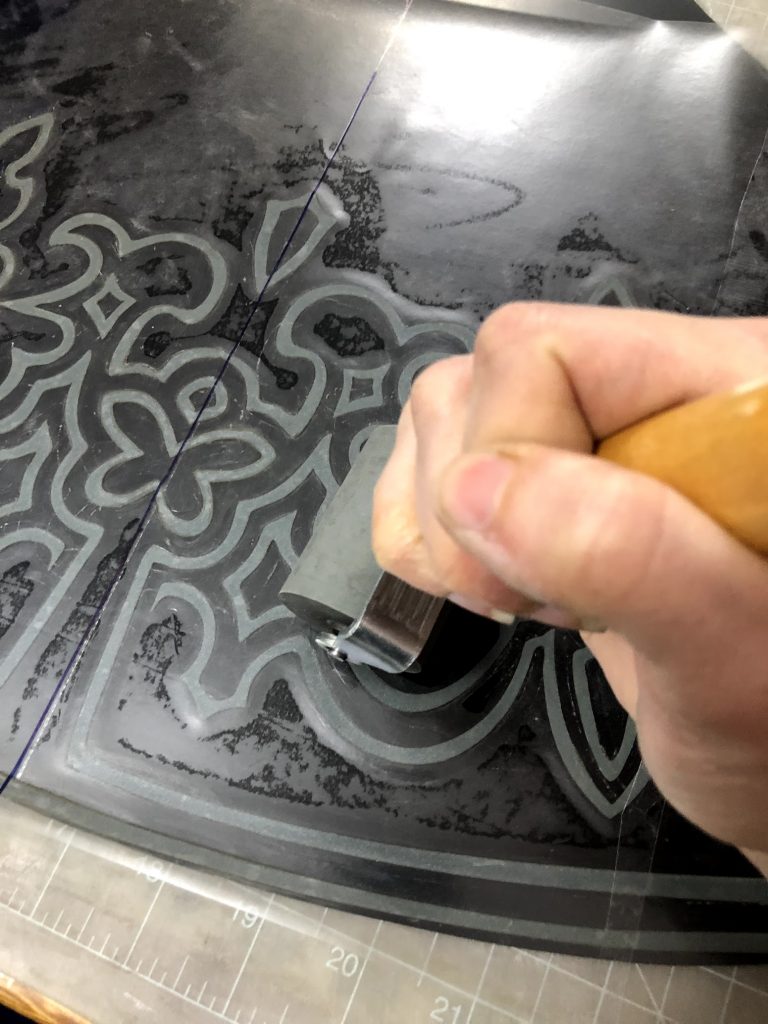
Once the latex is adhered, you just carefully pull the contact paper backing off, and — voila! This is after I trimmed off the extra bits, but you’ll notice that I’ve left some of the pieces in the seam allowance! These are going to be important for lining everything up in the seams.
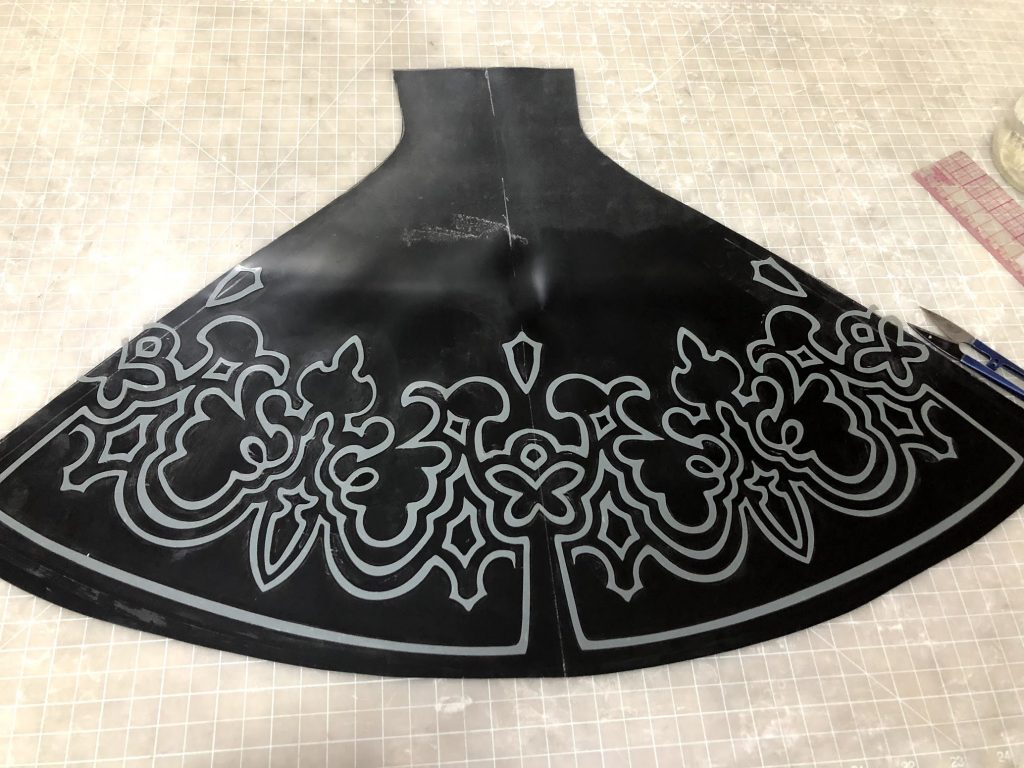
You’ll also notice that I’ve pulled the bottom-most bit of trim off — I decided that I’d put a continuous piece of trim around the bottom, as this is a good way to reinforce the bottoms of Latex seams against pulling in the long-term.
Here’s a closeup of what the overlay looked like before I cleaned it up —
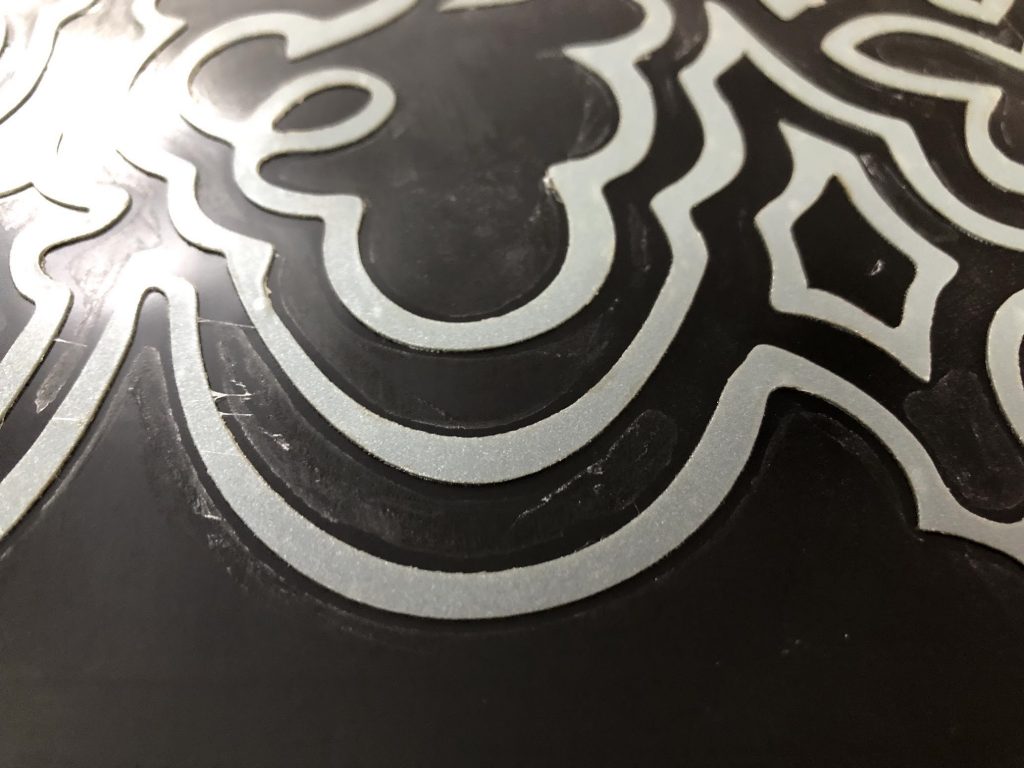
You can see some of the glue that’s come off from the contact paper; this is fairly easy to clean up with a cloth and rubber cement thinner.
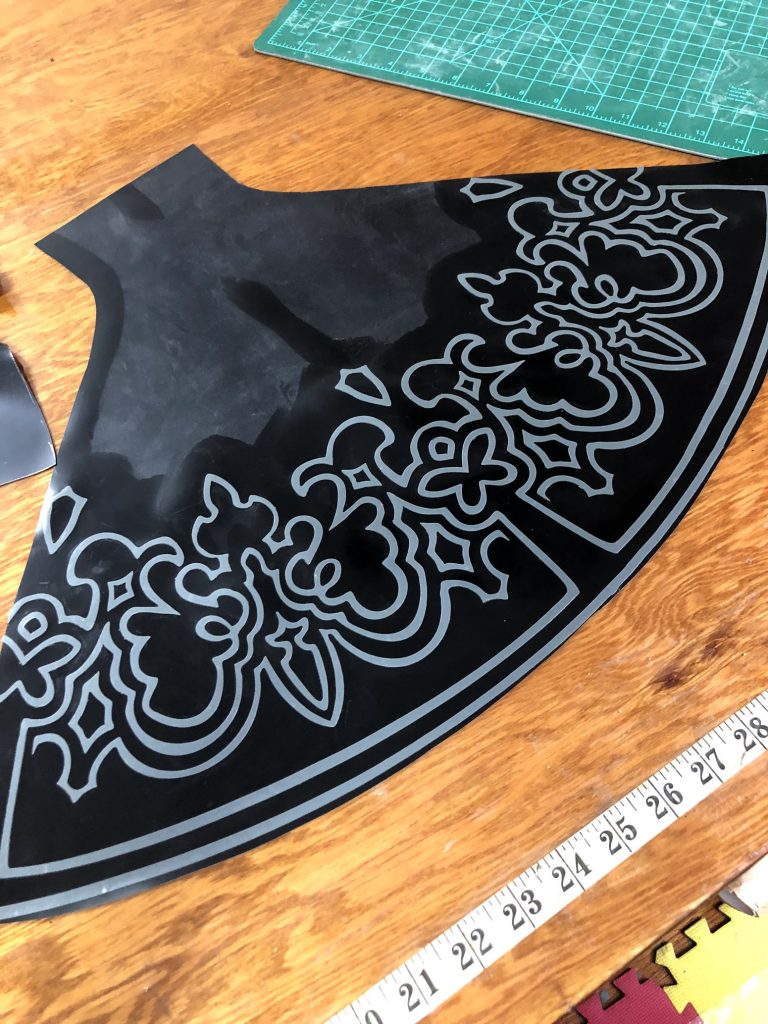
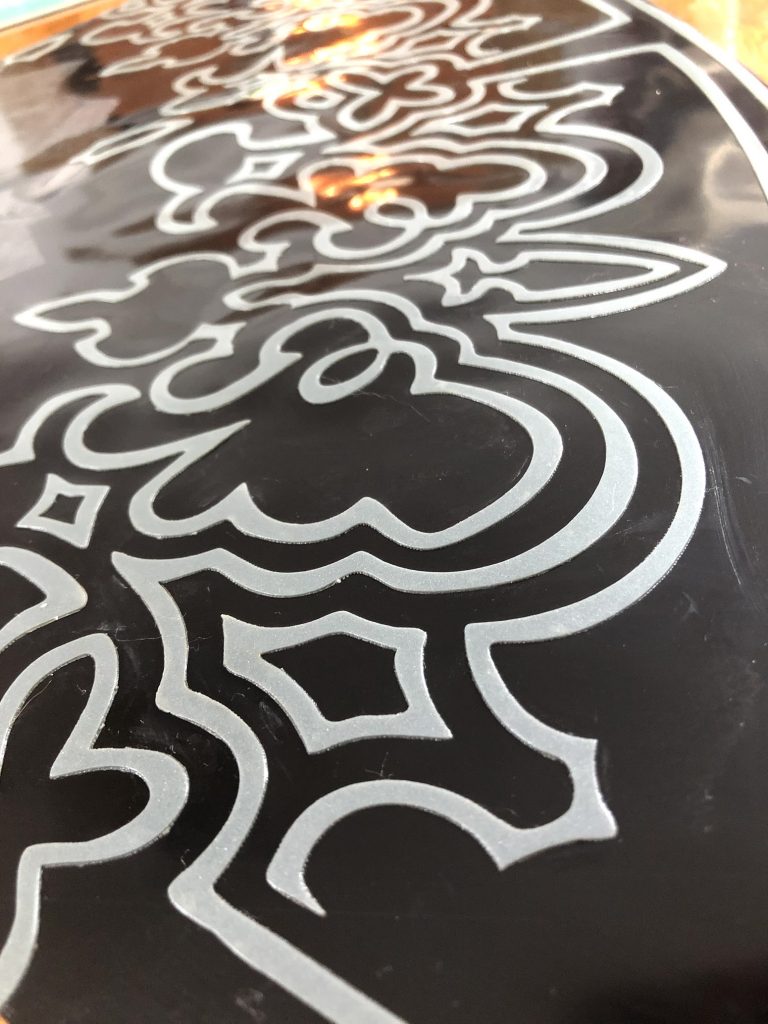
Here it is cleaned! Then we powder everything, to keep it from sticking to itself while we work on it.
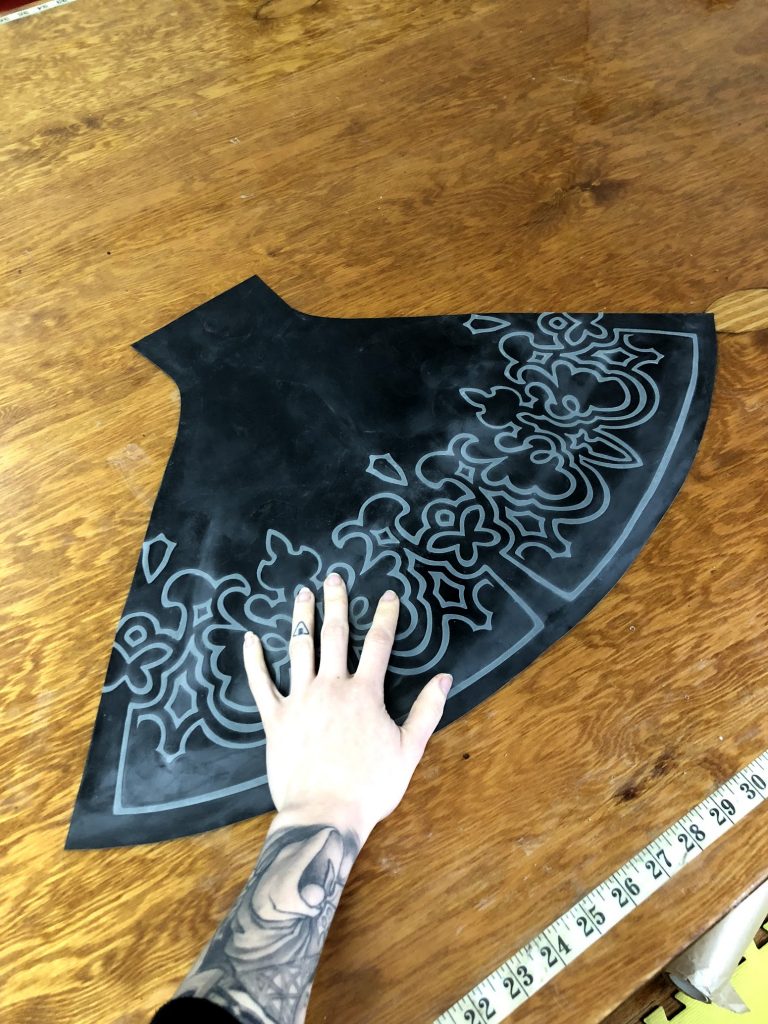
I did this on all of the skirts before I glued them together — so disregard the fact that the overlay isn’t on this skirt piece yet, this was just to illustrate how the pieces were going to have to be put together.
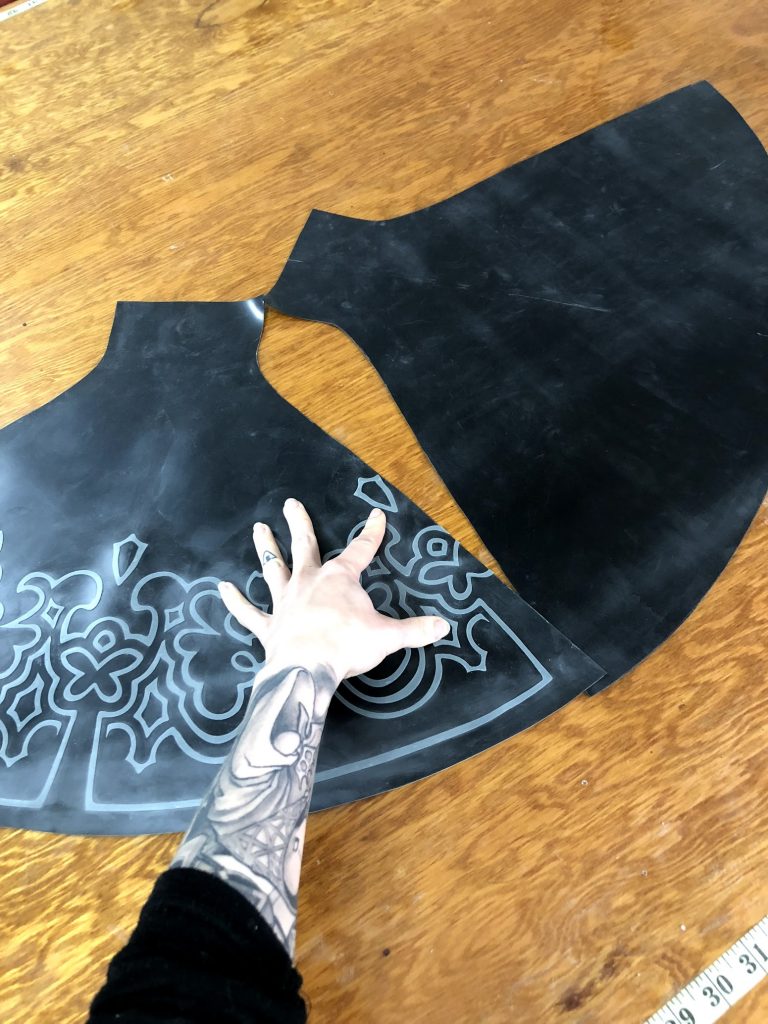
This is just done in the usual way — one over the other, clean and glue the seams, dry mount them together, matching up the top and bottom as best you can. I started at the bottom for these, because it was more important that the bottoms lined up where the overlay was than the top — if the top was a couple mm off, it was easy to trim it off.
Now, since both pieces had overlays, that lived inside the seam allowances, I had to do this:
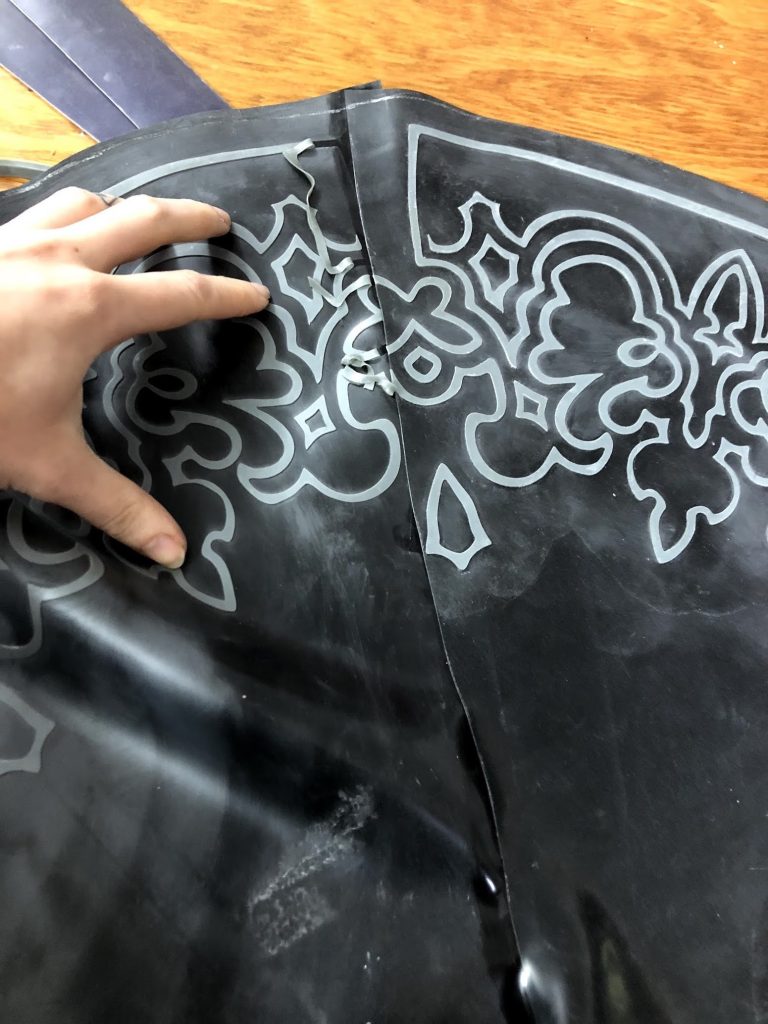
It’s a little hard to figure out exactly what’s going on, but essentially what I’ve done is peeled back all of the overlay on the bottom piece, using thinner and a q-tip. I used the same Q-tip to clean the powder off of the top of those overlays, and the area I wanted it to stick to, then pressed it down with my finger — this kept everything out of the way, while I glued the seam together.
Here’s a closer look:
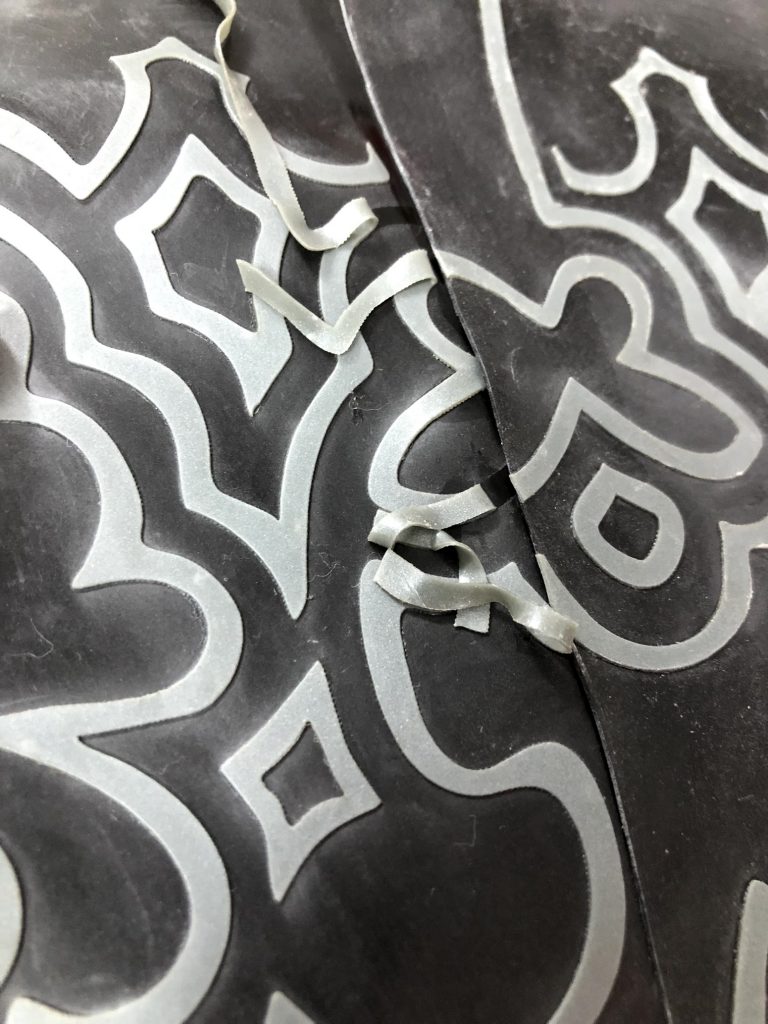
I then cleaned and applied glue again to the pieces I’d peeled back, and the tops of the overlays on the next panels, so that I could gently glue them together.
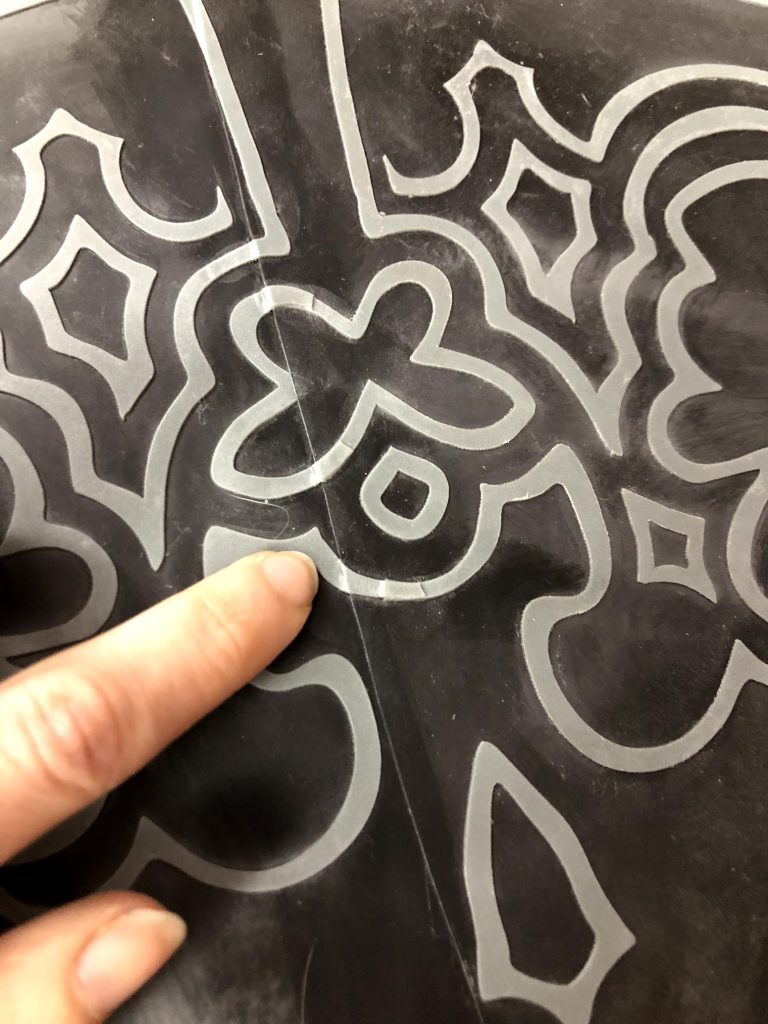
There! This was really fiddly, but it looks so solid when it’s done. Worth it!
Here’s another one, which IMHO, I did a much better job of.
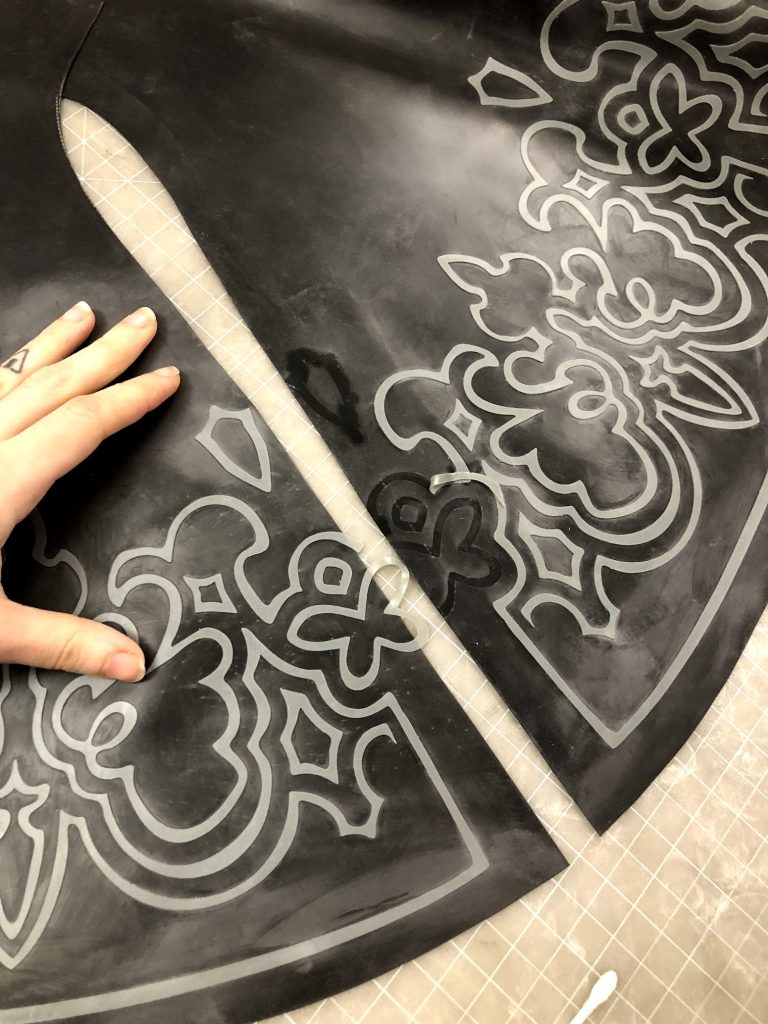
And holding them together, to show what the overlay WILL look like:
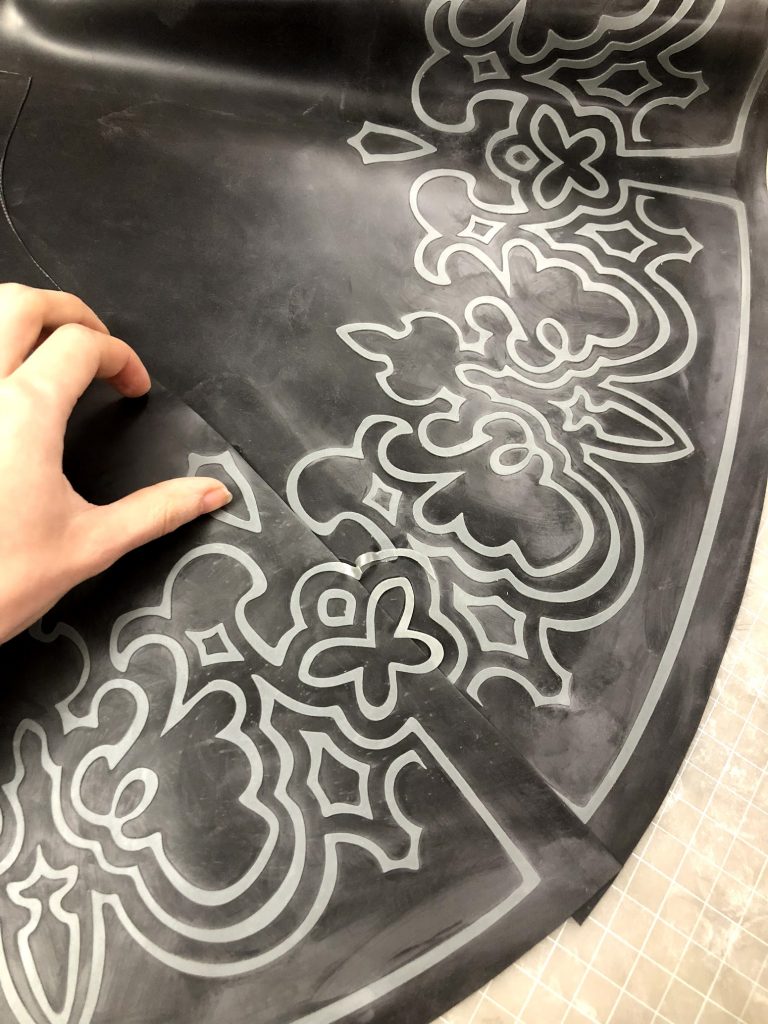
Here’s these pieces once they’re together and I’m beginning to stick down the overlays again:
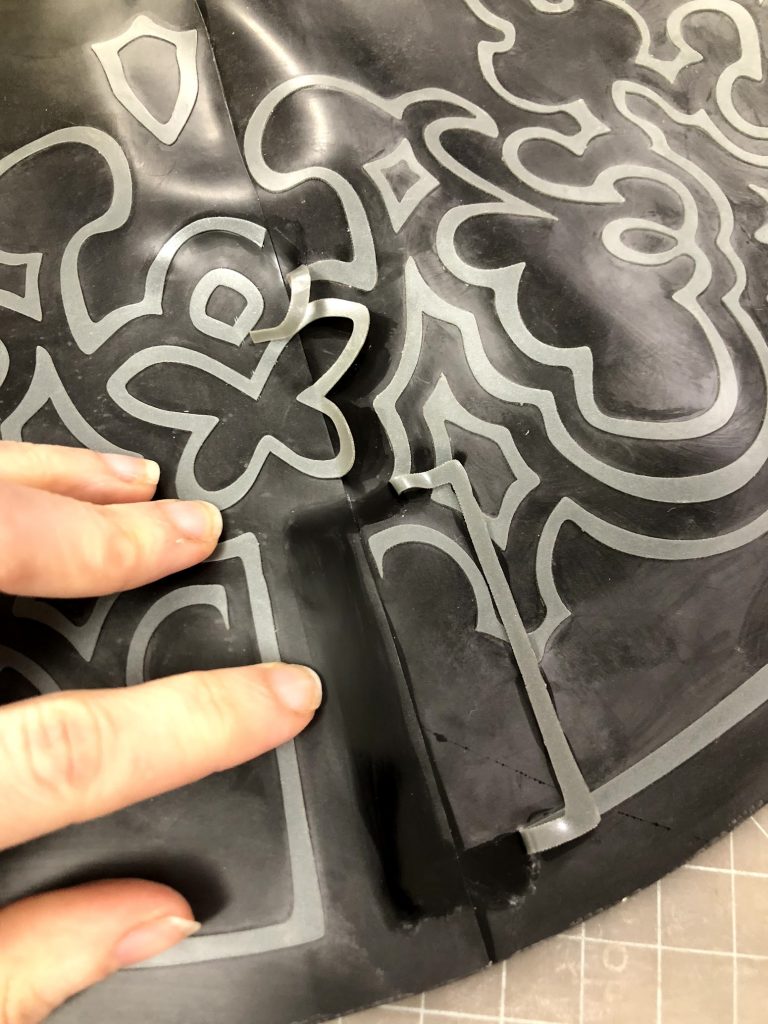
I got better at plotting what pieces to cut, so that I could mostly have the overlays remain intact. Practice making progress and all that.
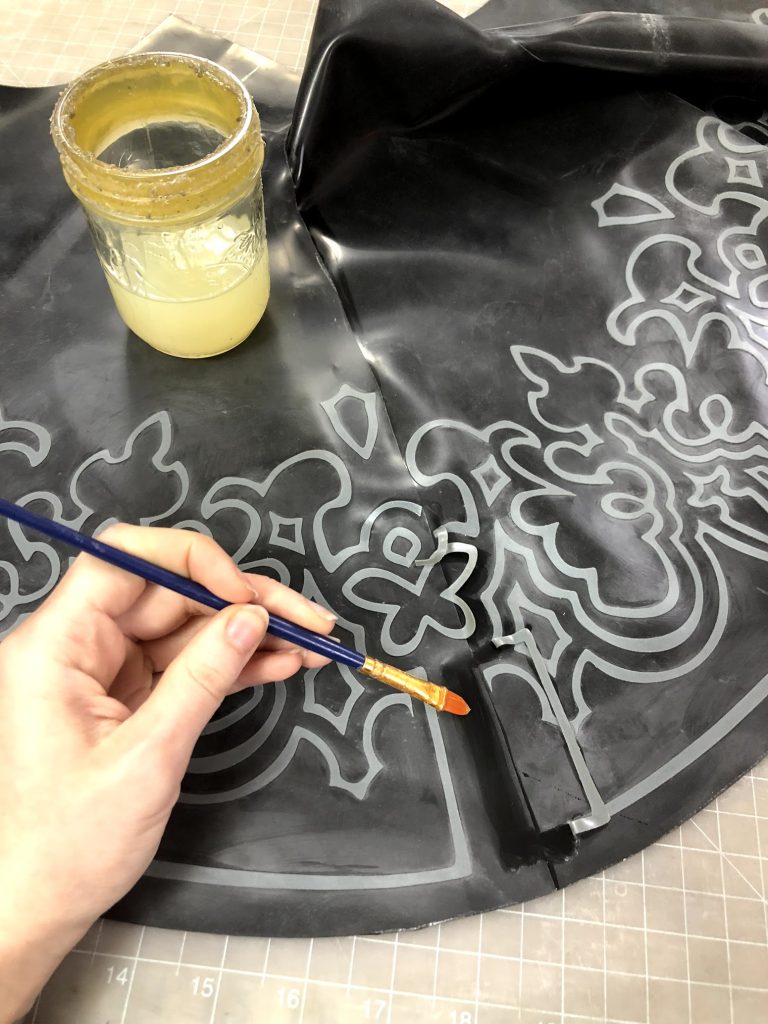
These ones I did glue down in the usual way, since I could plot almost exactly where they were going to go.
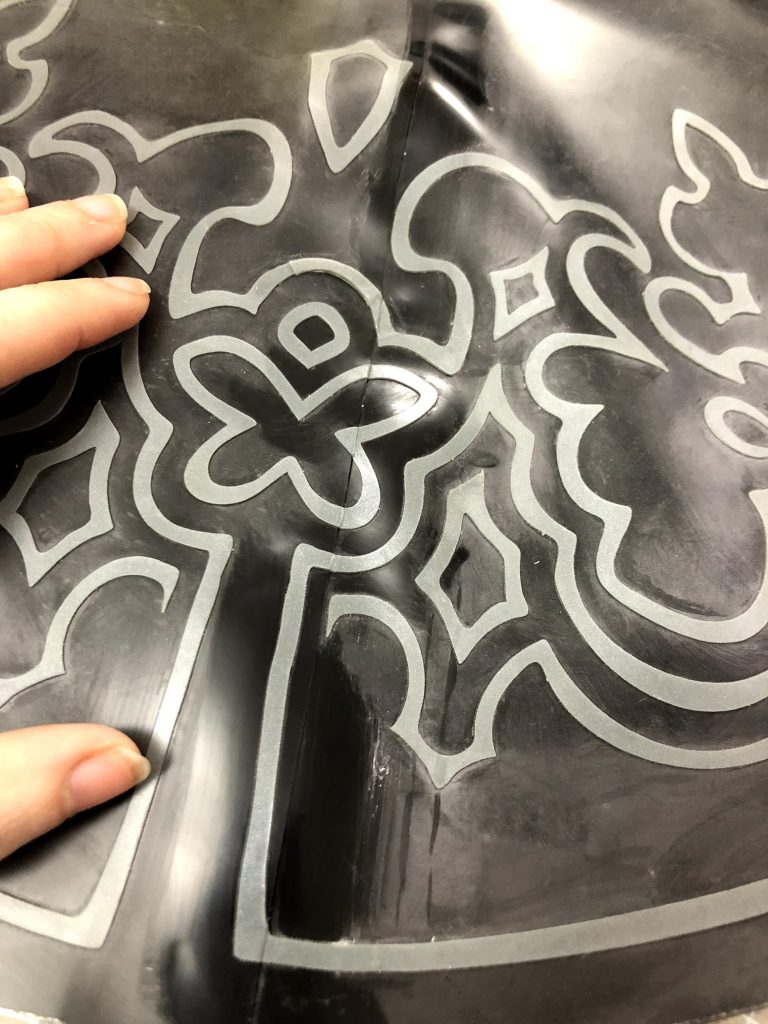
I then did this A LOT, and I wound up with …
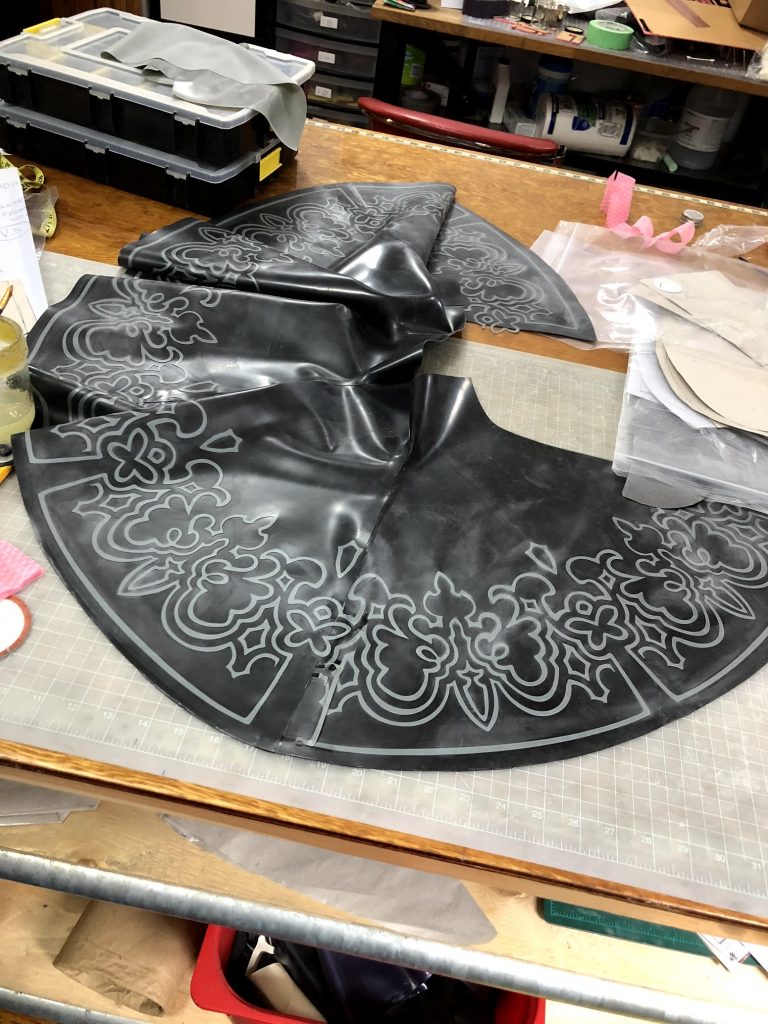
The skirt! All that was left was to put the trim along the bottom …
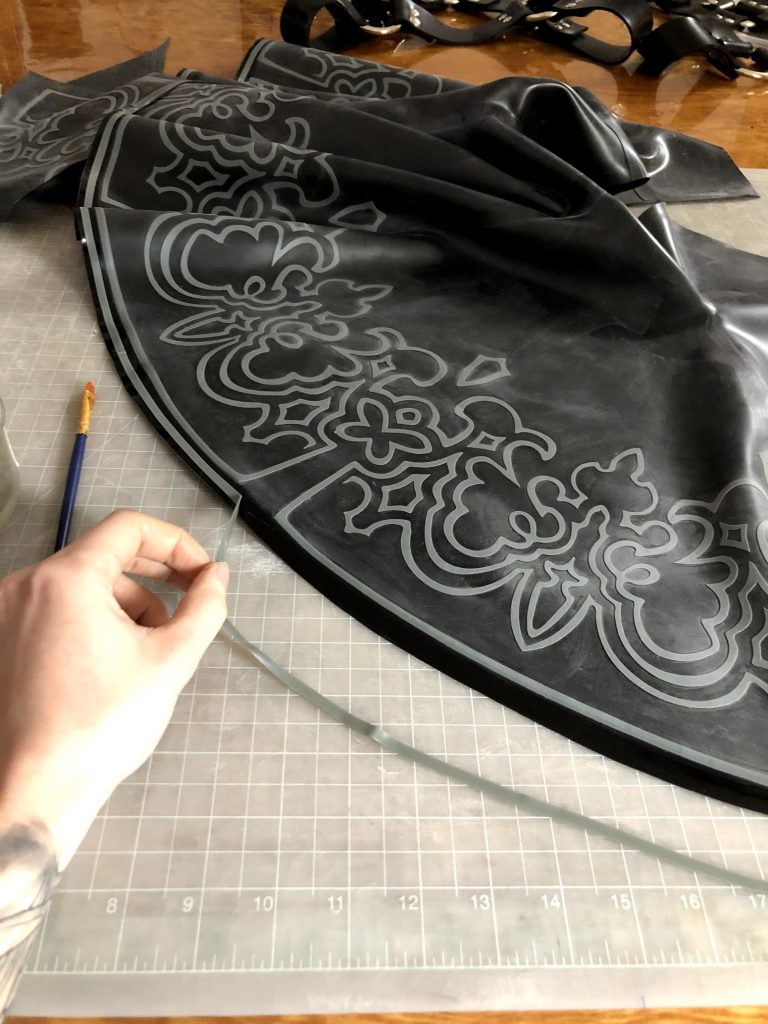
So the pieces of the skirt are almost all together now — except for the last seam to make it a true circle.
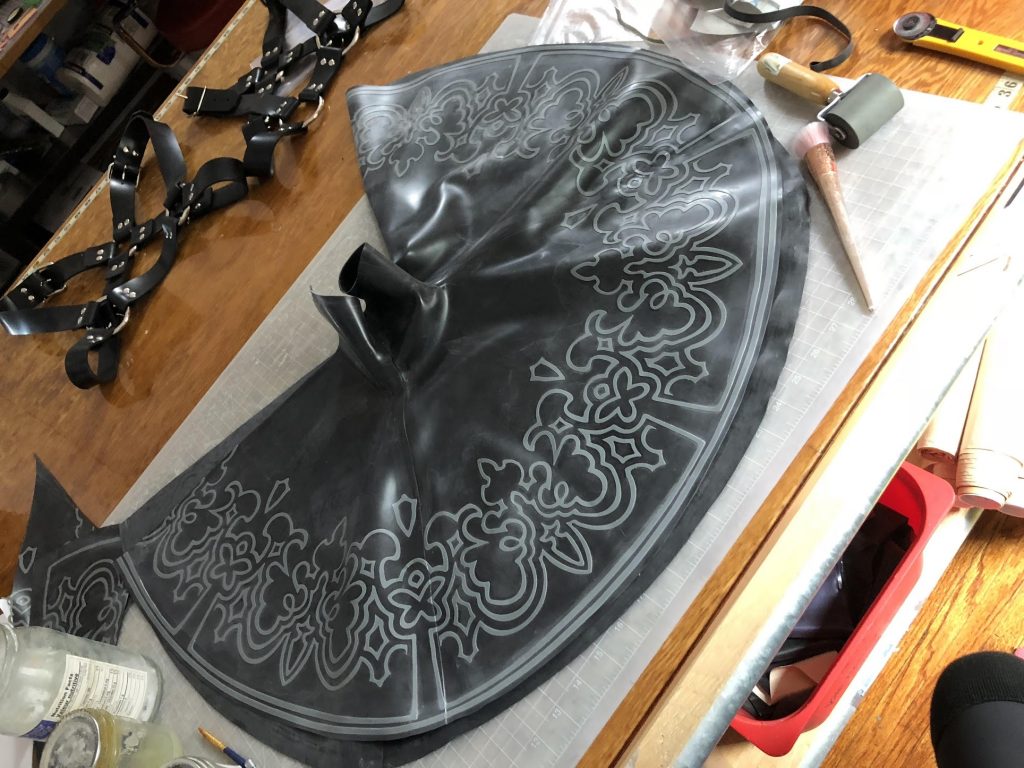
Because 2B’s skirt has a slit in it, I only glued the waist part together —
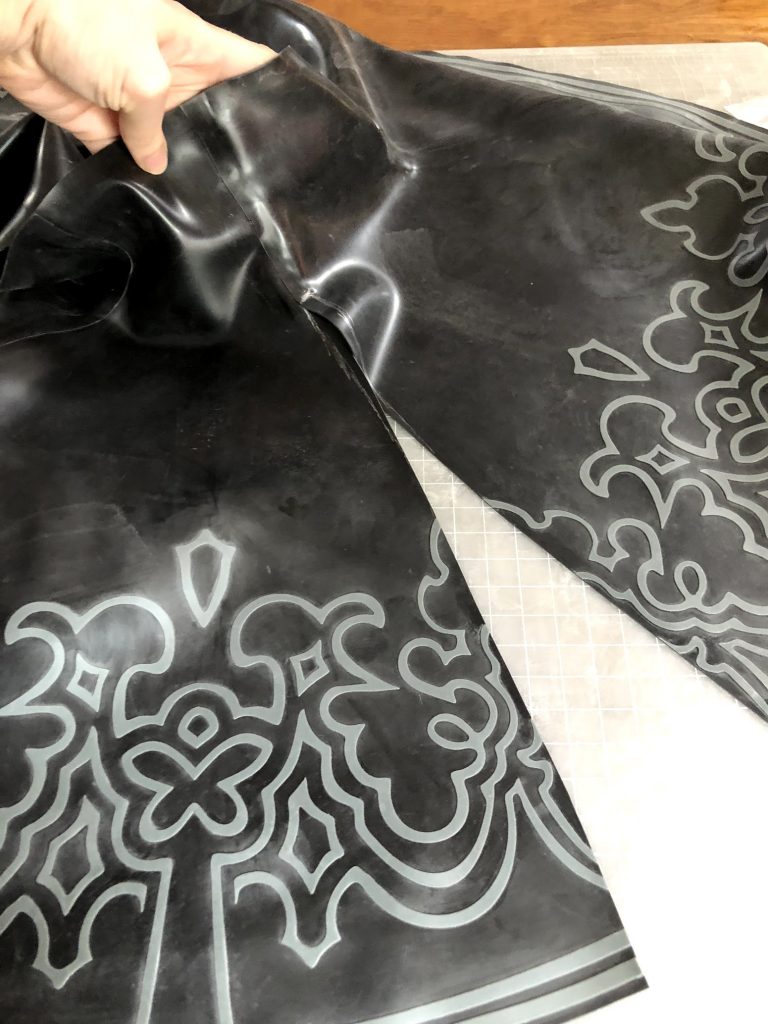
I’ve done a couple of things here — first, I’ve marked a small bit to cut off, where the seam meets at the top, to make this part look clean. 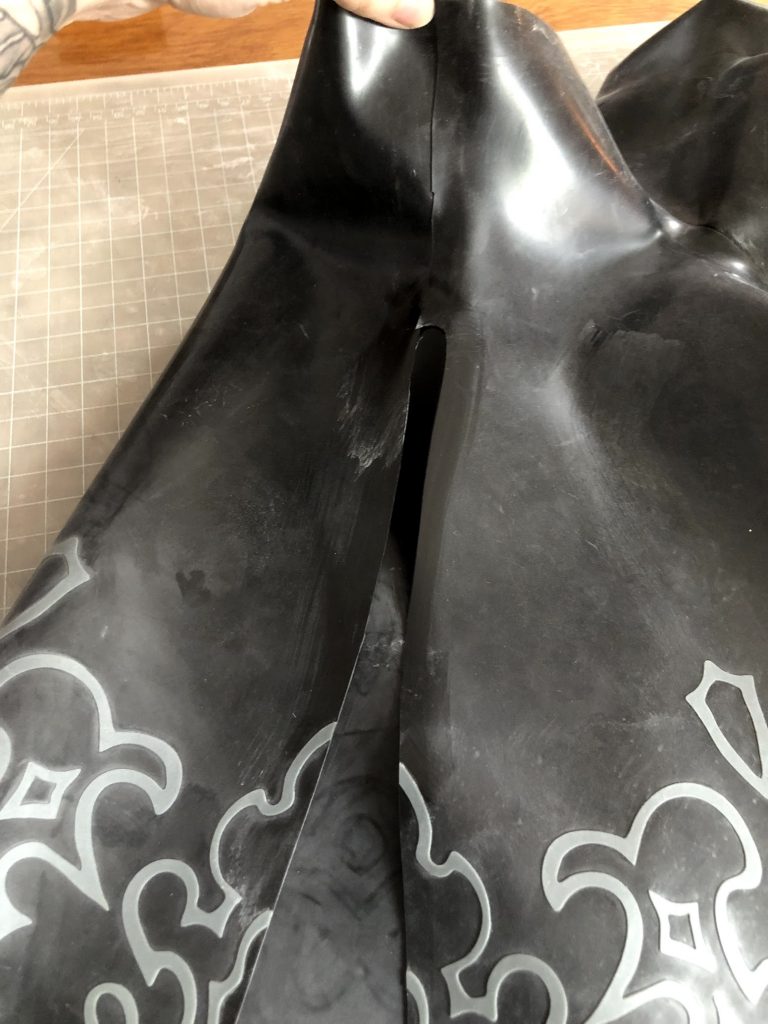
To do a small curve in latex like this, either use a tiny rotary cutter, or hammer in a leather punch to cut out a perfect circle, and then use your rotary cutter to cut into it.
I also cut two pieces off of these panels, so that the overlay was at a part that I thought looked good —
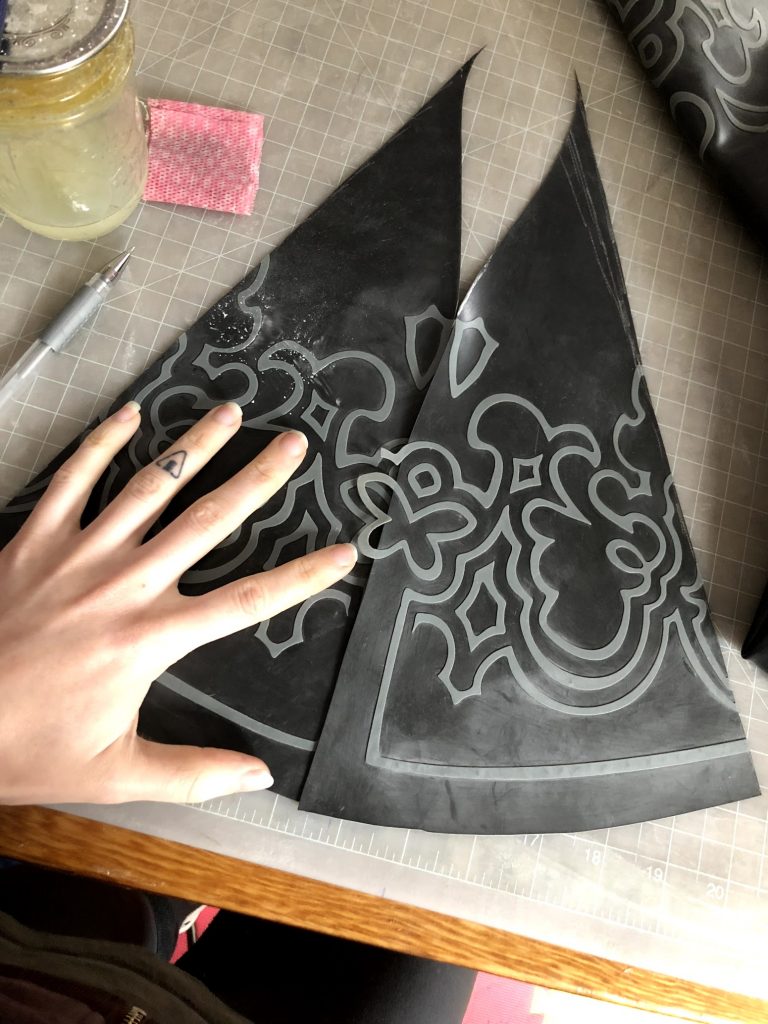
Here are the scrap pieces that got cut off.
From there, I decided that those overlays needed to be “capped”, because I am nothing if not a perfectionist, so —
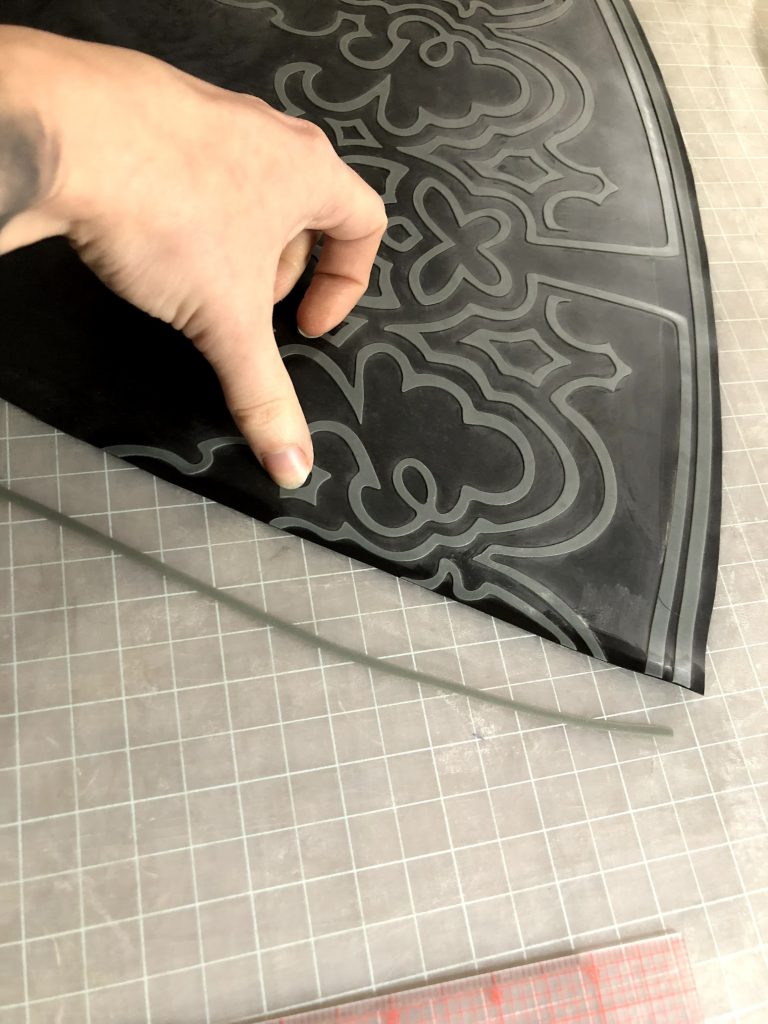
I cut a tiny tiny piece of trim …
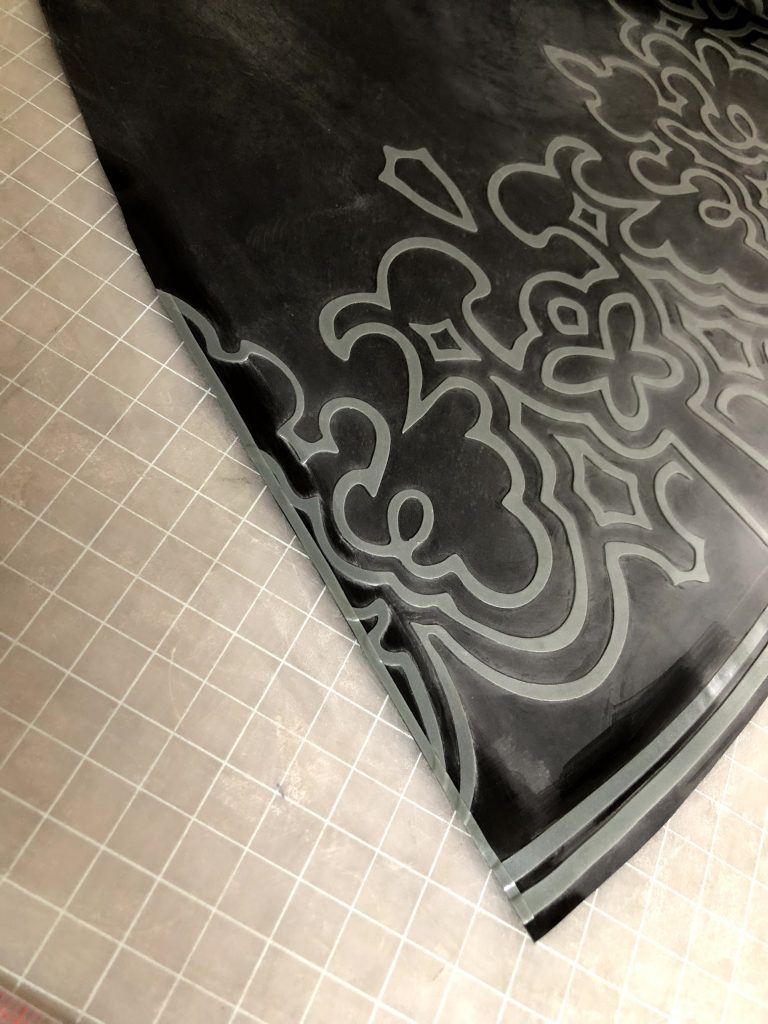
And I glued it on, trimming it to the right length so that it matched the Overlay.
Then I decided it didn’t need to include the bottom part, pulled that up, re-trimmed it, and did the other side, so it looked like this —
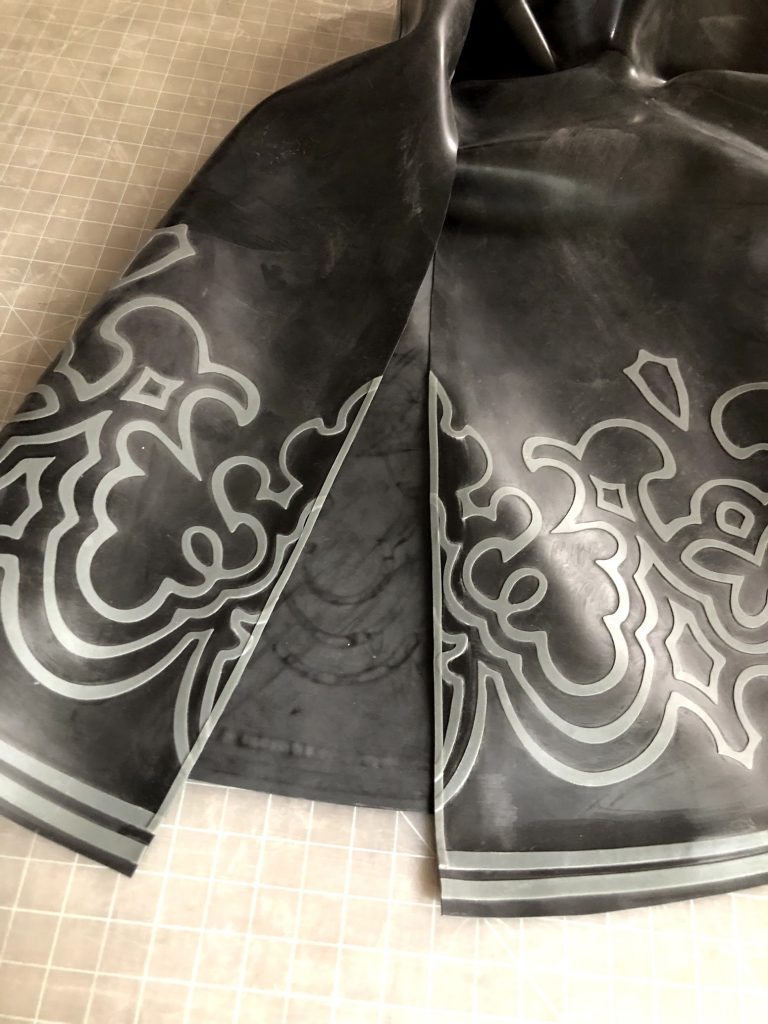
Much cleaner!
So now the skirt is almost done — the waist seam is together (and doesn’t need a closure, because this is latex and it stretches, so it can just be pulled on), and it’s time to add the last few little details.
First up: the bow. This is just a regular latex bow that I put together (a la the bow-making tutorial) and then superglued into place. (I like to super-glue bows down because I’ve found it’s less likely to come off than rubber-cementing it into place).
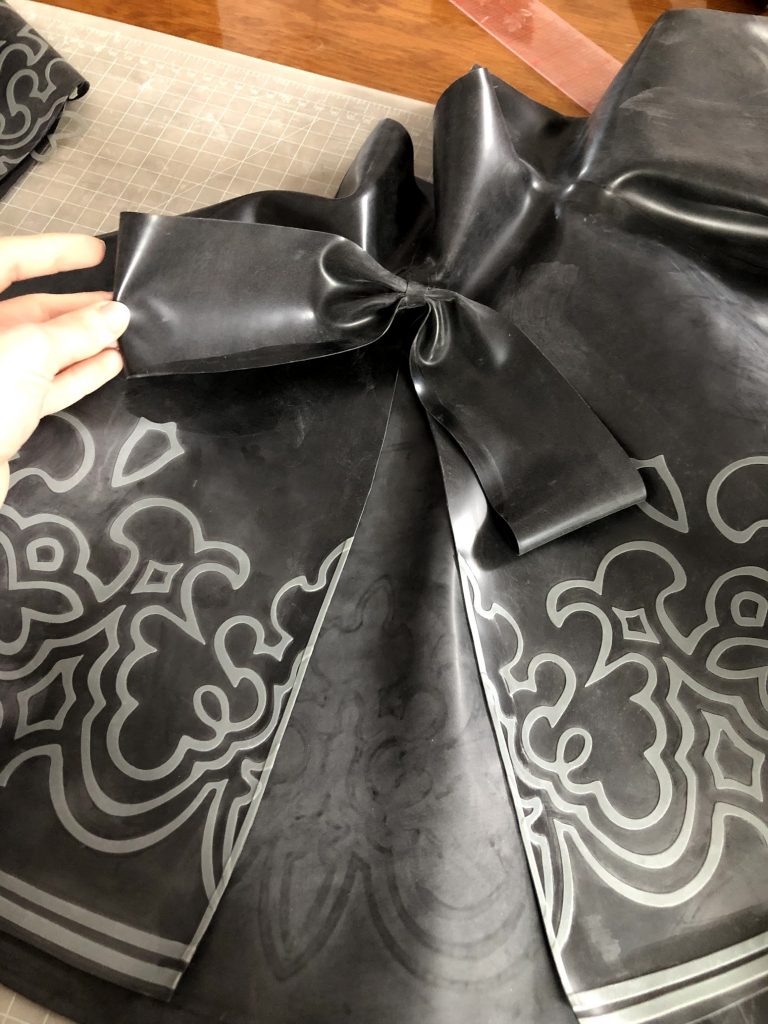
I also decided to add some fake lacing onto the skirt — fake, because the skirt is just pull-on, which makes it so that I don’t need to put real lacing onto it, but I wanted it to look like my reference.
So I marked where the holes for the laces would be on the waist bit …
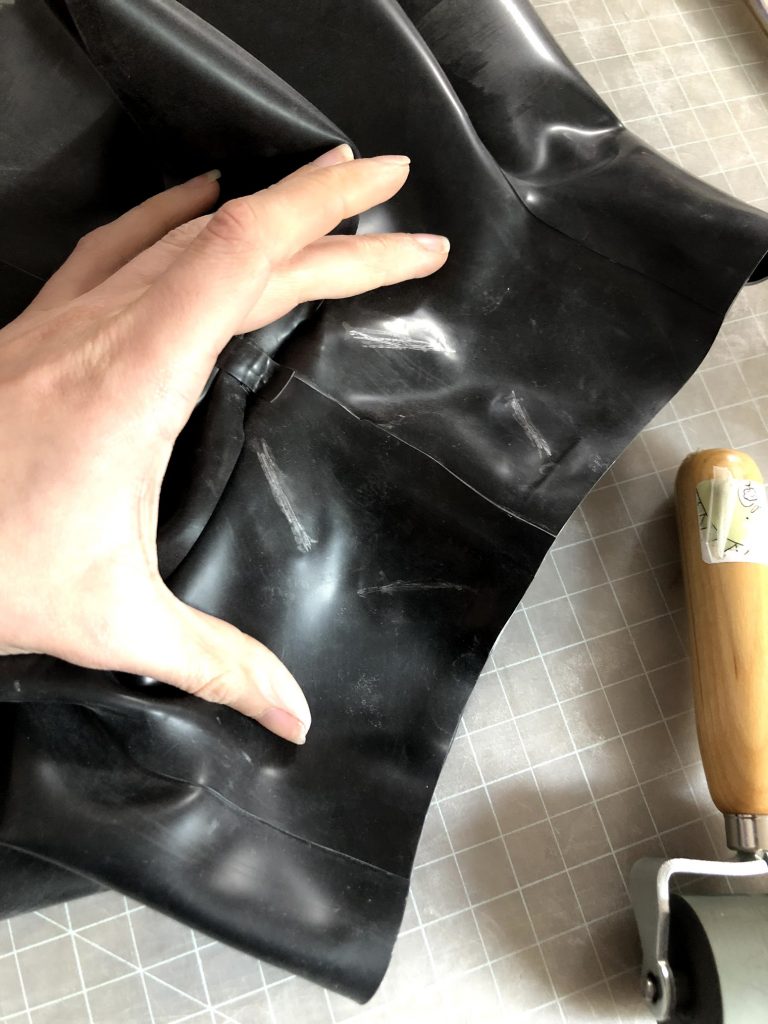
Now. Here’s something important. Whenever you’re going to punch a hole in latex, it’s important to reinforce around that hole. If you’ve ever had a condom break, you’ll know — it only takes a pinprick to completely destroy something made of latex. (See also: popping balloons.) You can minimize the risk of this by putting another piece of latex on, and then punching through both pieces.
Here are the reinforced pieces I put on the inside of the skirt:
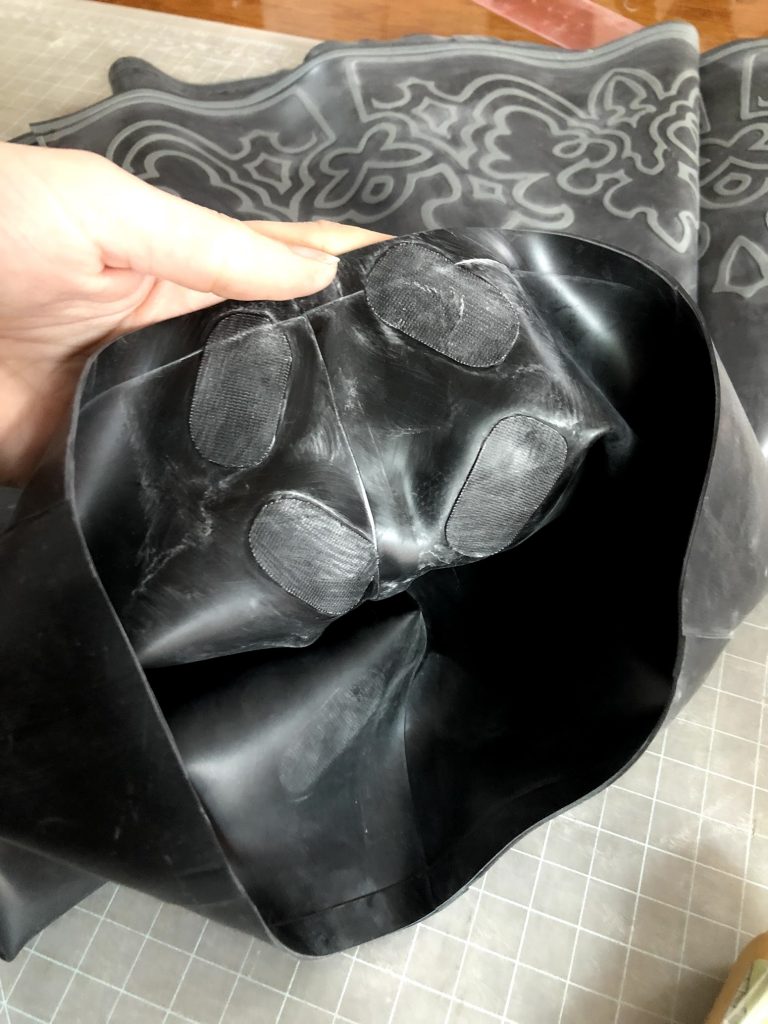
And once I used a leather punch to punch the holes for the fake lacing to go through.
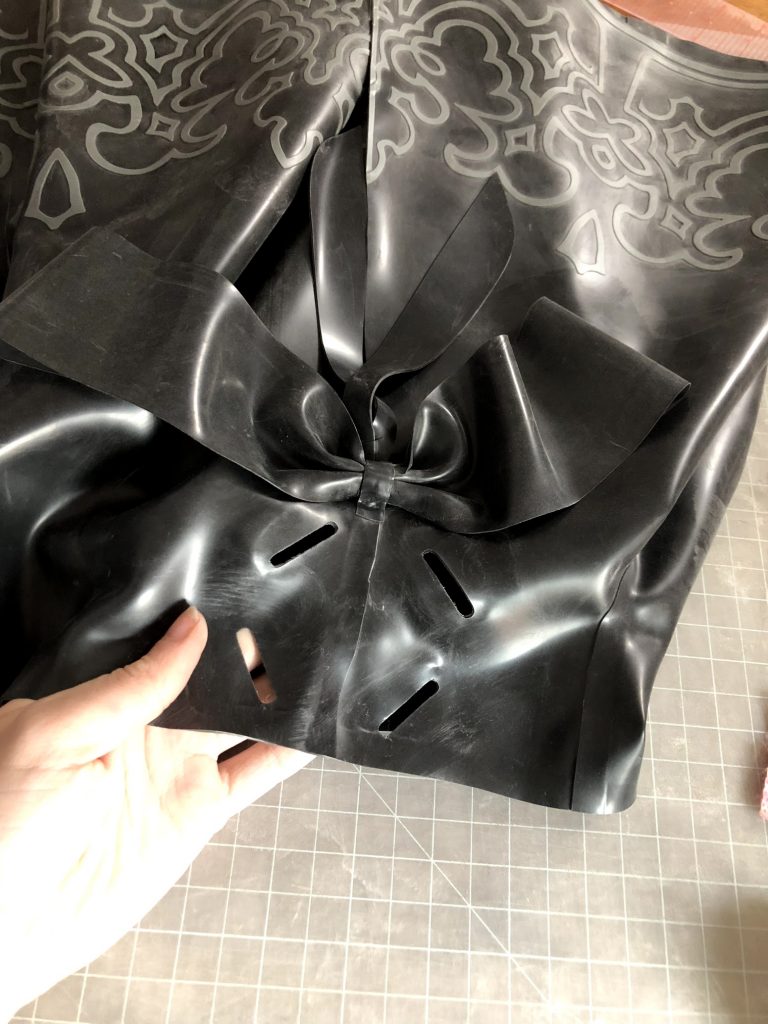
Now, I had a leather punch that was this exact shape, because I have a good collection of leather punches — BUT you can also achieve this by using a small circular leather punch on both ends of the channel, and then cutting out the middle with a rotary cutter.
What I did next was make the fake lacing — which I did like a shoelace.
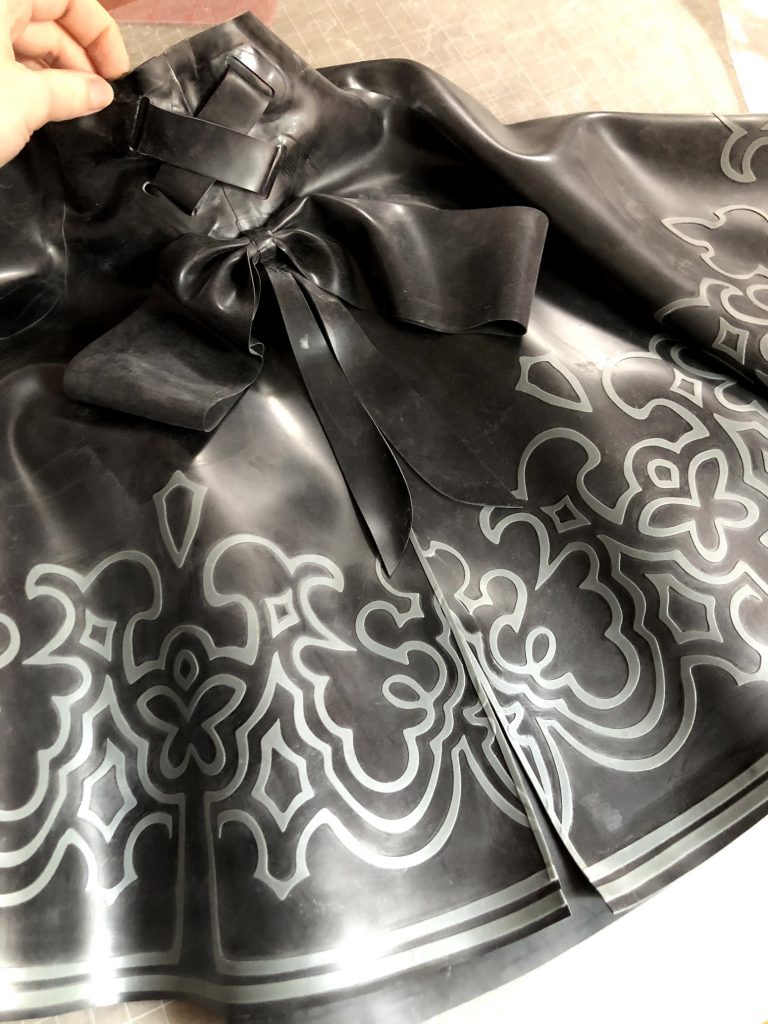
So it’s a single piece, pulled through the top holes, across to the bottom holes, and then glued together in the middle of the bottom. You’ll notice that I’ve also put a flap on behind everything, so that there’s not a hole visible there — this is partly because I realized that you’d be able to see the white bottom of the bodysuit through the holes, and I wasn’t down with that.
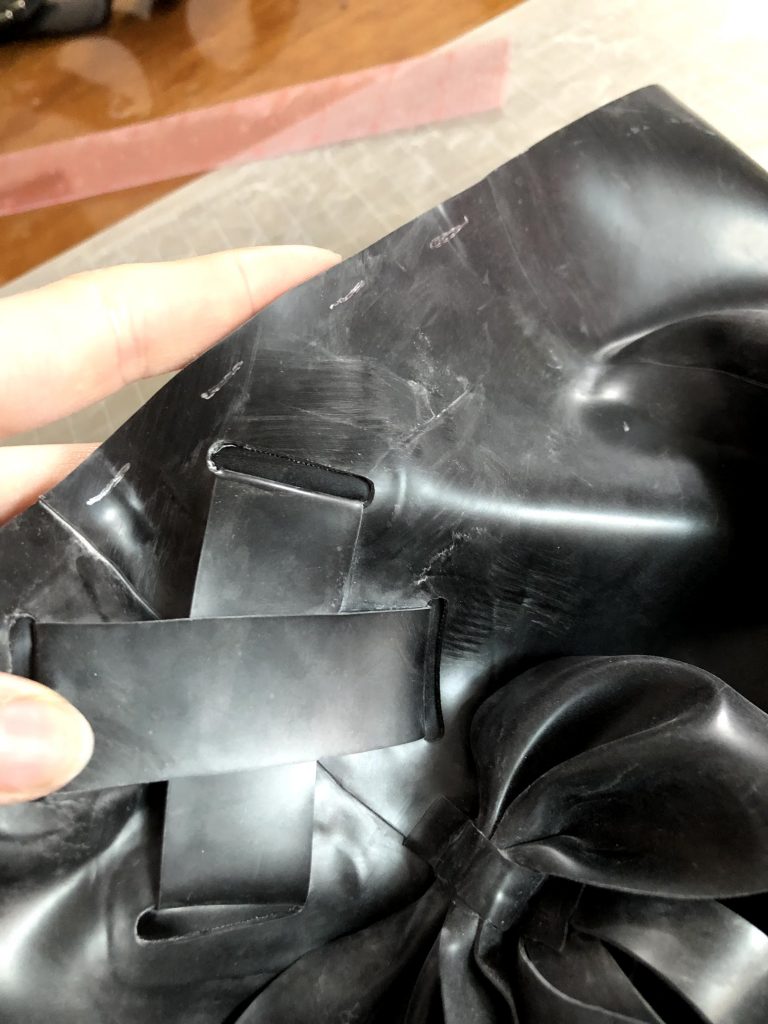
Here’s a closer look! You can also see me plotting out some of the trim — there’s a lot of stitching on 2b, and I’m going to cover that in a new tutorial, because it’s something that I’m very proud of for figuring out!
But for now — here she is! That’s how I made this skirt!
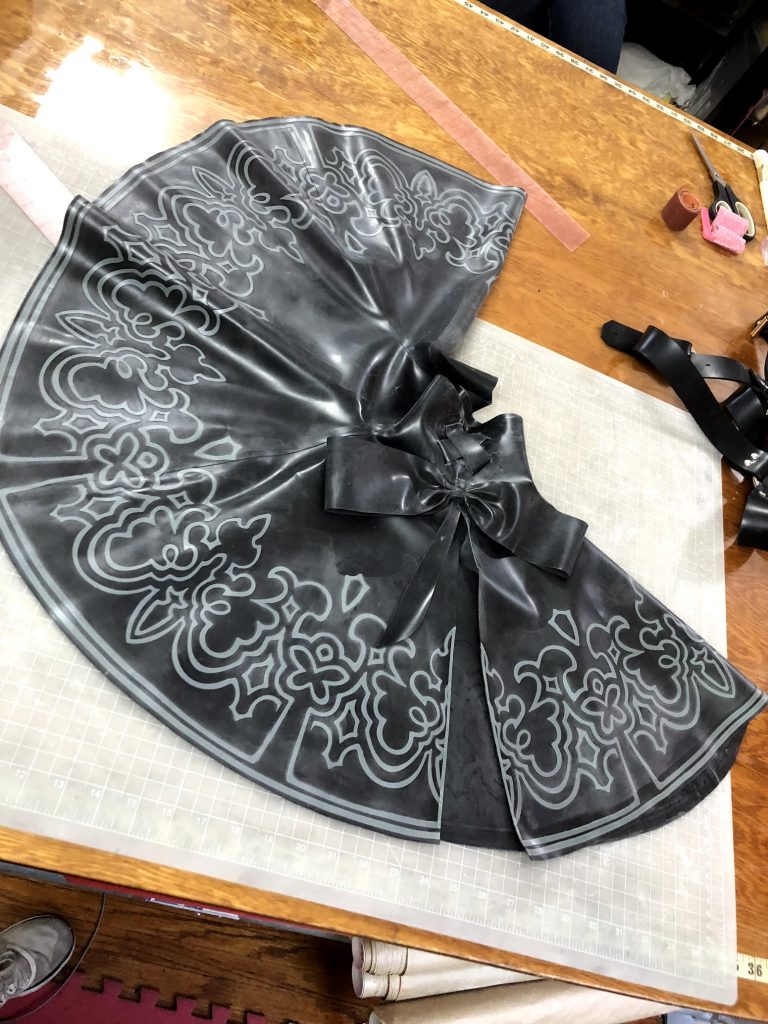
And of course the finished product:
