
Phew, long time no tutorials! Not gonna lie, pickings have been SLIM on materials since the Quarantine Started, since I live downtown and don’t have a car. But! I have a couple for you this month, so let’s make up for lost time.
Today I’m going to walk you through simple speedmailling, which is a quick way to make the most common weave of chainmaille.
The weave name is European 4 in 1, and it’s the weave you’ll see on almost everything when we’re talking reenactment, and fantasy. (Like Jessie, from FFVIIR!)
As you can see from the featured image, it’s named because every one ring (except on the edges) is linked to four other rings. Simple! (There’s also European 6 in 1 and 8 in 1, as well as King’s Maille, which is generally Euro 4 in 1 but with two rings layered on top of each other — so named because it was more expensive to produce, so mostly Kings and rich men would wear it.)
So let’s start with talking about rings —
I order from a Canadian Ring Manufacturer called The Ring Lord, but non-Canadians might want to take a look into a local manufacturer. There’s not really any wrong way to order rings — a lot of it comes down to personal preference and what you like working with. Personally, I tend to work in aluminum because it’s cheap and cheerful, doesn’t rust, isn’t super heavy, finishes don’t tend to rub off, and is relatively soft so it’s easy to work with. It also looks and sounds like steel.
You’re also going to need two Pliers. If you want to make chainmaille, do NOT SCRIMP ON PLIERS. Your hands will hate you. Spend the money and get nice pliers.
Personally I recommend the Xuron Short Flat Nose plier for working with aluminum, but I know plenty of people recommend the Chisel Nose instead. (You can see a lot of different pliers, including Xurons here if you’re considering ordering from The Ring Lord.)
(I found that the chisel nose made it easy for me to accidentally scratch the finish of coloured aluminum rings, but if you mostly work in small rings the chisel nose would likely be better.)
Now, ring size. Gonna be real with you, a lot of this is personal preference. There are calculations you can do to make sure a ring will work for the pattern you would like to do (click here for a calculator for ring aspect ratio) — however, when I worked in chainmaille more often, I used 16g 5/16″ rings, so that’s what we’re going to use here.
So let’s begin!
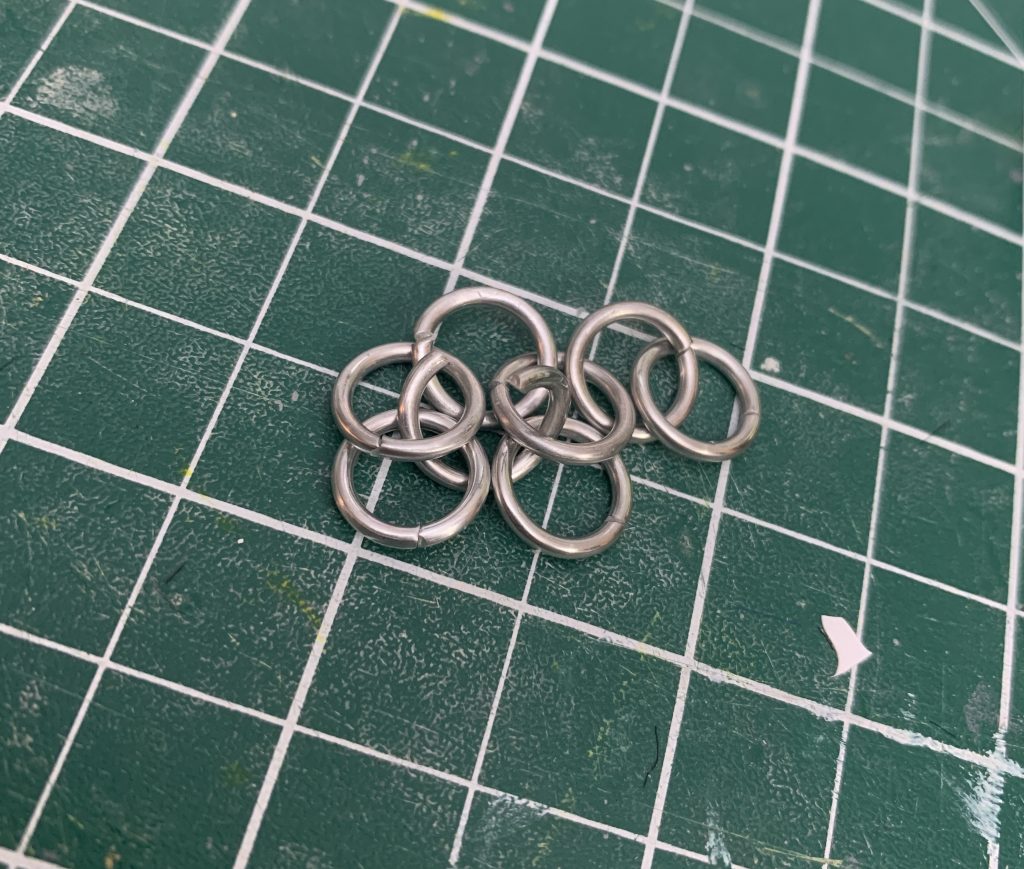
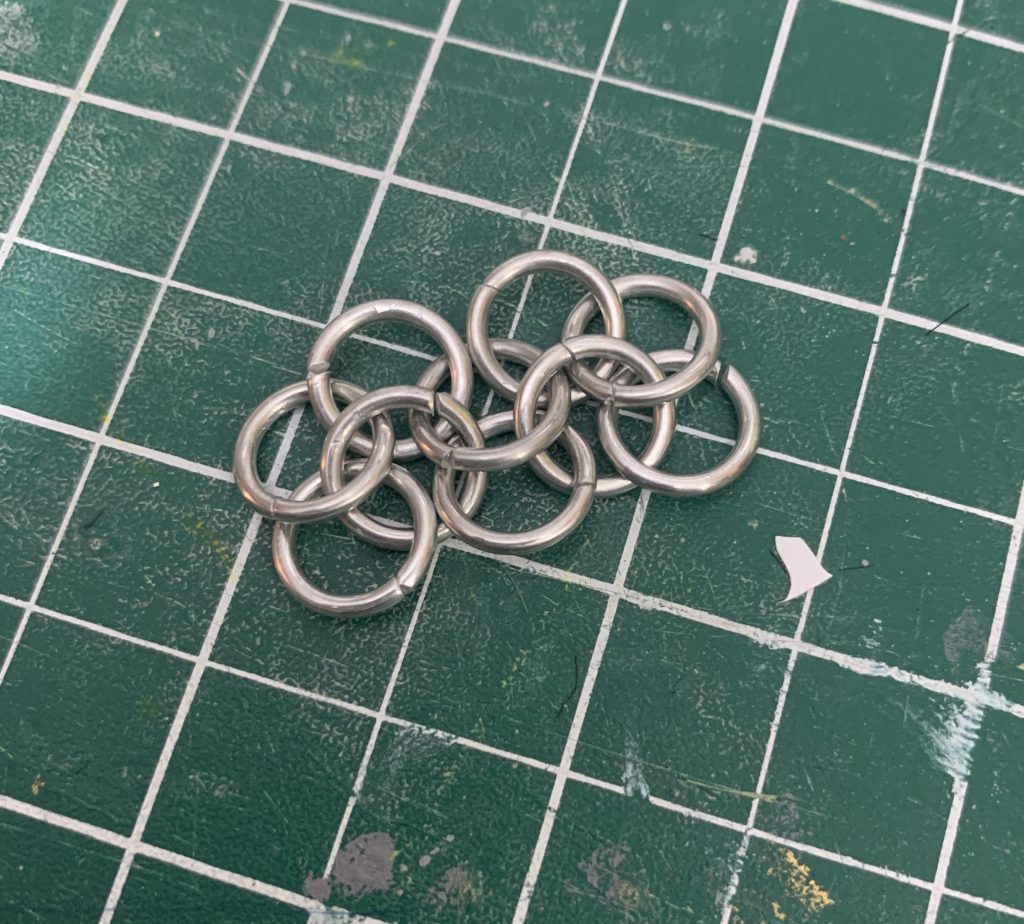
Start with three rings — two closed, one open.
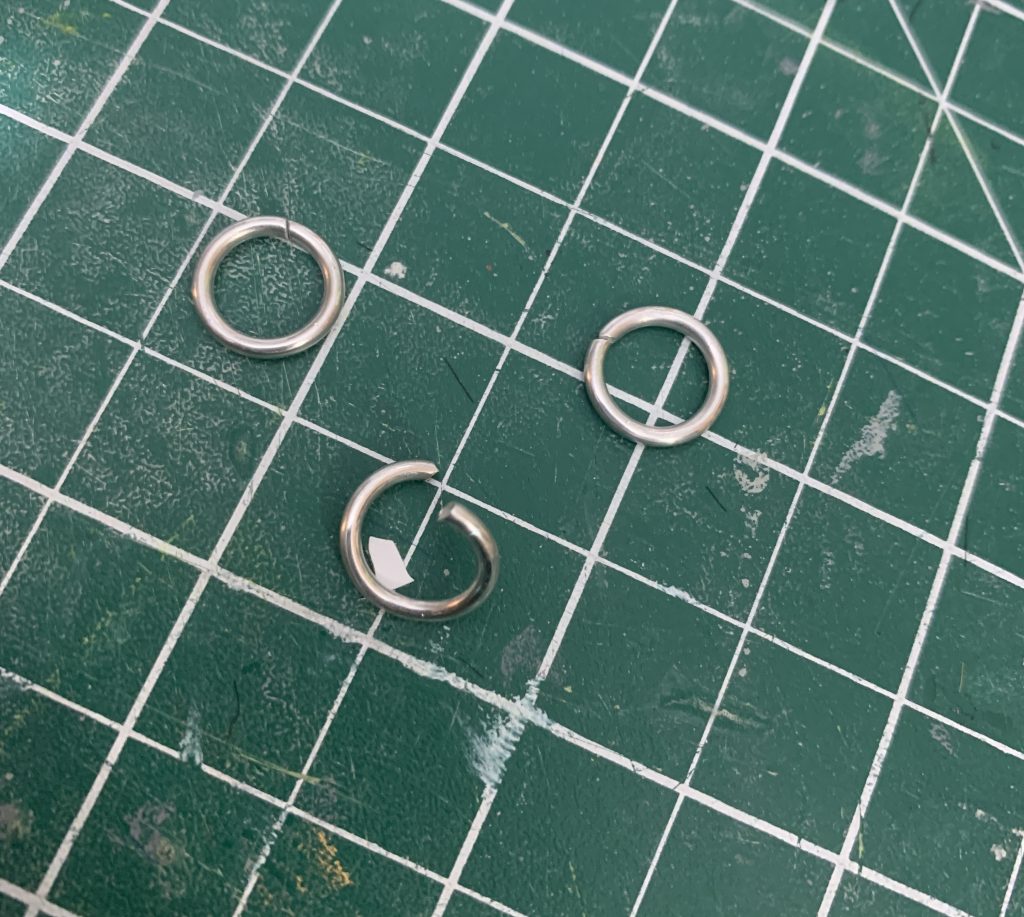
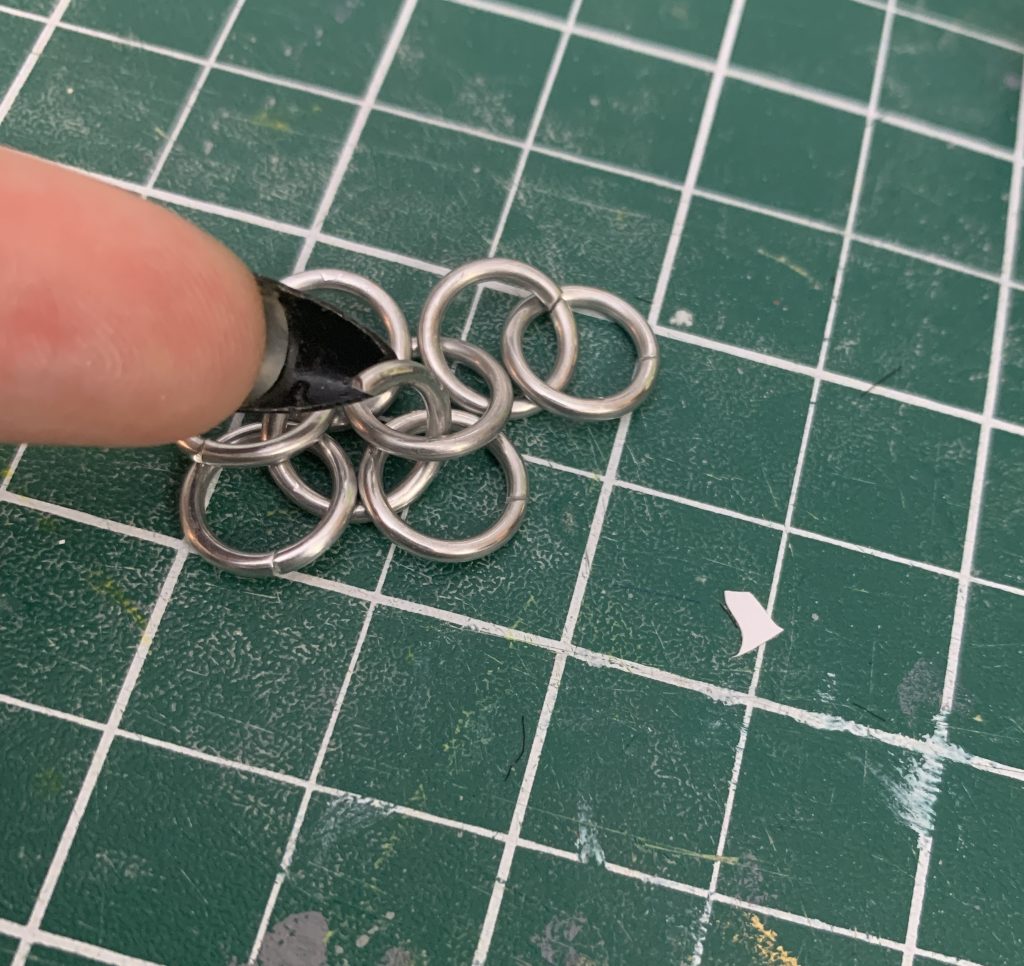
Note that it’s important to keep the rings on the table for this, so that you don’t get lost; try not to pick up the whole piece to slide a ring in, you’ll waste time re-arranging all of the rings again as soon as you put it down.
I tend to hold open rings with my off-hand pliers, and move closed rings with my dominant-hand pliers, but that’s just me.
Now we’re going to thread the open ring through the two closed rings:
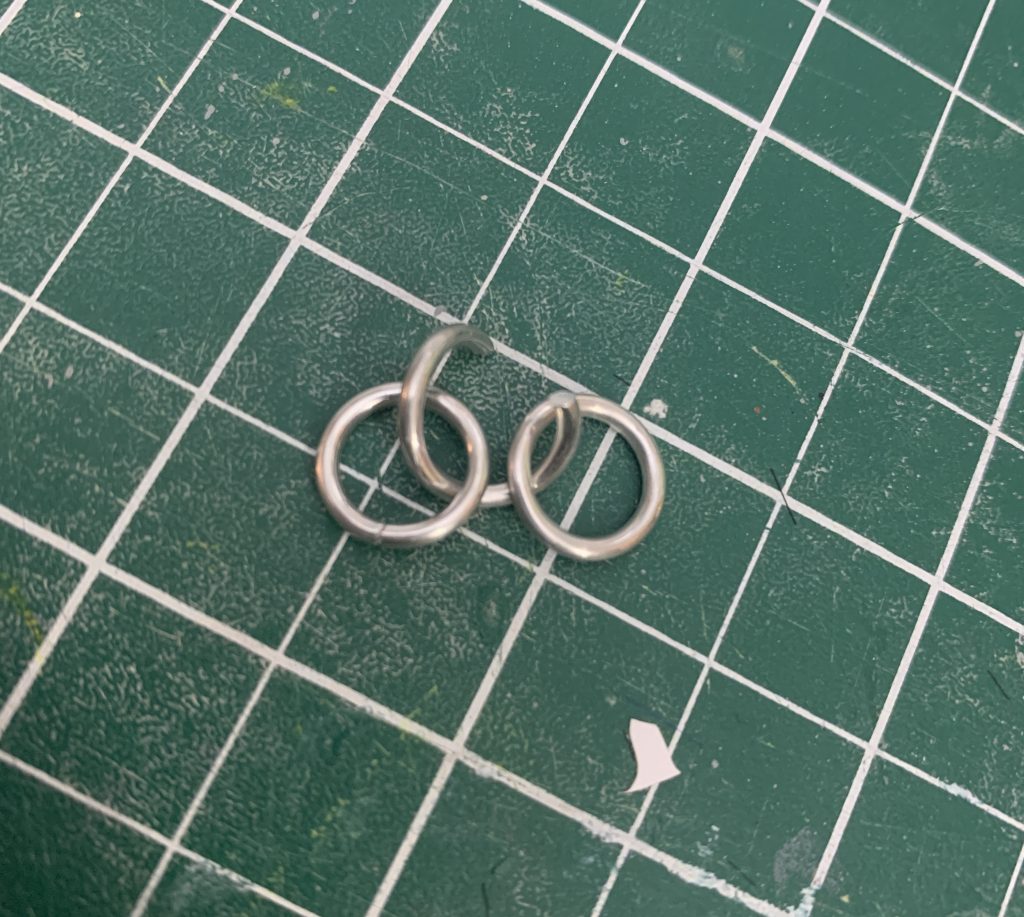
Like so. (I do this by putting the closed rings into the open ring.)
Right now it’s only 2 in 1, but I personally like building across for a couple of steps, instead of straight down, so let’s add another two rings — one open, and one closed.
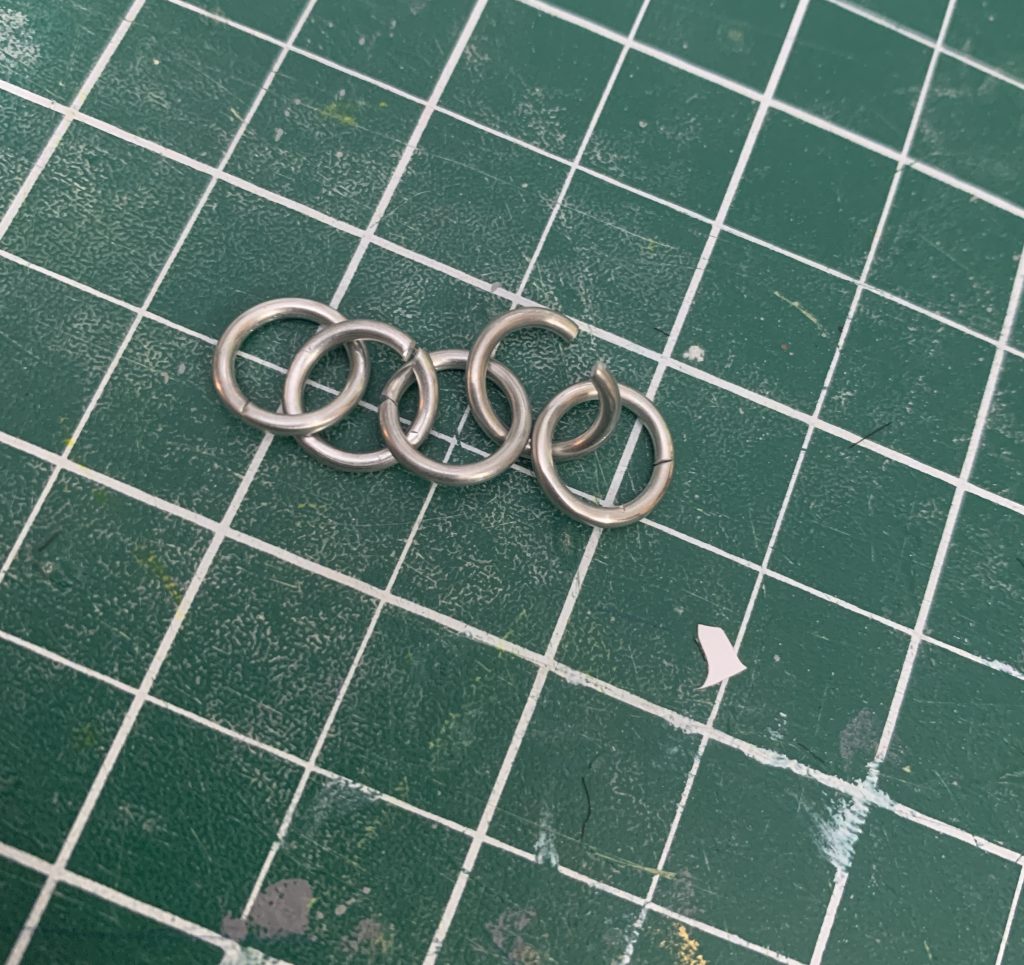
You’ll notice that I’ve threaded the open ring into the right-most closed ring from the first step, and then placed a new ring into the open ring before closing it.
So now we have a line of five rings, but they’re only two in one, so to make the four in one —
We make another set of three that mirrors the first set that we made, two closed, one open. Thread the closed rings into the open ring — and make sure they’re put together the same way as the first pair! This is important. My closed rings go over, and my open rings go under. (Personal preference, you can do it the other way.)
Now we’re going to drag these new rings up to the rings we’ve already closed, and thread this new open ring through the two closed rings from the first step —
I do this by gently lifting up the closed rings from the first step with my pliers and placing them inside of the open ring.
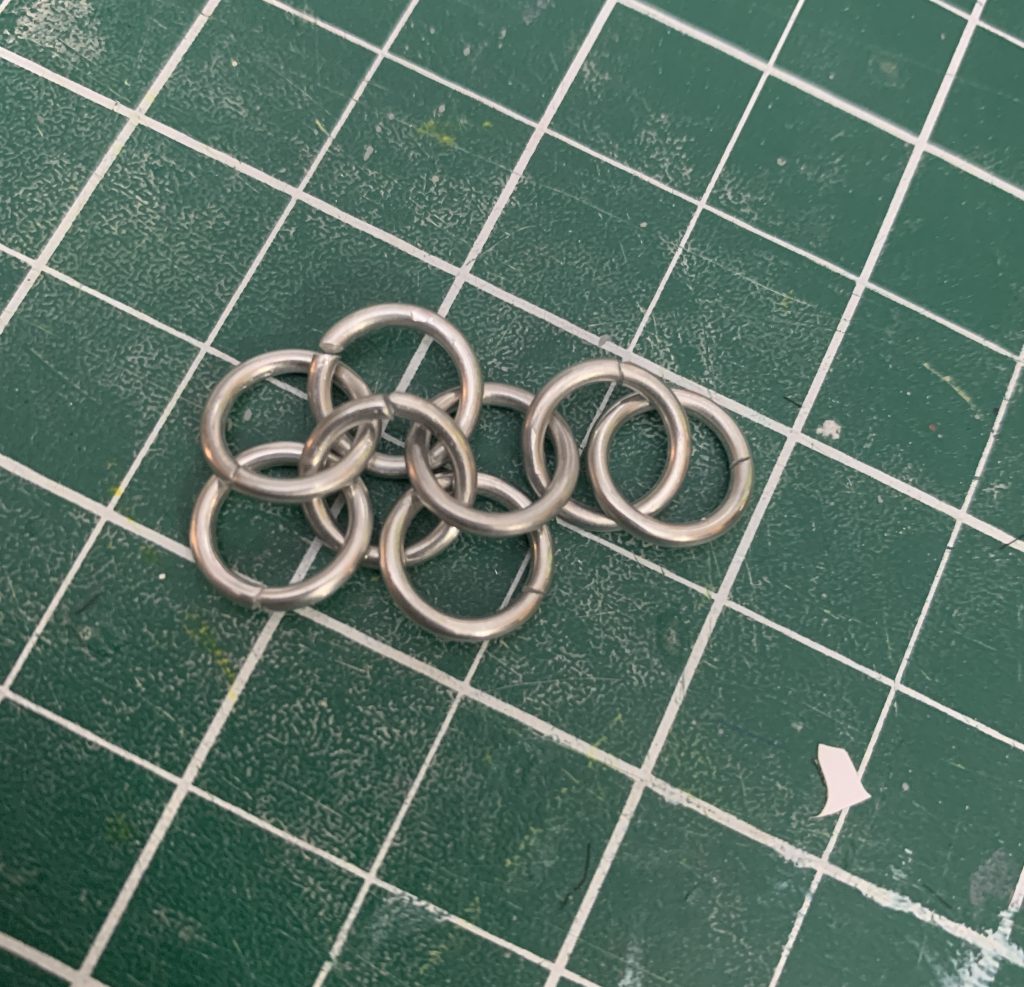
Then we close the new open ring, and we wind up with our first unit of Euro 4 in 1!
No we just need to do that a lot more.
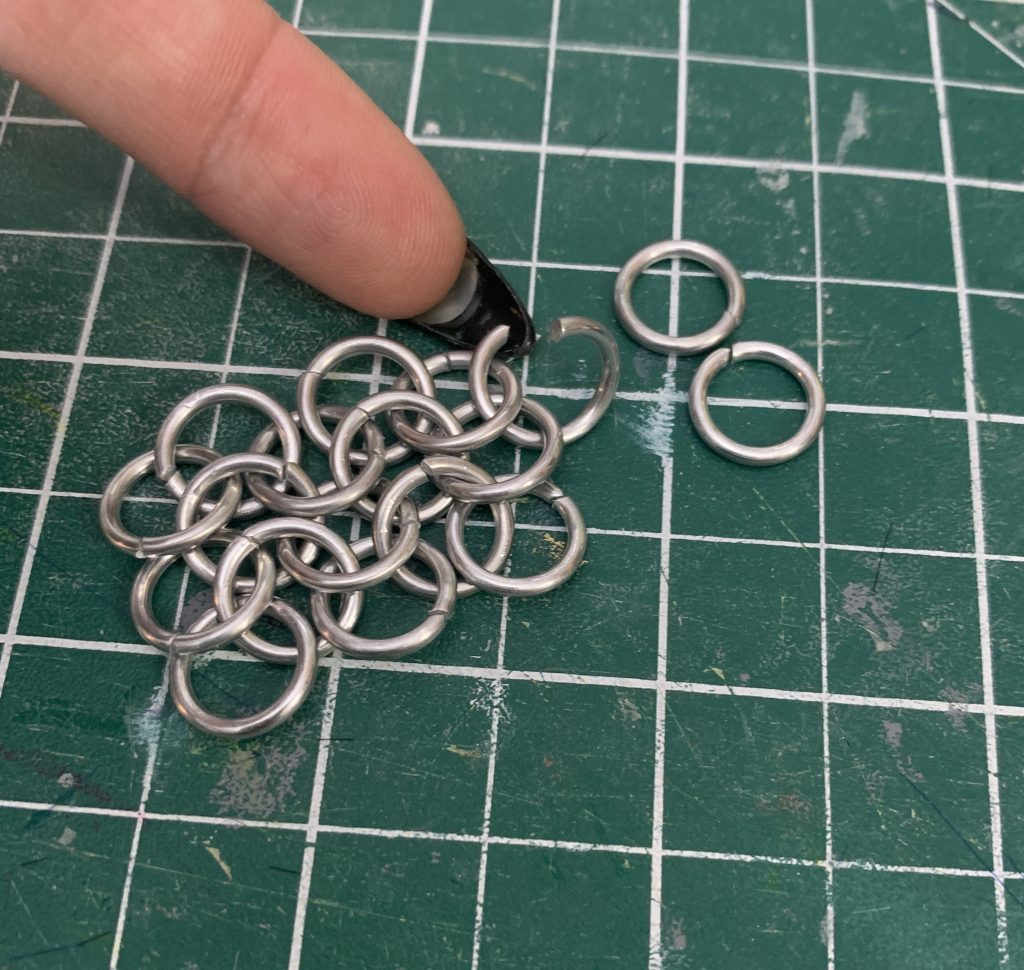
So for the next unit to the side, we already have the first two closed rings on the left, and the top closed ring on the right, so we only need to add one more, and the open ring.
Here the open ring is threaded through the two closed rings on the right. Then I add the new open ring, and THEN pick up the top ring on the right and place it inside before I close the ring. (Don’t worry, I made a video of all of this.)
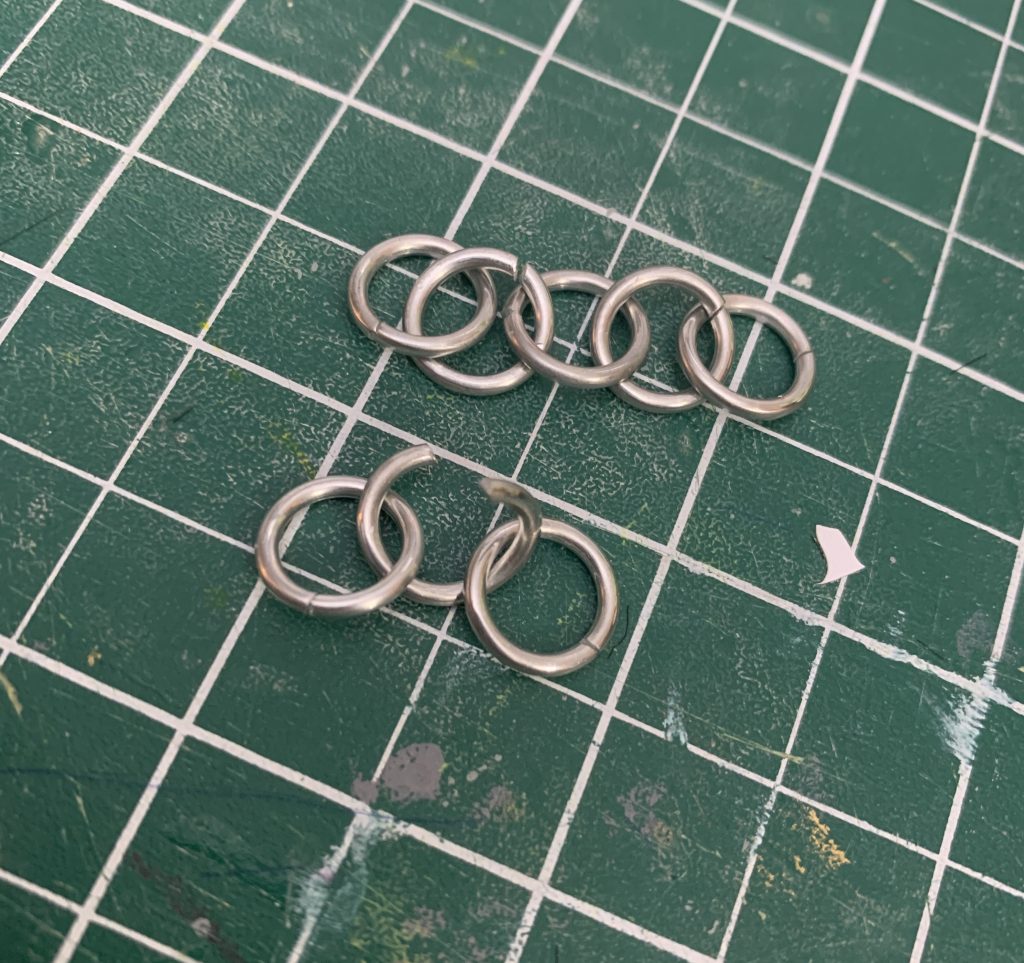
Here it is after I’ve closed it.
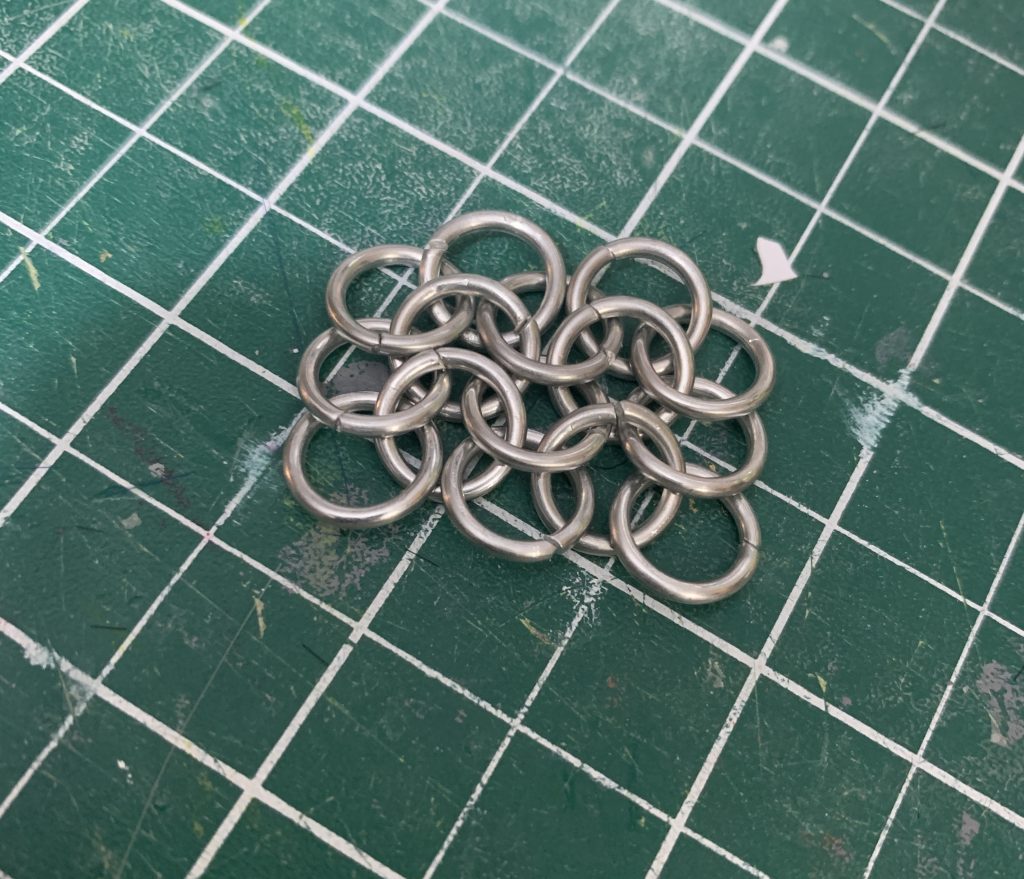
And after adding another row.
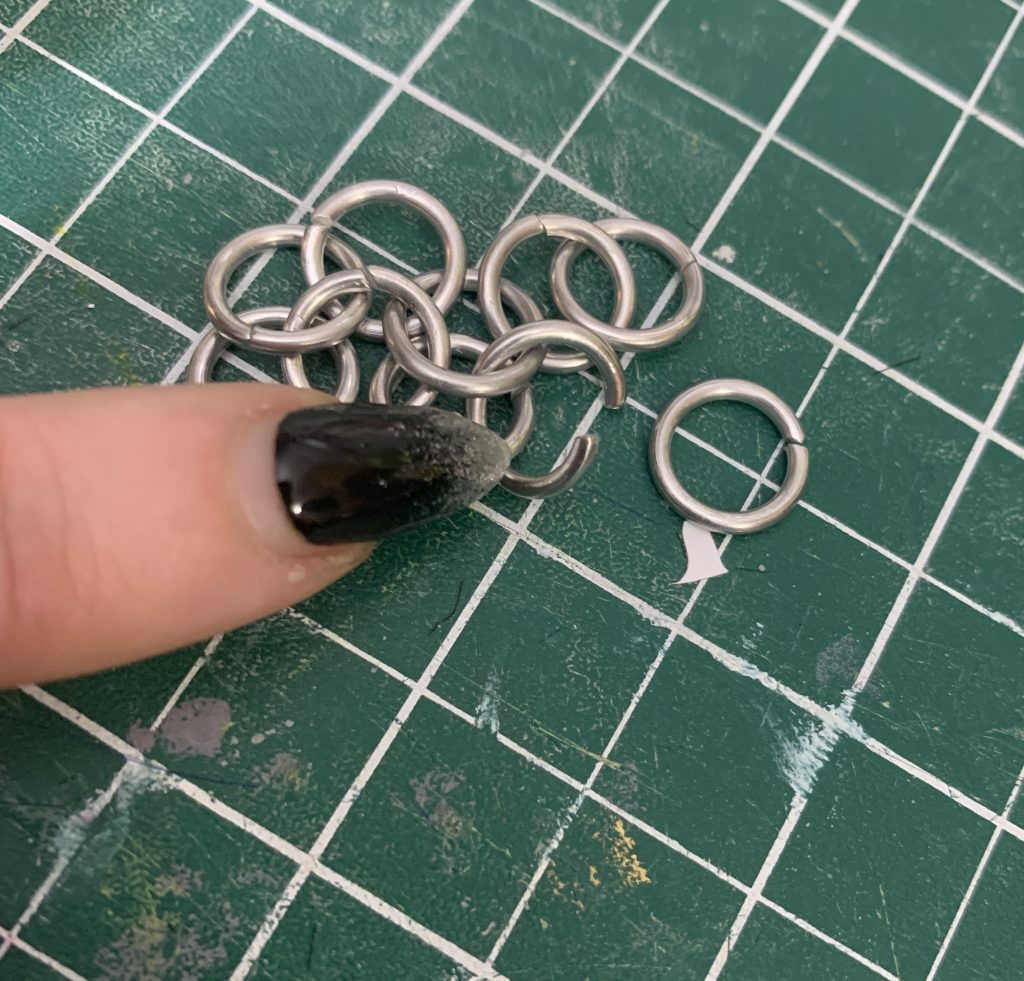
If you want to add a new column on the side, we use the same principle — one open ring, two closed rings for the first new addition, and one open ring and one closed ring for every row beneath that.
Thread the open ring through two existing closed rings, add the other two closed rings in aaaaannnddd —

Continue on as normal! Forever and ever, until you get the sheet of chainmaille done. (It takes. Forever.)
That’s it! I put this tutorial together because a friend was working on Jessie (FFVIIR), but I recently broke out some of my old Scalemaille stuff, and I miiiiiggghhhttt do a tutorial on that. I used to be pretty good at it!
