Now that we’ve done latex 101, let’s look at some other relatively quick and easy things you can do with latex and straight seams! Namely, ruffles, and bows!
These were both things that I used on my Kasumi (from Persona 5) cosplay, so most of the photos will be from that.
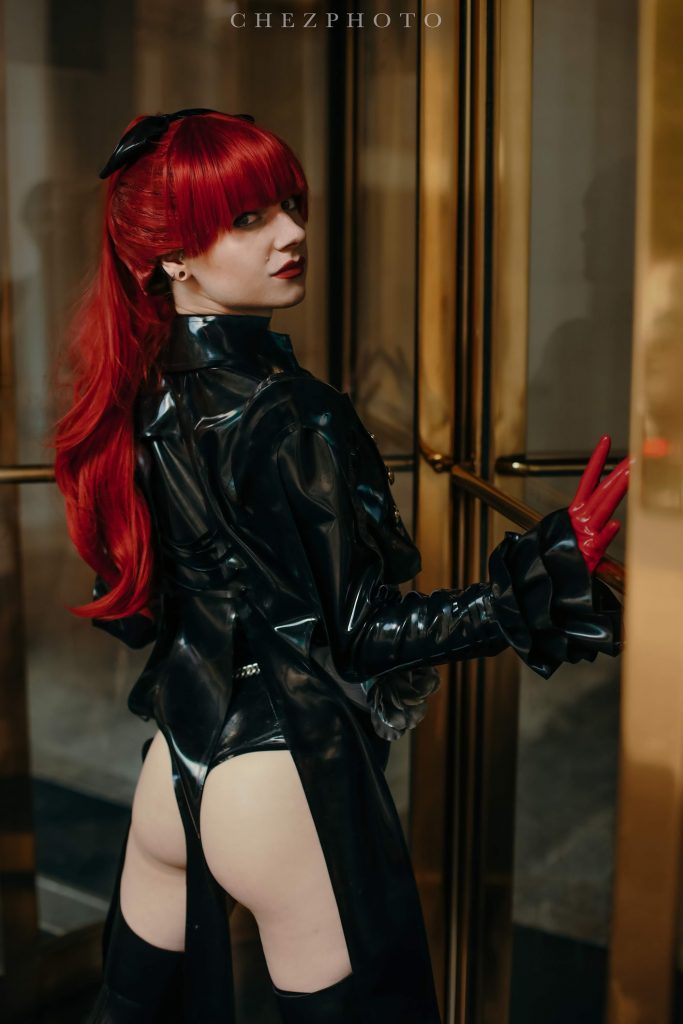
So let’s start with …
Ruffles!
There are two kinds of ruffles — pleated ruffles, which take a long, straight piece of fabric and add pleats for volume; and the other type is essentially a circle of fabric, like a circle skirt! We’re going to be doing the pleated version, because the circular version doesn’t take a latex-specific tutorial to figure out! (And also because I was working with scraps and it’s much easier to get pleated ruffles out of scraps than it is circular ones.
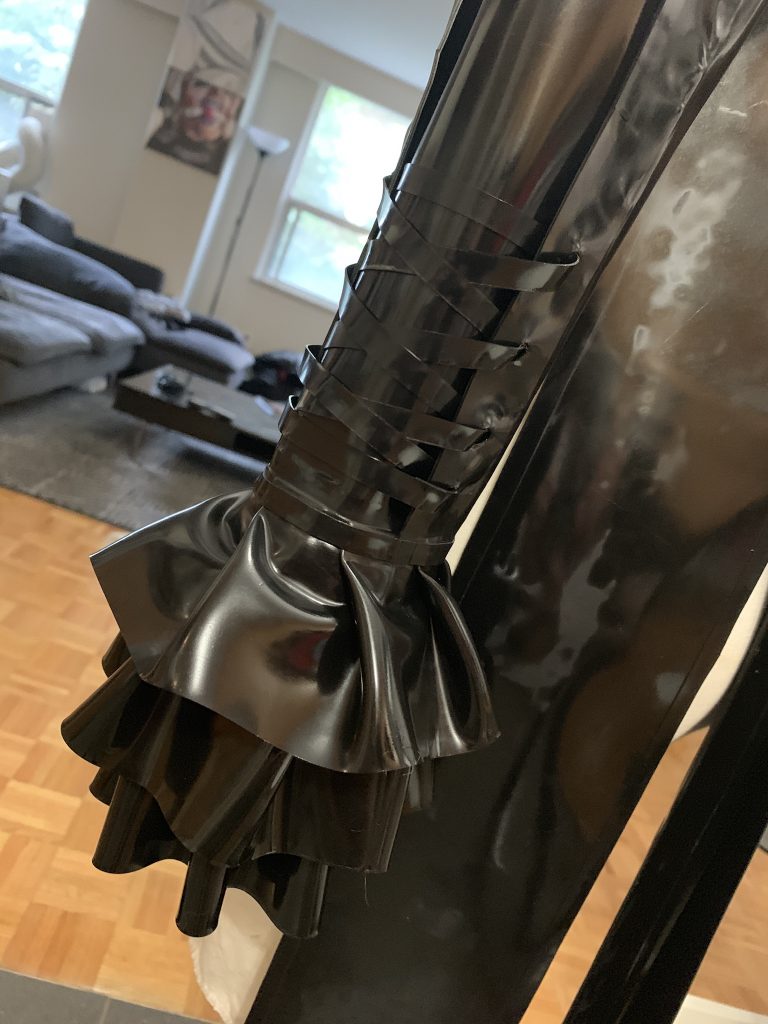
This is 3 layers of ruffles in 0.6mm black latex — if you remember from Latex 101, 0.6 is one gauge heavier than regular clothing-grade latex. I used 0.6 for almost everything in Kasumi’s coat. (In a couple Places I actually used two layers of 0.6!)
So! Let’s get to it!
Start with a strip of latex. I believe mine was double the final length I wanted the ruffle to be, but you could need more or less depending on how much of the fabric you’re pleating.
Clean and apply glue to the front AND back of the top of the strip, like you’re about to do a seam but on both sides. I do this by cleaning both sides, then doing glue on one, waiting for it to dry, and then flipping it and doing glue on the other side. As long as you’re on a fairly clean surface, this should stay pretty clean during this whole process — but if you find that there’s some talc/fuzzies/hairs/whatever on your glued parts, clean it very gently with a little more rubber cement thinner, and very little pressure, just to get rid of whatever’s stuck to your glue.
Once that’s done, I started marking out my pleats.
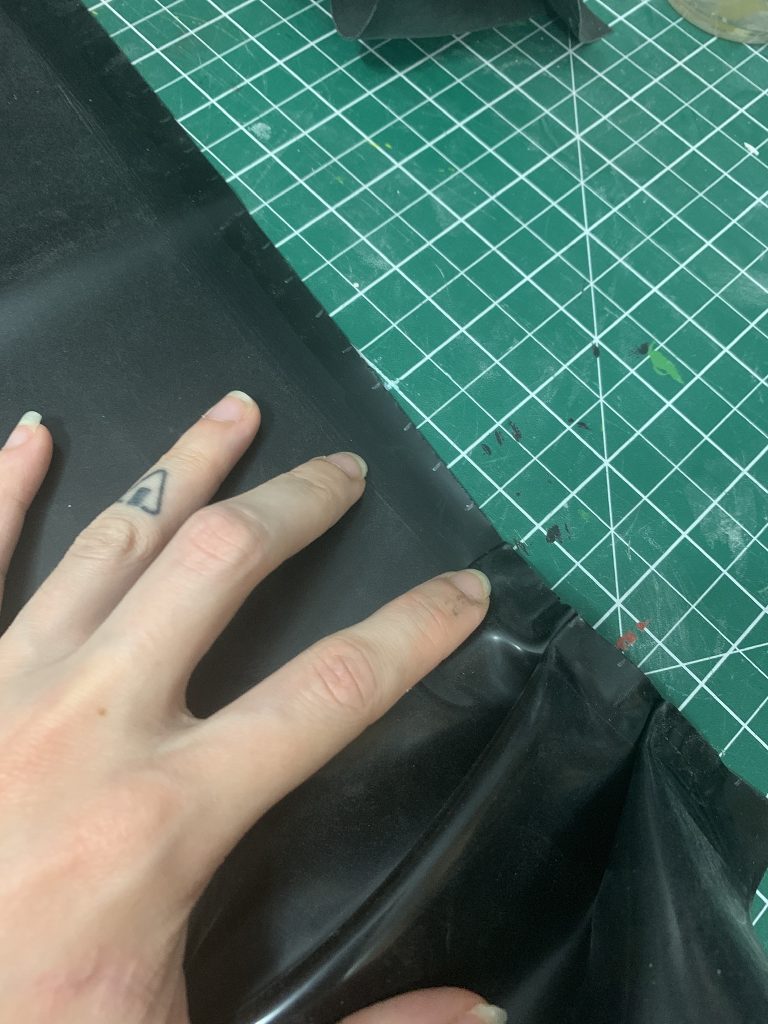
You can mark this however makes the most sense to you, but in this case, I put a mark (with gel pen, so it’ll come off if any of them remain visible — remember, no real pen, no fabric pens, for the love of god no Sharpies*!) every 1/2″.
(*yes, that is a thing I have seen people do, on a multi-thousand dollar piece of latex bondage gear. Yes, it stayed on the latex permanently, forever.)
Then we’re going to start folding.

So here’s my starting point. I’m going to take that point and fold it over to …
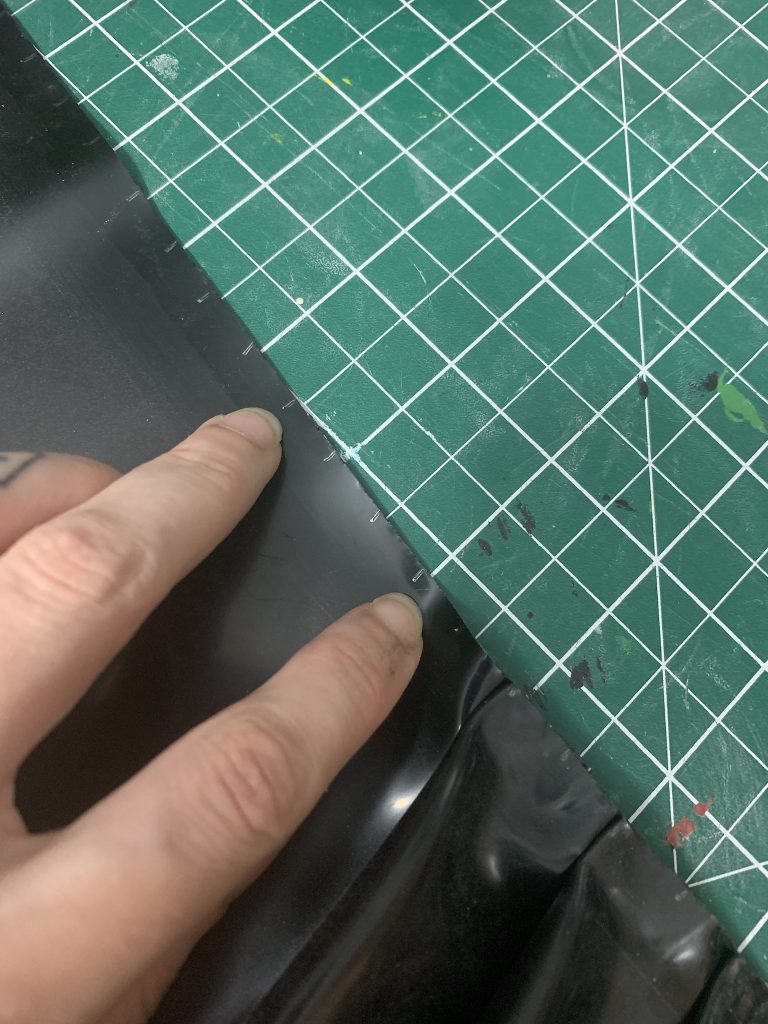
Here, in this case. I know it’s two ticks over; I was doing three ruffles at once and I just marked all of them the exact same way so that I could keep track of how much I was ruffling each one with the same tick system. Generally I’d mark the two of these, and then the center-point.
Anyway, then we’re going to pick up the first tick …
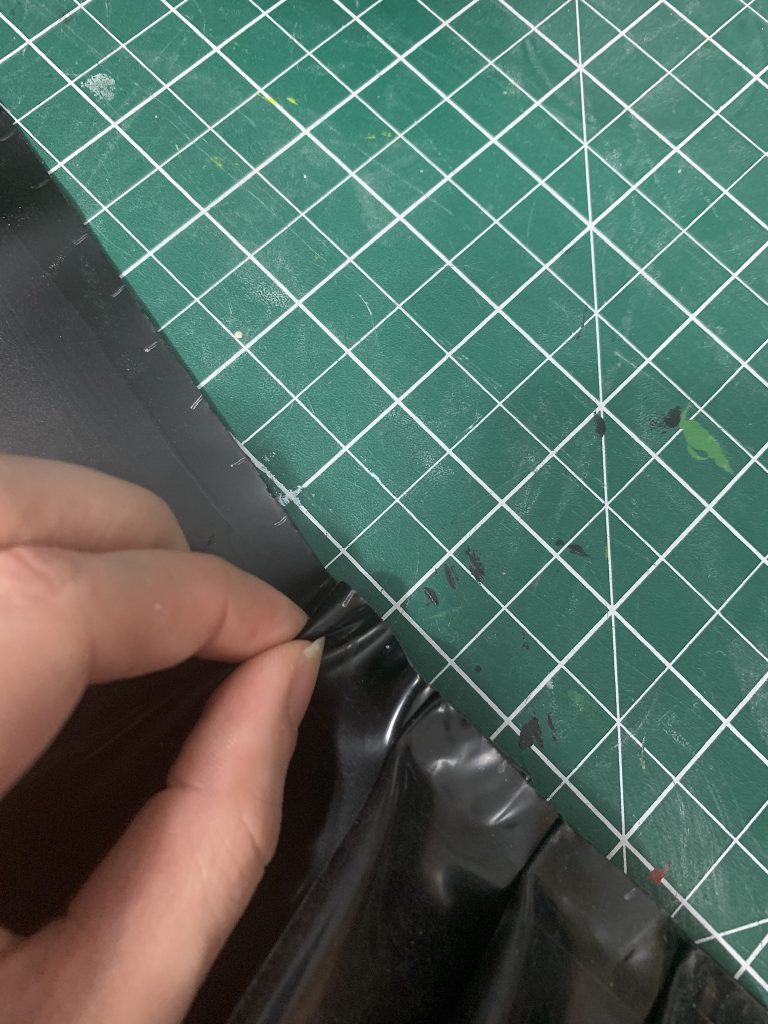
This is going to be the point of the pleat, so feel free to gently stick it together here if you like.
Then we’re going to pull this point over to the other point on the other side of the pleat, and stick it all down.
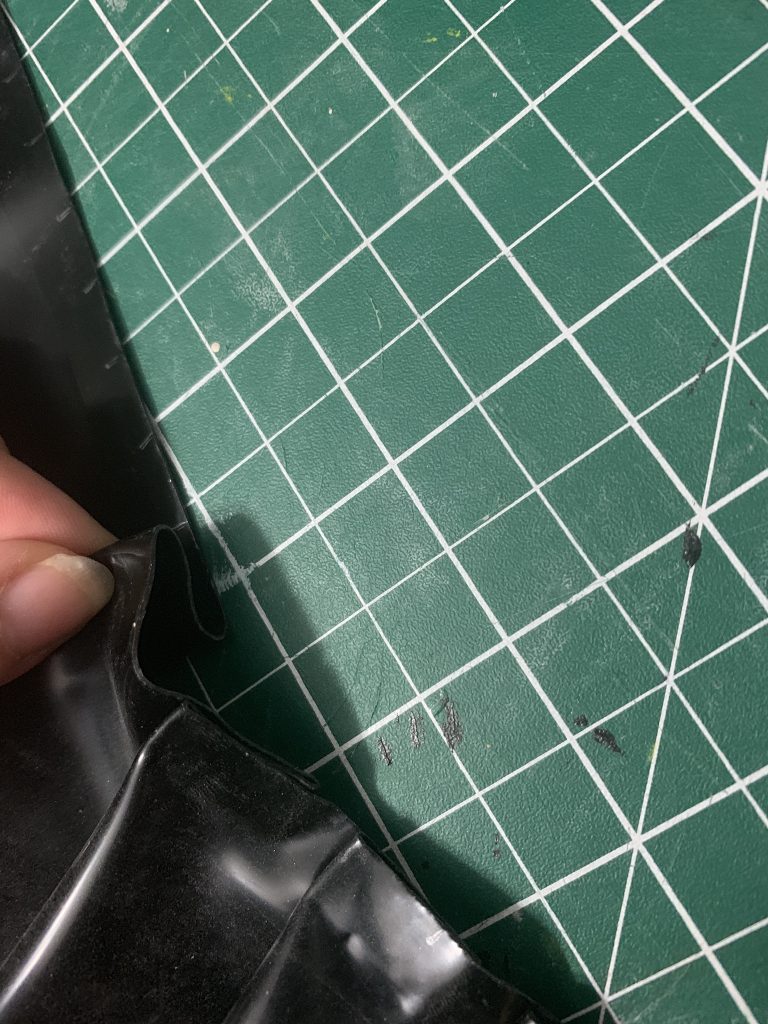
Stick this all down.
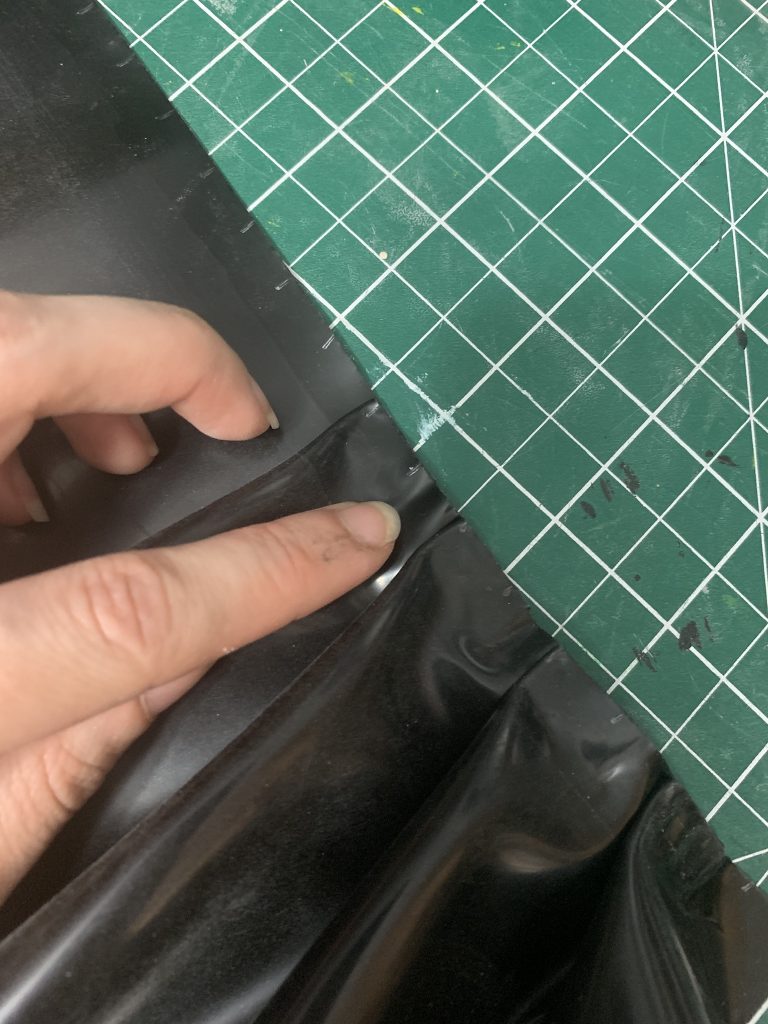
I use my fingers first, and then once I’m sure I’m happy with the size of the ruffle, and that it’s all smooth, I roll it down to make it permanent.
Once it’s rolled, it should look like this:
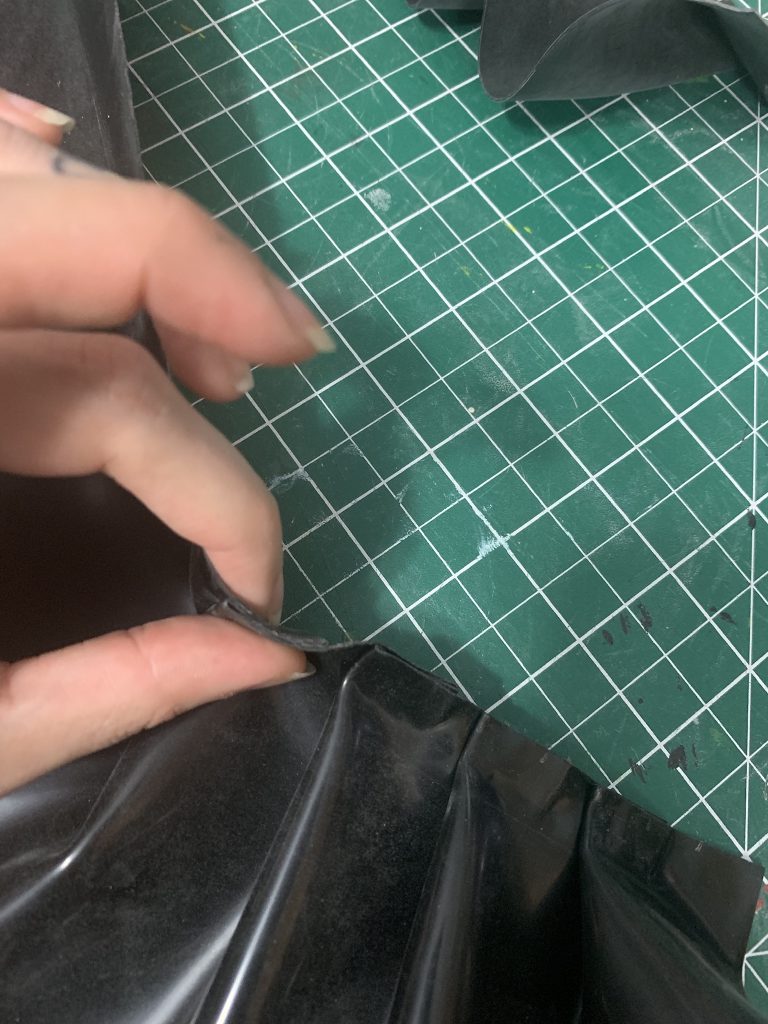
Continue this for an eternity, aaaannnddd —
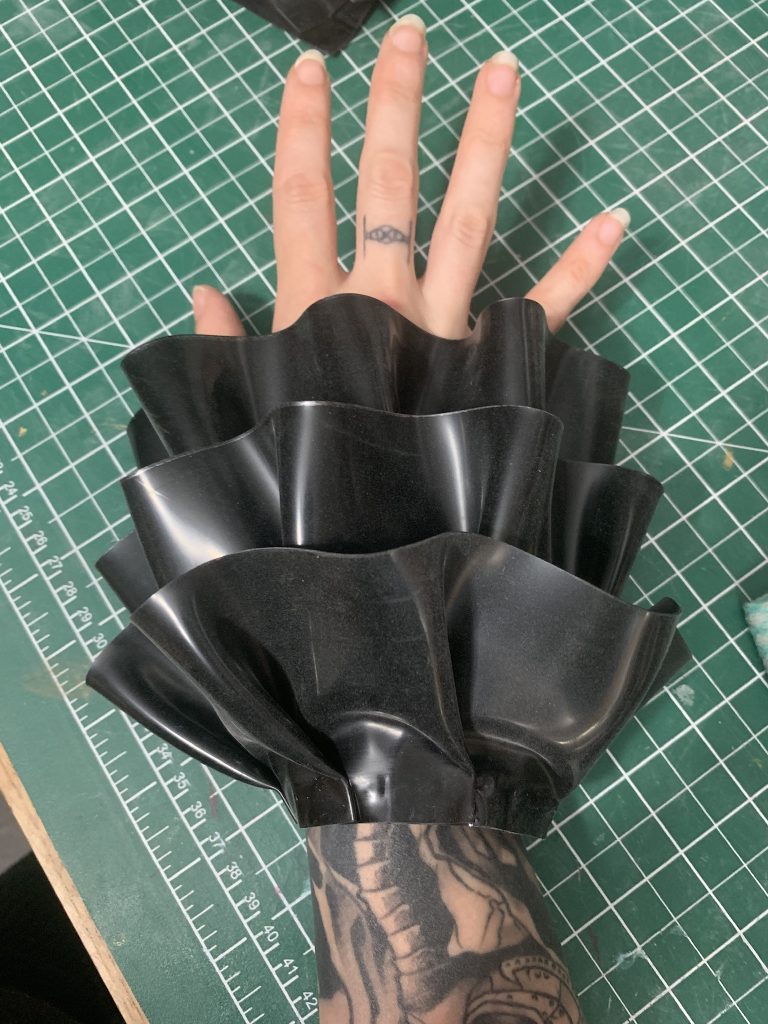
The bit at the top where you can see the pleats is the part that should go under whatever you’re attaching it to — on this, it will be glued to the inside of the bottom of Kasumi’s sleeve.
Bows!
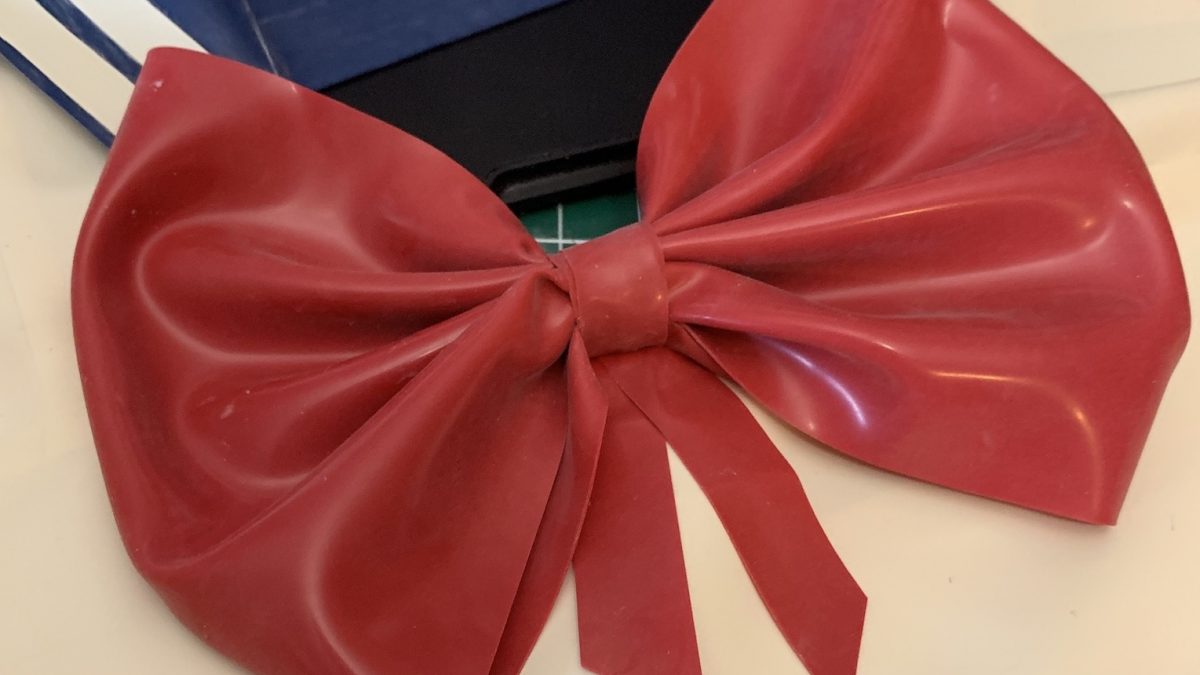
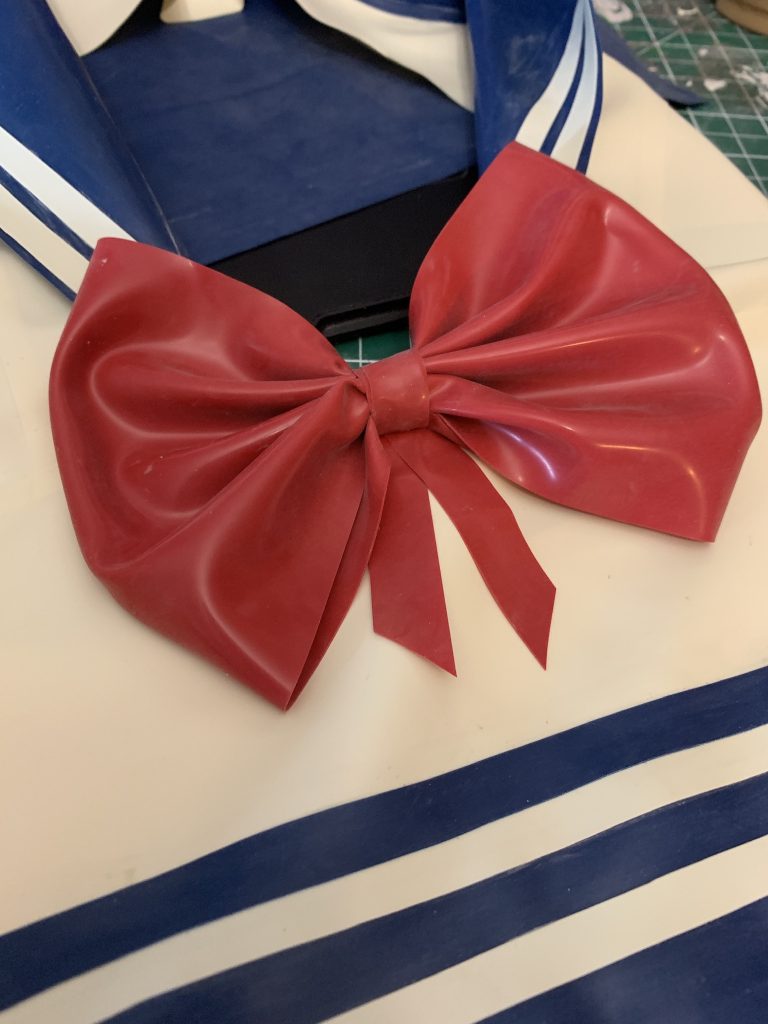
And of course, Latex Bows, which also only really take straight seams, but they look really impressive when you do them right.
In this case in particular I’m going to be showing you photos of how I made Kasumi’s hair bow, but all bows are pretty much the same in principle, with just differences for sizing. (I recommend making a mockup out of paper for bow sizes before you go cutting your latex.)
For these bows, I’m using standard 0.4mm latex; if you want a less floppy bow, then 0.6 works as well, but depending on the width and length of the bow that might make it VERY stiff, so there’s a certain amount of trial and error going on there.
So first! How big do you want your bow?
For Kasumi, I obviously measured the ponytail on the wig.
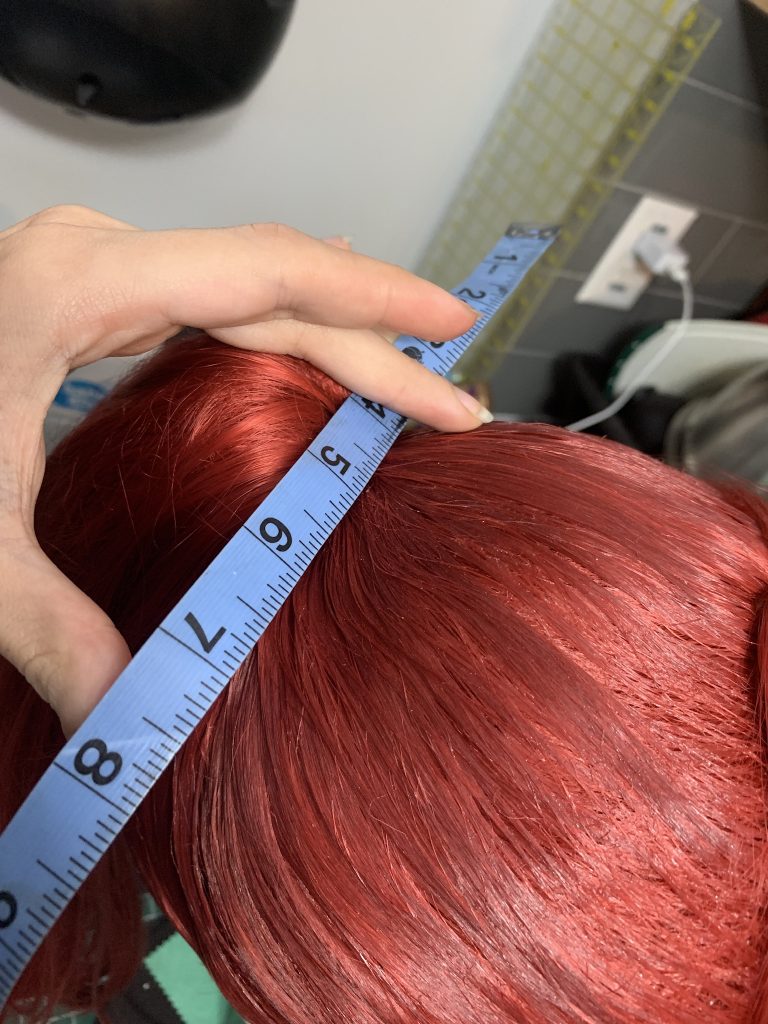
(Oh my god let’s not talk about this wig, I do such a better job on wigs now like a year later, aaaaaaaaaa–)
I decided that I wanted it to be 8″ across, and about 4″ wide.
You can see on the finished bow above, there are two sides to the bow, so we’re going to need double the desired length (plus seam allowance), but since there’s no seam allowance needed on the width, that can just be 4″.
There are two ways to cut this.
Because I was using scrap latex for this, I decided to cut two pieces that were 8″(plus 2×3/8″ seam allowance, one seam allowance on either side)x4″ rectangles. But this could absolutely be done with one 16″ plus seam allowance on either end by 4″ piece (In which case, you’d only wind up with one seam).
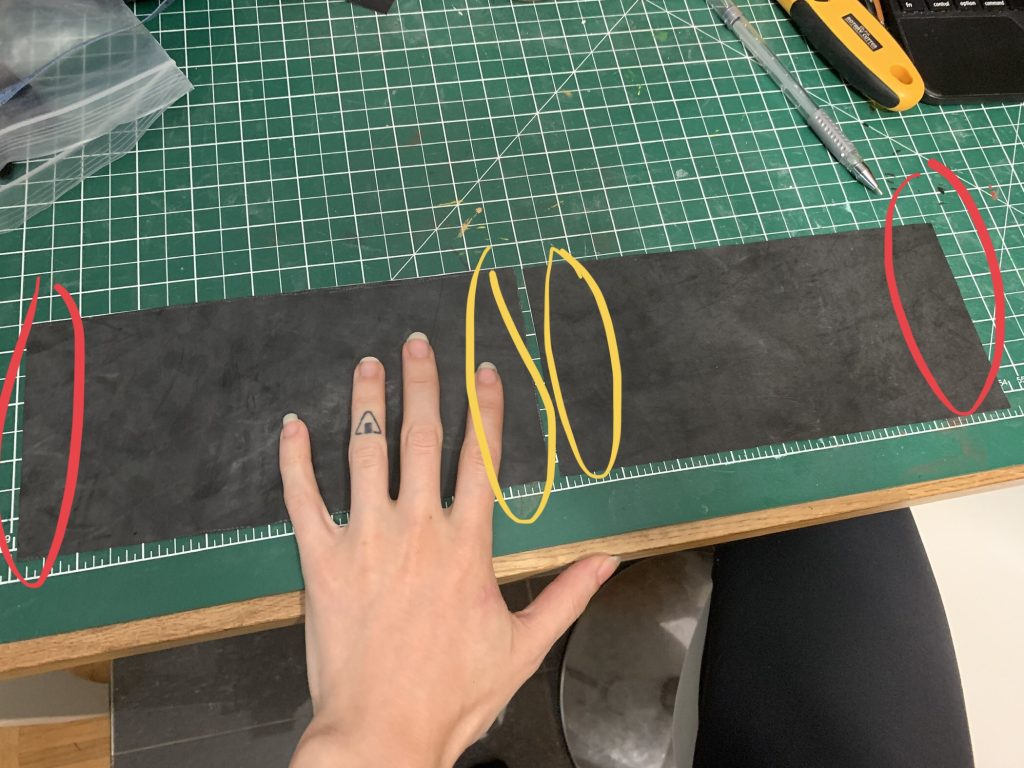
Next step is to seam these together so that we have a tube, as is colour-coded. Seam them in the usual method.
If you’re only using one long piece of latex, your seam would look more like this:
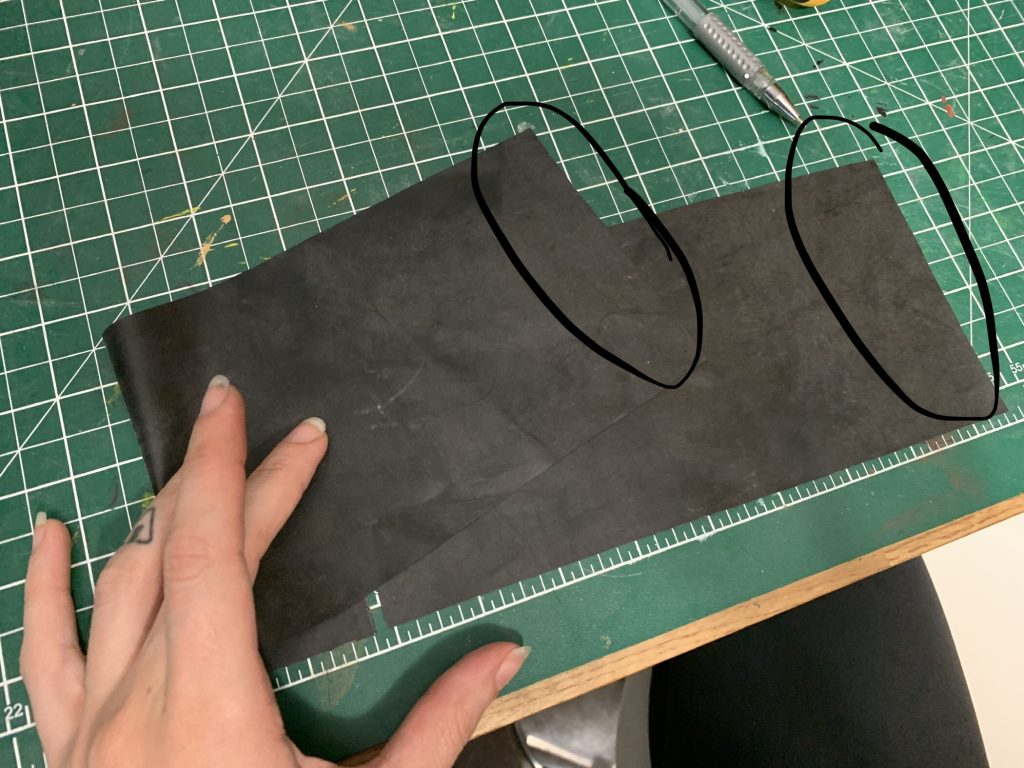
Just pretend the break in the latex under my hand isn’t there.
Once those are seamed and cleaned, arrange your new tube so that the seam(s) is(are) in the middle.
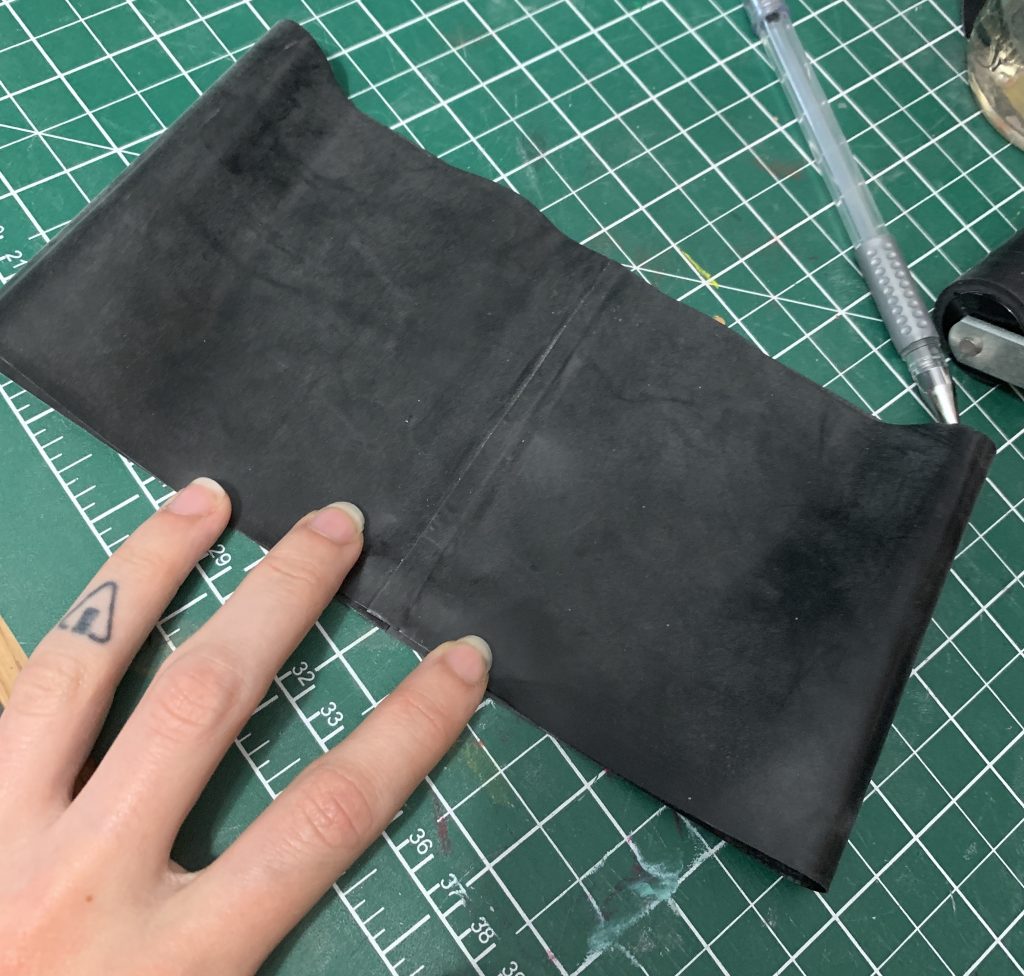
We’re going to cover these seams with the wrapping around the middle of the bow, which is going to give our bow it’s shape.
I like to plan where all of my creases are going to go, to make sure my bow looks neat, and then I glue them into place before this wrapping happens.
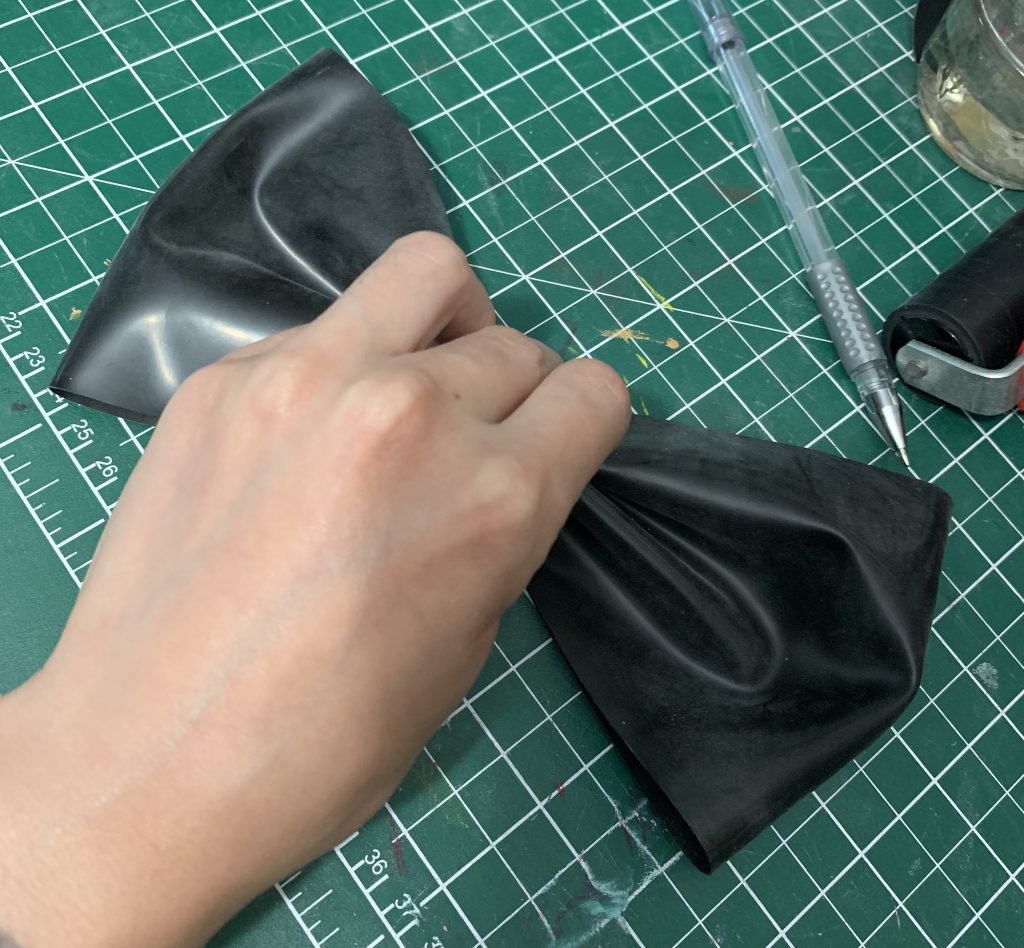
All of these are just accordian pleats, like making a paper fan. I like to plan for my bows to have a right and A wrong side — and on the “right” side, the side that will be facing out and away from my garment/wig, the top and bottom pleats have the open edge of the bow facing down. I find this makes the whole thing look neater.
So once those are planned, we’ve gotta glue everything.
I like to glue both the inside and the outside, just to REALLY made sure everything sticks.
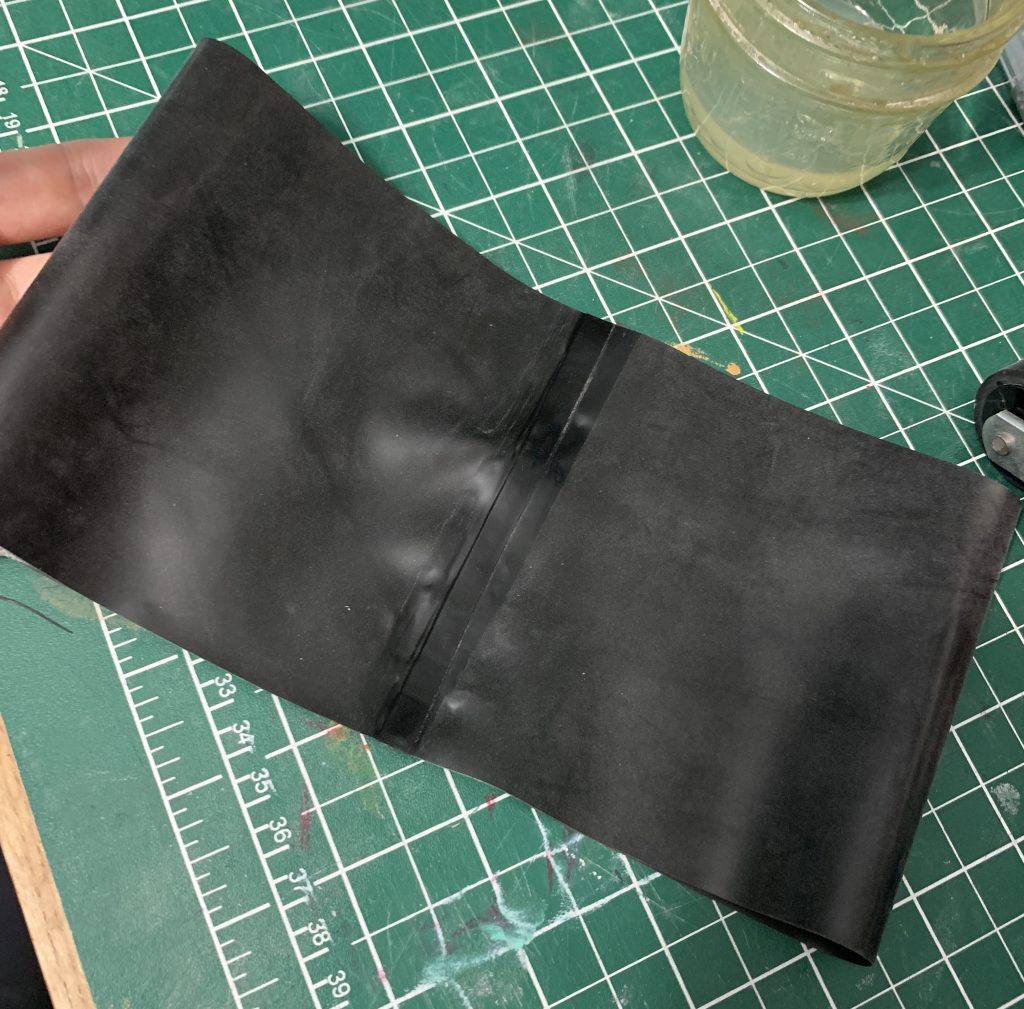
This is another reason why I like having two seams; I’ve lined the seams up top and bottom, and I’ve used them as a guide so that all of my glue is in the same place. (Though, we ARE going to be covering all of this up, so it really doesn’t matter THAT much that everything’s neat. It does bring me a certain degree of joy, though.)
I’ve adhered the top and bottom side together on the inside, and have glue prepared on both the outside top and bottom here. Then, it’s time to fold!
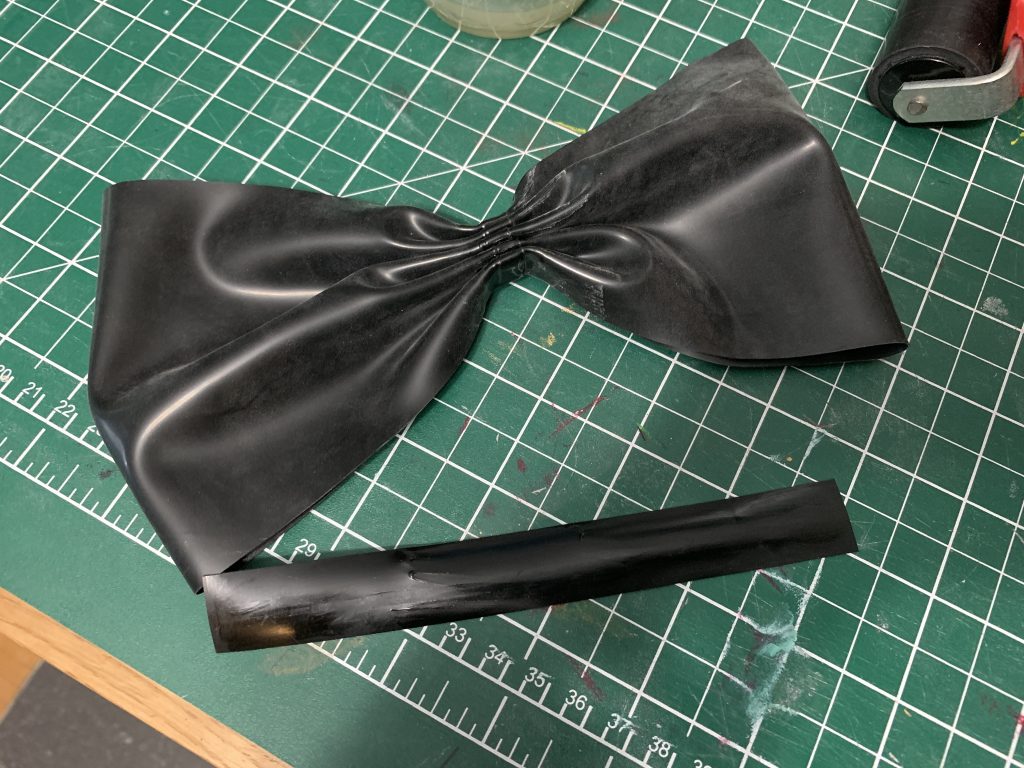
There we are! Just press this together with your fingers; that little strip of latex you can see drying in the photo is going to go around it all to hold it together as well.
I generally start wrapping this in the middle of the “back” of the bow, and then stretch the piece lightly around.
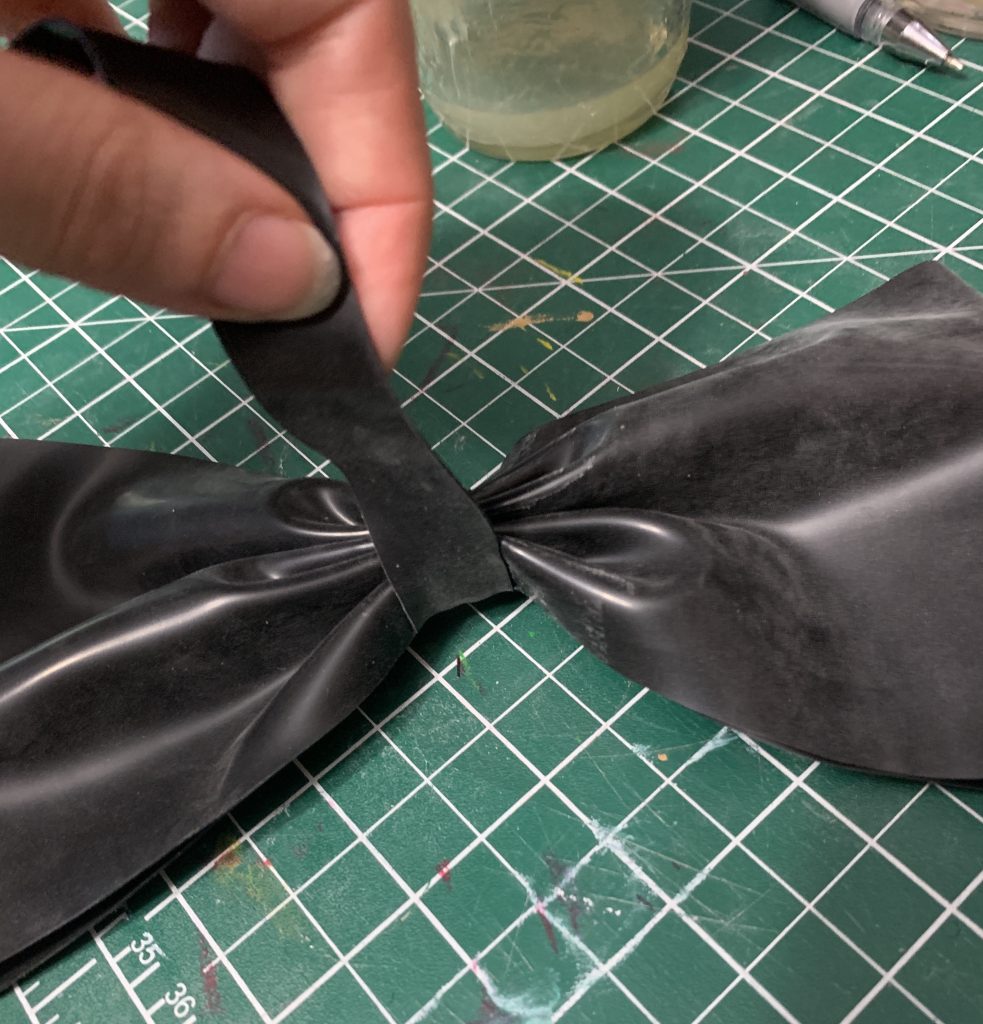
Make sure you overlap this piece at least by a seam allowance, though I generally actually do two full wraps of the latex around, just to really cover my bases.
And there you have it! A bow!
For Attaching this to Kasumi’s ponytail, I just shoved a bobby pin through the underside of this center piece and put it in the wig — but for applying bows to a regular latex outfit, I actually have a trick: A small dab of super glue/Krazy glue. (I tend to use brand-name Krazy Glue, tbh, but Super Glue works more or less as well.)
It has to be a fairly small area that’s covered, though, as Super glue DOES NOT stretch! So anywhere you apply it to will crack if it’s forced to stretch. Just keep it in mind — it’s not the end of the world if it does crack, you can always re-apply the bow if it comes off and try again.
That’s it! Good luck, and happy crafting!

