
Alright, let’s get one thing out of the way immediately: latex gloves are very difficult.
Generally, when people tell me they want to make latex gloves, I advise them to buy them instead, if at all possible. First, because if you value your time as money, it’ll likely be cheaper.
Second, because when people think of latex gloves, I find that they generally think of seamless latex gloves, which are made by a dip-moulding method, rather than a hand-seaming method like we’re going to do here.
(Dip-moulding, in case you’re interested, is where you take the form of whatever you want the latex to look like — in this case it would be the plastic form of a hand or a forearm — and dip it into liquid latex, then let it set. This is mostly a process done overseas, because of the chemicals involved in setting and finishing the liquid latex into a product that’s ready to wear.)
Ok, so that’s out of the way. Let’s make some gloves.
The first thing you’ll need is a pattern.
I have a latex glove pattern that I made back when I made 2b’s gloves, a couple years ago now. Essentially, I made it by tracing out my hand, but it’s a little more complicated than that. It took me four or so iterations of making gloves, trying them on, and then changing the glove pattern in tiny increments to get a fit that I like, and even so, I’m not 100% pleased with my Panther gloves.
(2b and Panther are both also extra complex in that their gloves don’t fit like a traditional latex glove, ie. Skin-tight, they’re supposed to be just a little big. RIP.)
To make your own pattern, I recommend you trace your hand closely, put a test glove together, and then try it on. Mark with a permanent marker where it doesn’t fit, cut the glove apart, and then use the marked pieces to fix the pattern. Repeat until you like the test glove’s fit.
So let’s assume you have a pattern you’re going to try.
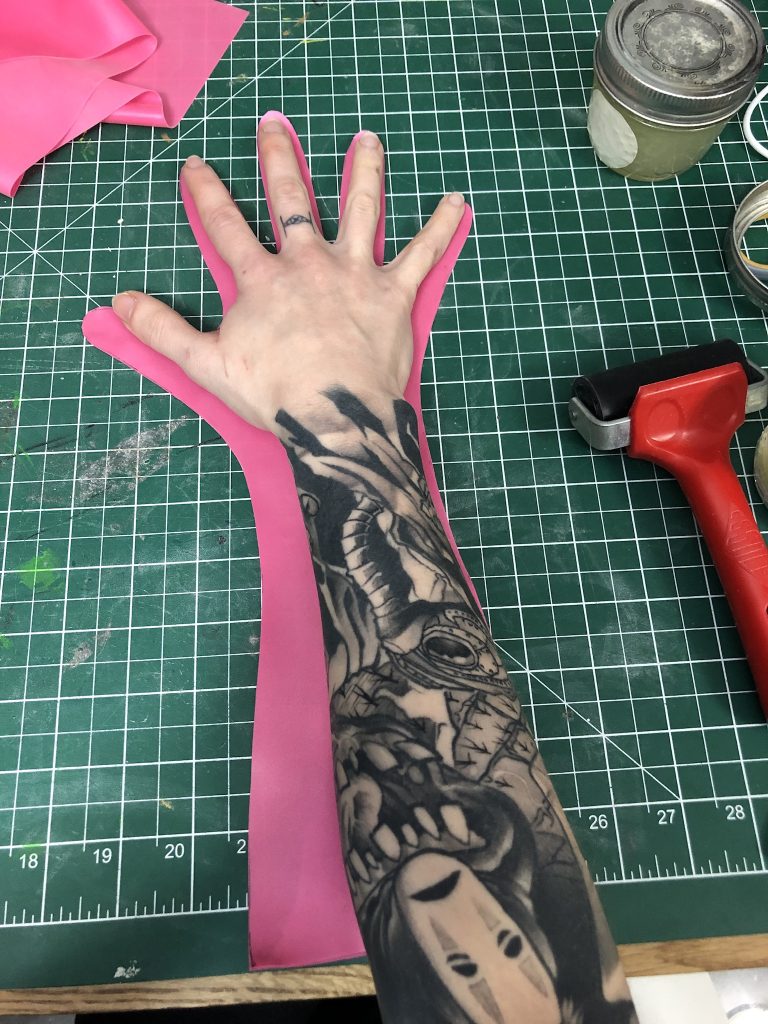
Like so. We’re going to start out by only cutting out half a glove, just like you see above.
We’re going to be seaming this together in a slightly irregular way, unlike the latex 101 video where we did a normal flat seam. Because of this, we need the two halves of the gloves to match exactly. You could try to matech two pieces manually, or you could take a shortcut, which I’ll show you here.
Remember in the latex 101 video, where we talked about the right and wrong side of latex? Take your half glove that you’ve cut, and lay it right-side-down on top of your latex sheeting. Take your gel pen, and loosely draw around the glove. It doesn’t need to be too exact at this stage. When you’re done, it should look something like this:
It should look something like this:
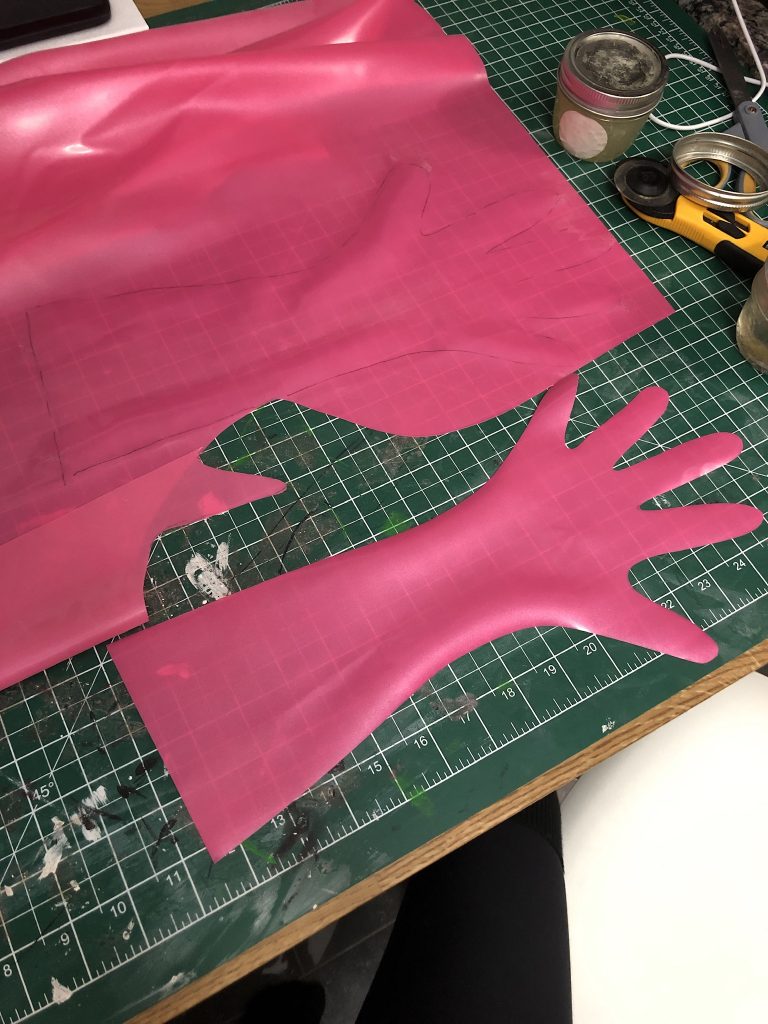
See how the trace is a bit bigger than the glove? That’s fine at this stage, we’re not cutting anything yet.
What you want to do is take your thinner and clean the edges of your cut glove (on the shiny side) and the inside of the area that you’ve drawn (also on the shiny side), and let them dry. As we covered in the 101 videos, Latex comes powdered, because clean, unshined latex likes to stick to itself. In most cases, we don’t want that to happen — but in this case, that’s exactly what we want.
You’re going to take the half glove and lay it very carefully back onto the cleaned area you’ve drawn around. Treat this like a seam, be careful not to stretch either side. You want it to lay flat, and be free of air bubbles.
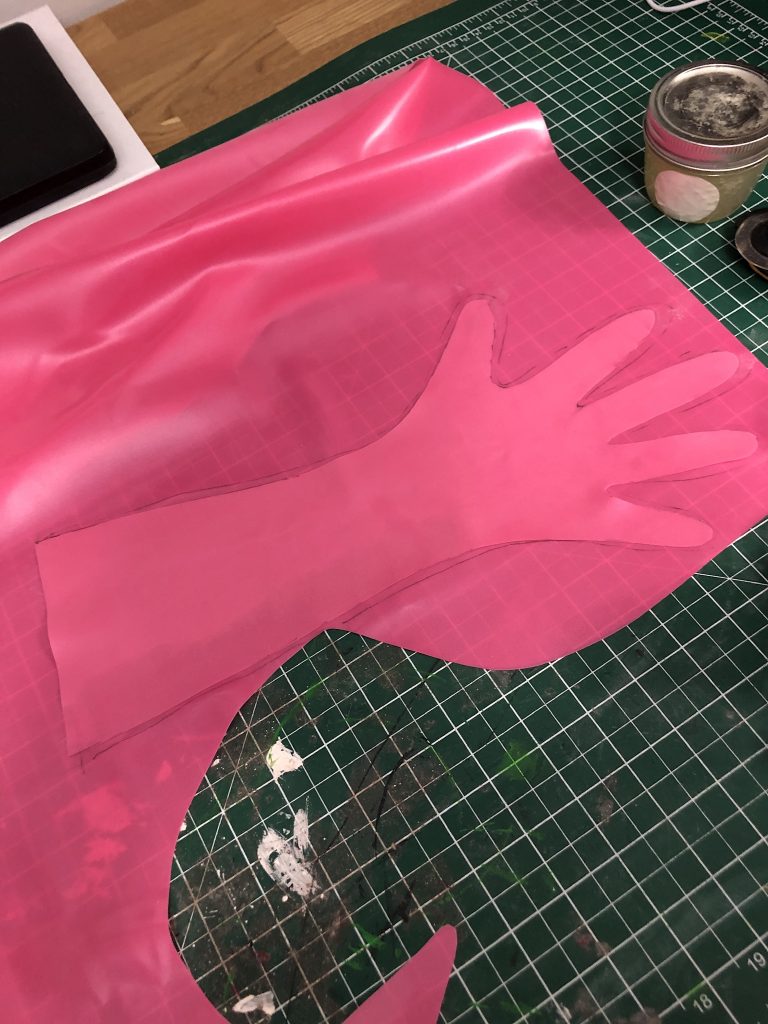
Once you have it laid out, you’re going to roll it like a seam, to force the latex to adhere together.
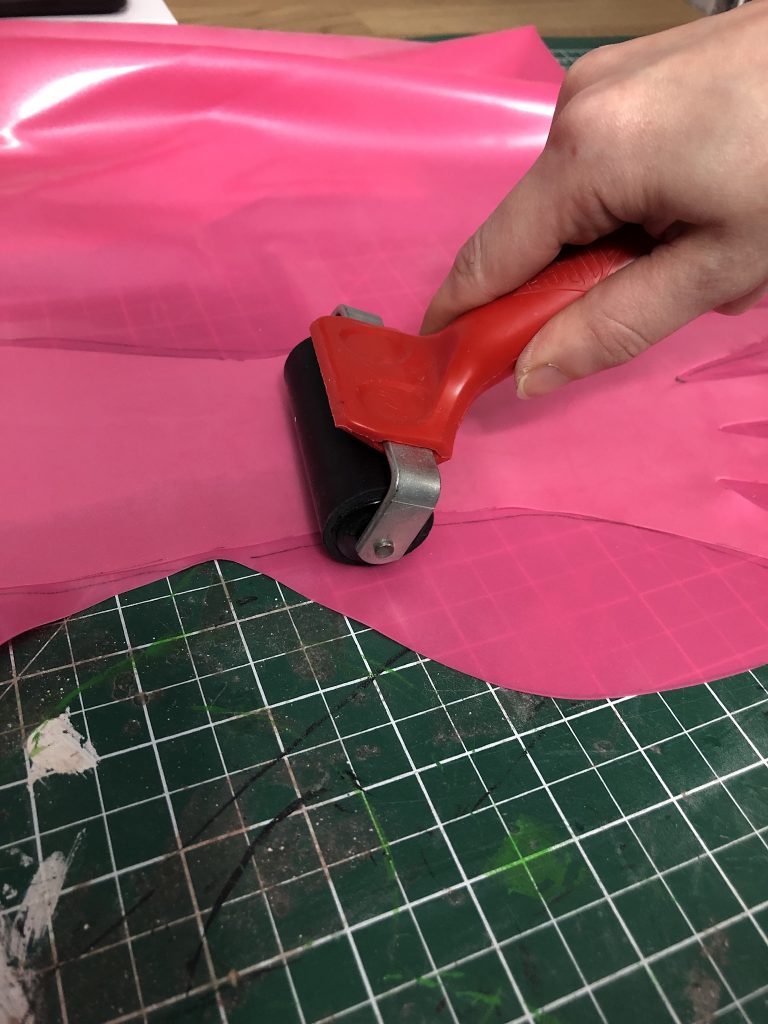
Once the glove is completly adhered together, very carefully cut around the already-cut glove you’ve adhered down onto the sheeting. This is going to make sure that the two halves of the glove match completely.
A quick tip! Don’t adhere the middle of the glove together where your arm will go in; this will make it easier to pull apart ultimately, after we do the seam.
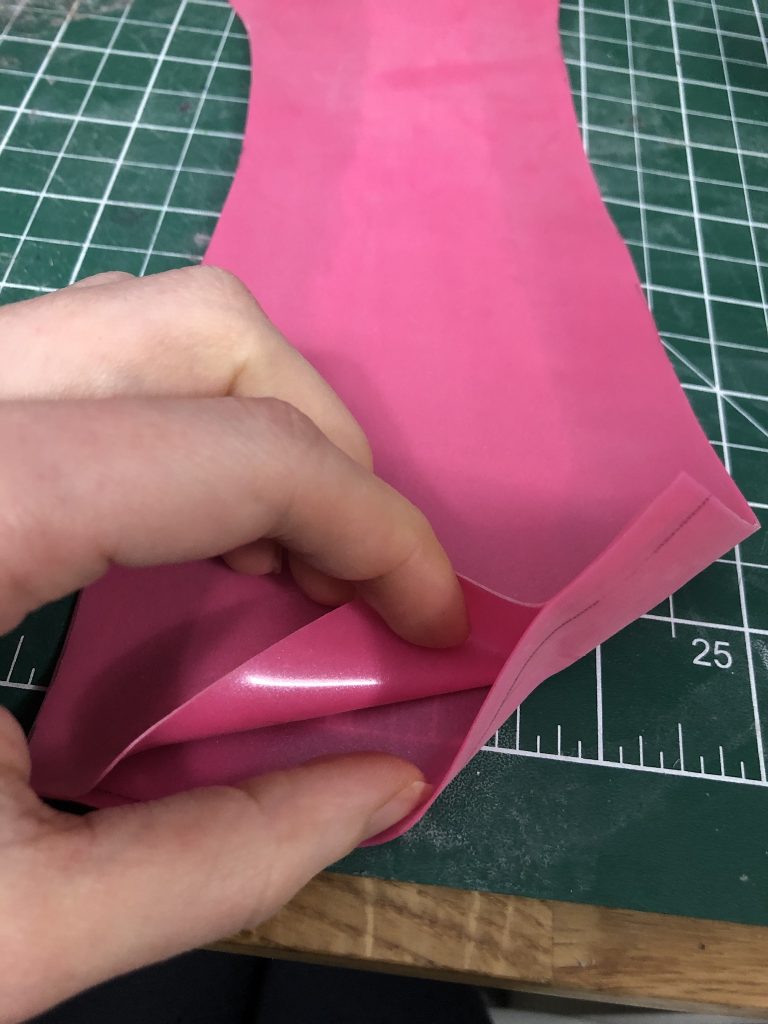
Now, let’s work on the actual seaming of the glove. This is the most time-consuming, and fiddly part of this, so buckle in.
(This is where people ask how long I mean when I say time-consuming; I’d say that each glove, from nothing to complete glove, probably takes me an hour to an hour and a half a piece. But this is after six-ish years of making latex, and doing probably twenty pairs of bespoke latex gloves. If you watched Gotham, I made the gloves Prof. Pig wore.)
First, we’re going to make trim to do this with.
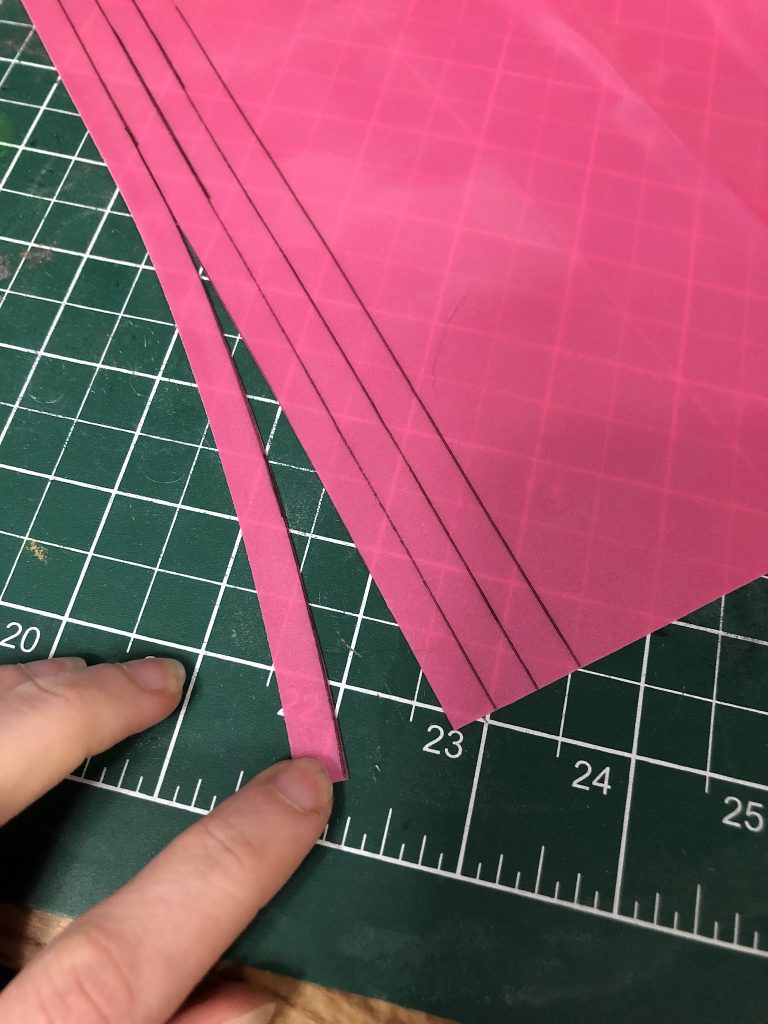
This is approx 3/8″ trim. I’ve used slightly thicker trim for bigger gloves, but I wouldn’t use anything thinner personally. If you use any thicker trim on tiny fingers lik I have, you’ll make your life a lot more difficult.
Important note here that you can also purchase trim pre-cut from some manufaturers, so you might not need to cut it yourself, if you plan ahead, which I did not do here, haha.
Now that we have the trim, we’re gonna prep where we’re going to put the trim.
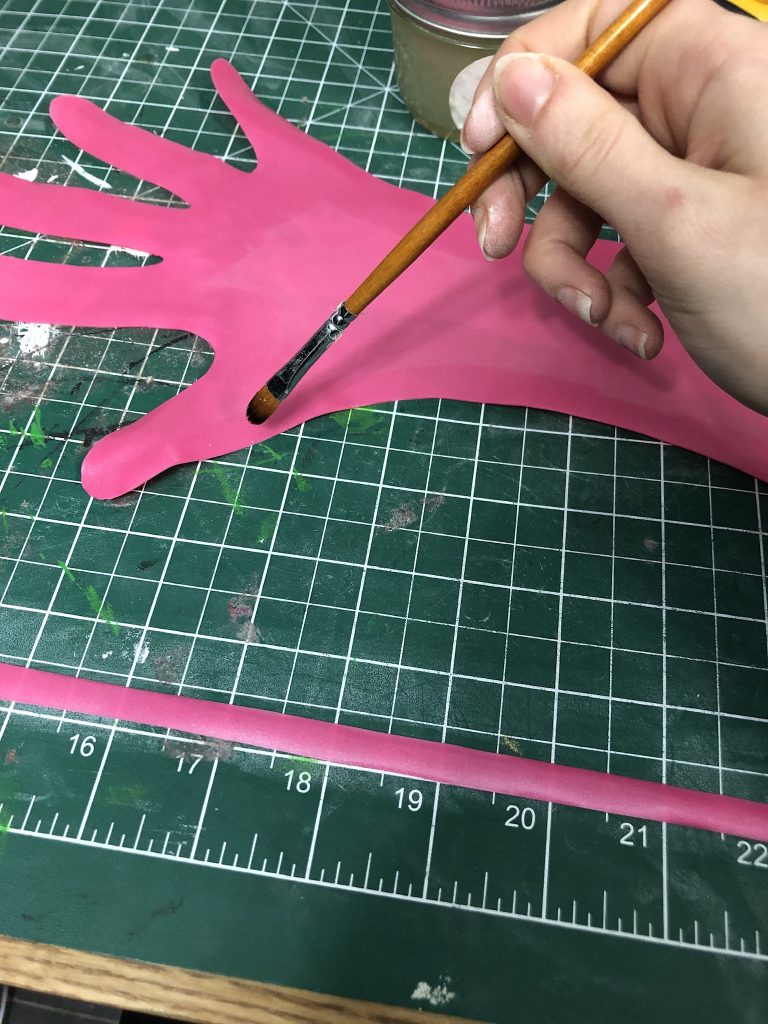
Prep the seam in the usual way, clean it, put glue on it and the trim you’re going to put down — but put the glue on the shiny side of the trim. It’s a really small, really knit-picky thing, but if any trim shows through to the outside, it’ll be the same as the rest of the outer-facing fabric.
This is also where I mark the seam allowance, which will show you where to glue on the trim. Whatever width your trim is, you want it to be about half of that.
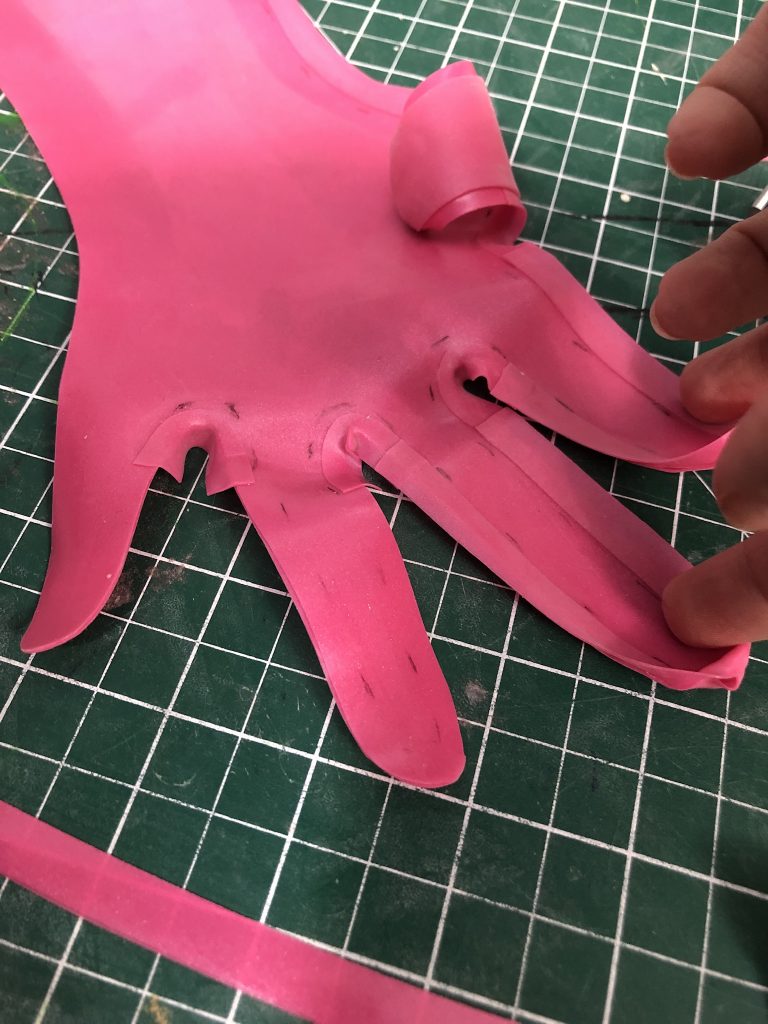
Now, to apply the trim.
Essentially, we’re going to use the trim to hold these two halves together, by gluing half on one side, and then half on the other. Then, when we turn the glove right-side out, and pull apart the part we laminated together earlier, this will hold the glove together.
Personally, I like to apply the trim in segments, which you can see in the picture above. I apply short pieces of trim in the ditches of every finger first, and then around each finger.
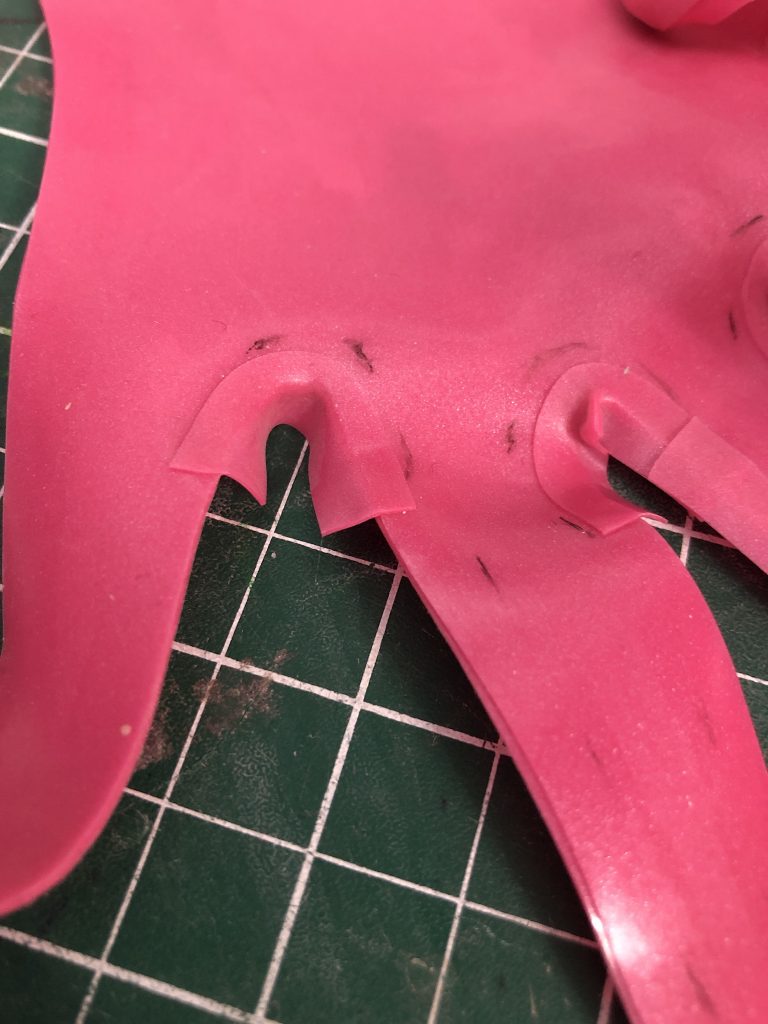
To apply the trim flat around corners like this, you’ll have to stretch it, which is a little strange feeling at first, since most of the time you’re trying to keep latex from stretching while you work with it. In this case, stretch the trim as much as you need to in order to get it flat.
Make sure to overlap the ends of your trim pieces and glue them together, whenever you’re joining two separate pieces of trim.
Around the ends of the fingers, you’ll probably notice that your trim is making the fingers curl; this is normal, and won’t make a difference when you turn the glove right side out.
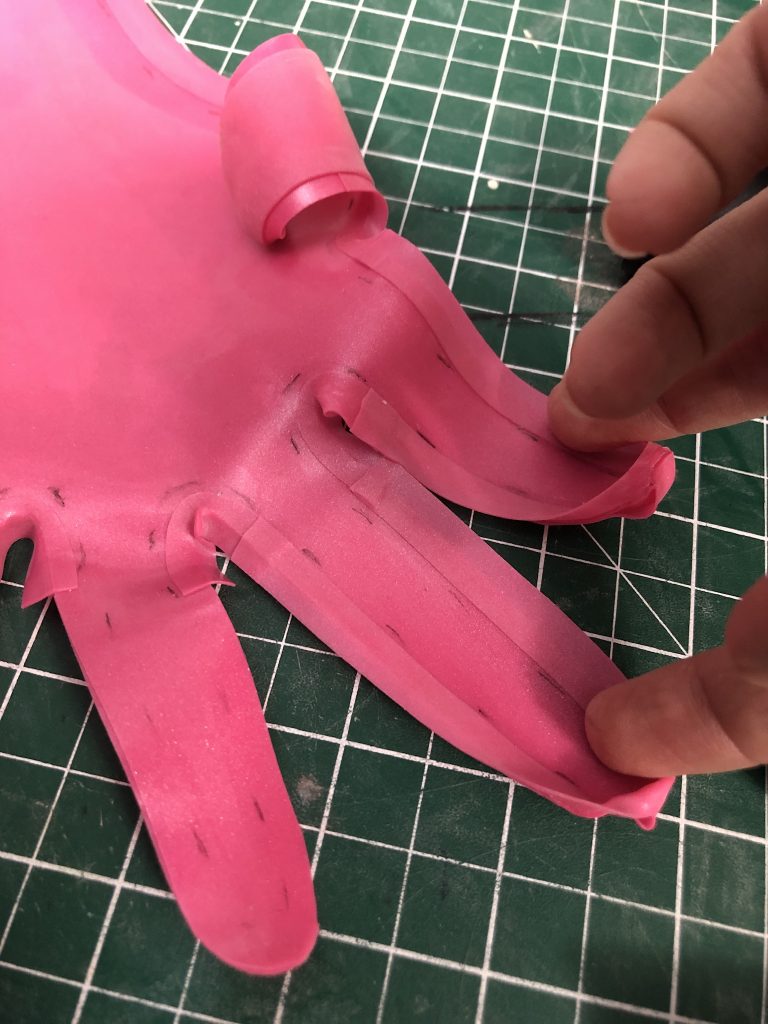
Pictured: curling fingers.
Once you have trim applied on all the fingers, and all the way down to the hem of your glove, turn it over, and clean and glue the other side.
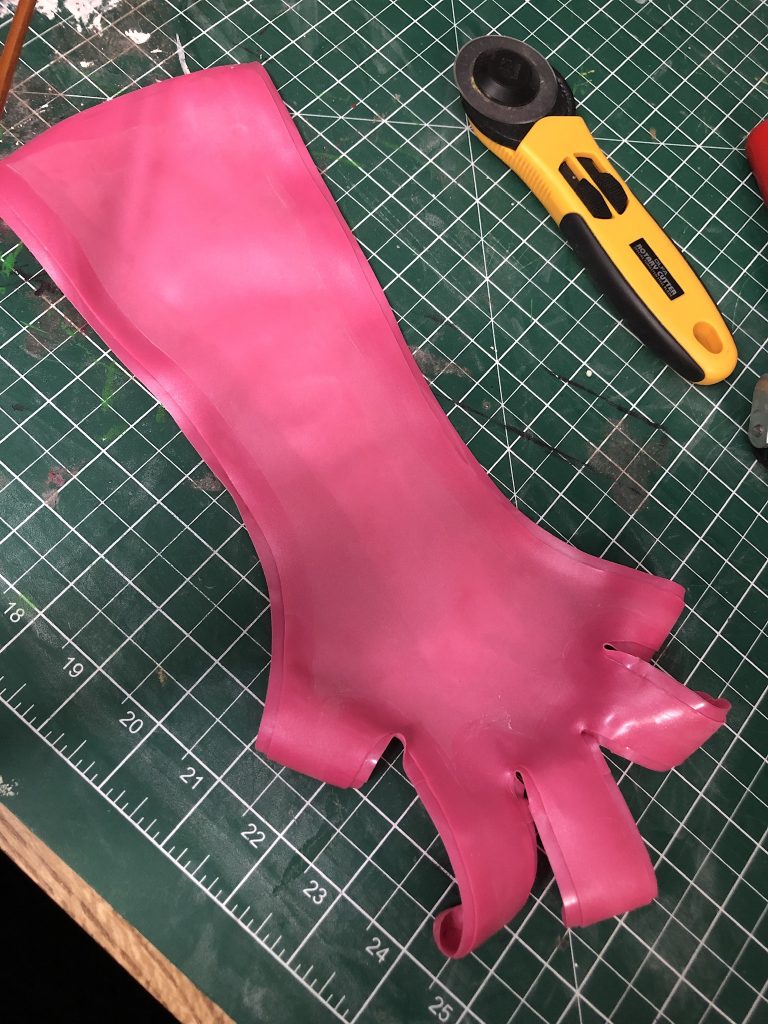
This next step is really important to make sure everything adheres the best it possiby can, so it will look the neatest from the outside. Fun fact, this will probably also make it air-tight, if you do it correctly, as this is the same way that I put together latex inflatables. (Which is how I’m going to do Panther’s tail, so stay tuned.)
You’re going to press the trim with your hand against the side of the glove, so that it stands up. I know, that’s confusing. Here’s a photo.
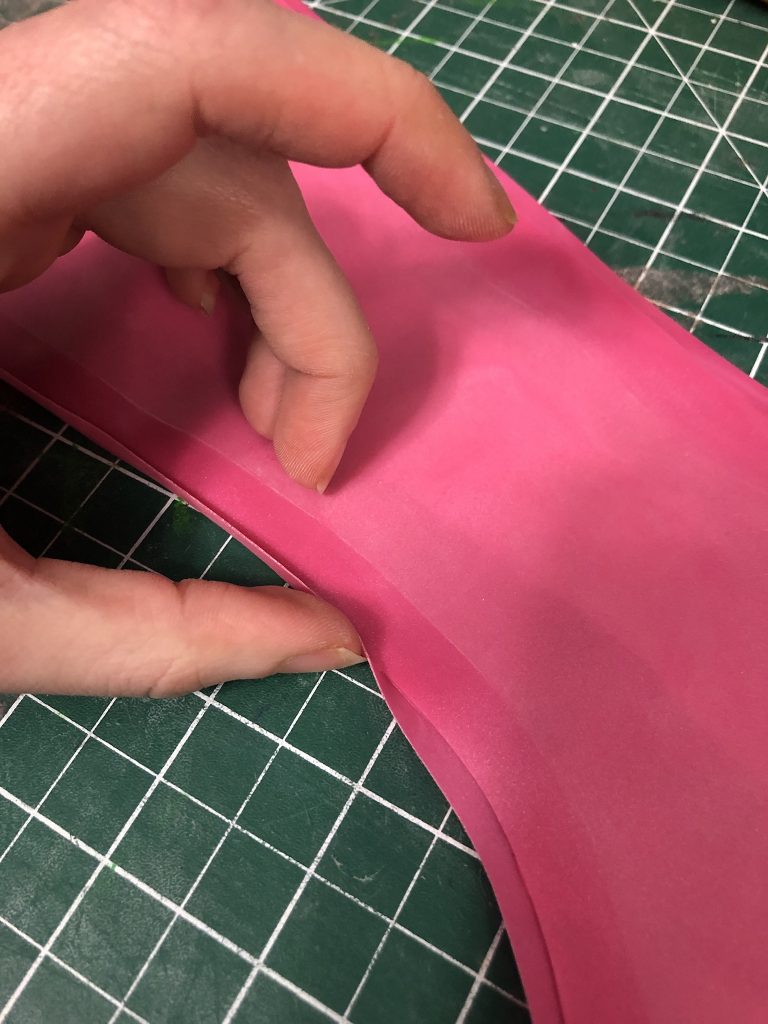
It should stand up on its own, even when you’re not holding it; if it doesn’t, there’s not enough glue in the area. Apply some more, wait for it to dry, and try again.
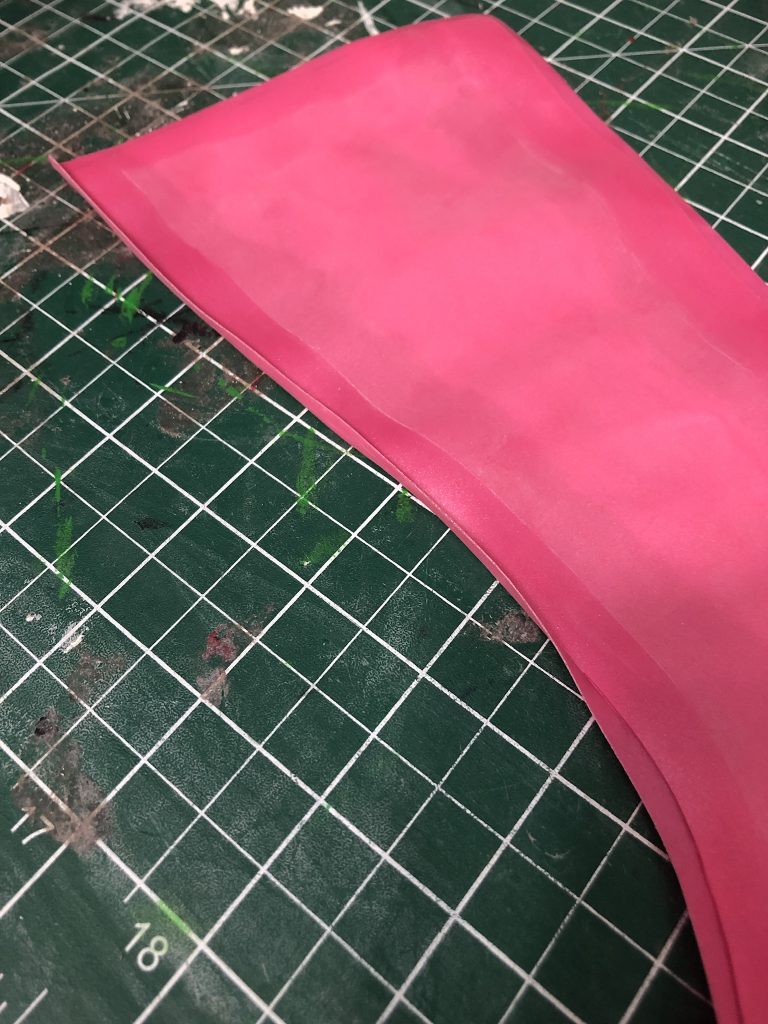
Do this all around the whole glove. Then we’re going to fold over the trim, and press it down on this side.
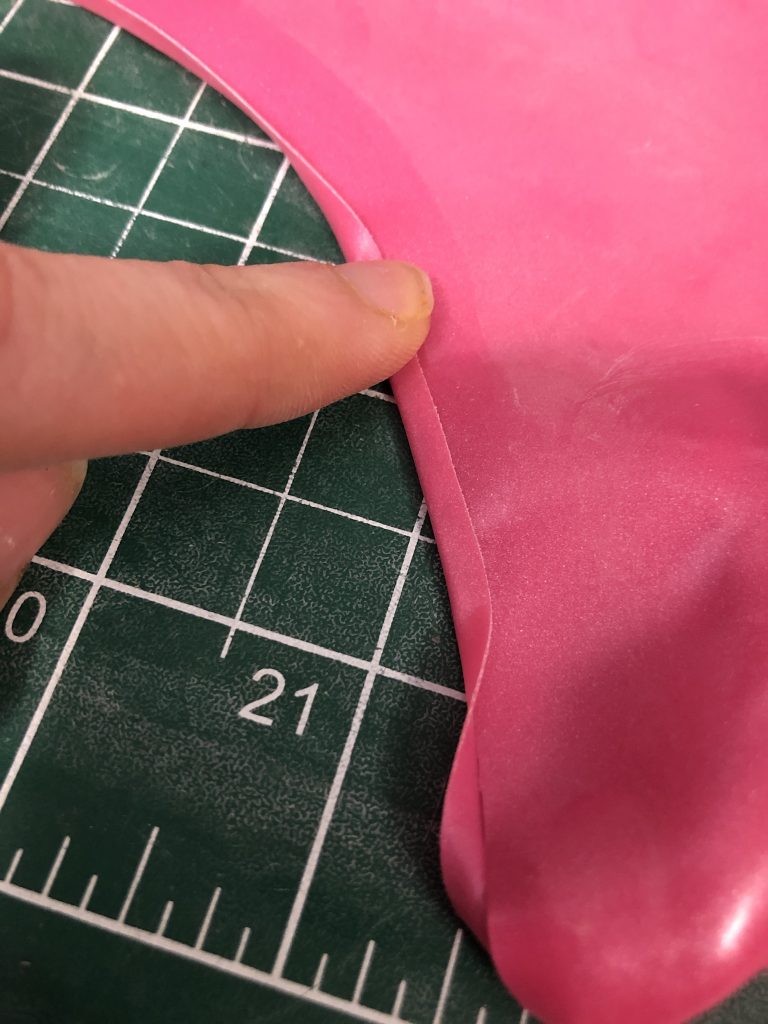
This gets a little bit tricky around the tips of the fingers; you can see that I haven’t done it in the above picture.
The tips of the fingers should still be curling the other way a bit, and you can use this to your advantage. Pick the finger up and flip it carefully the other way, this should also flip the trim over to the correct side and press it up, like we just did along the rest of the glove.
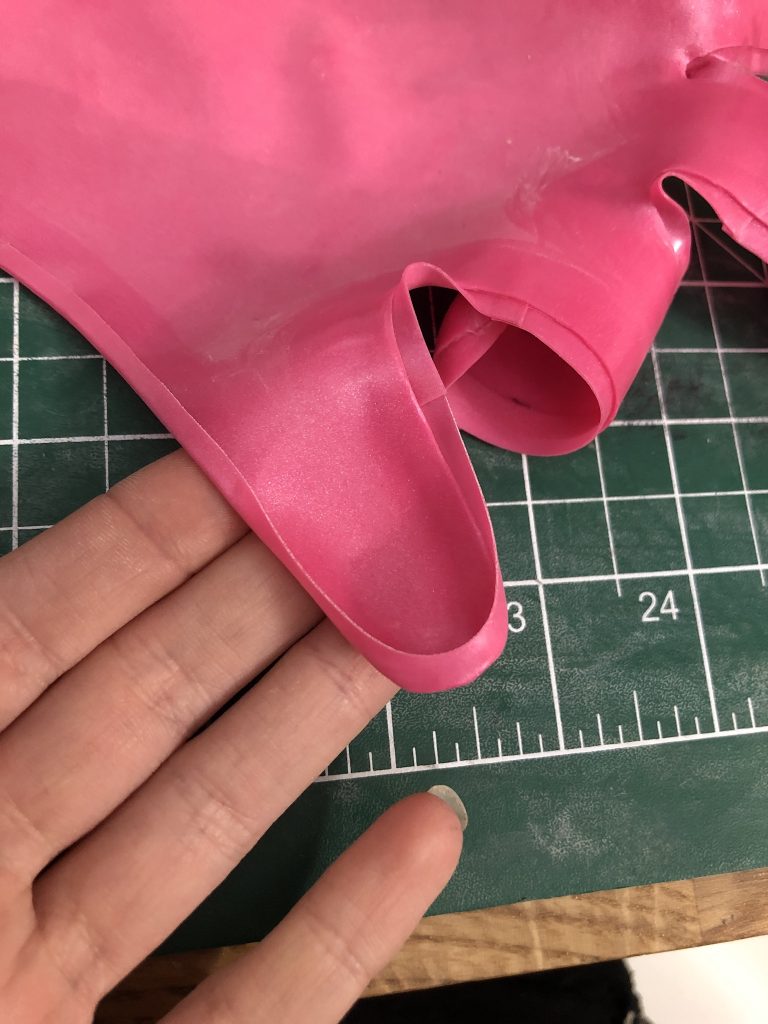
The finger is now curling up, to get the trim down easily, flip the finger again so that it’s curling down. This will help stretch out the trim and make it go down smoothly.
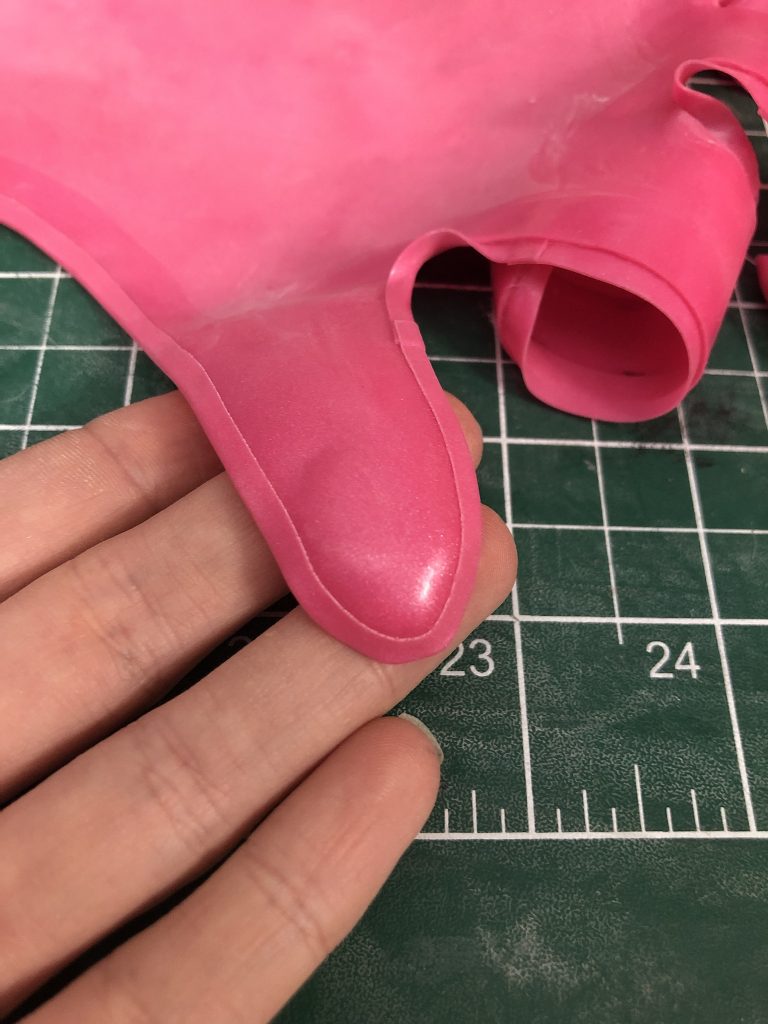
This takes some practice, y’all, so don’t worry if it doesn’t come to you immediately. All of this is hella fiddly.
Once you have all of the trim glued, give it a good, strong roll, then clean the extra glue and pen off around the trim, and powder it.
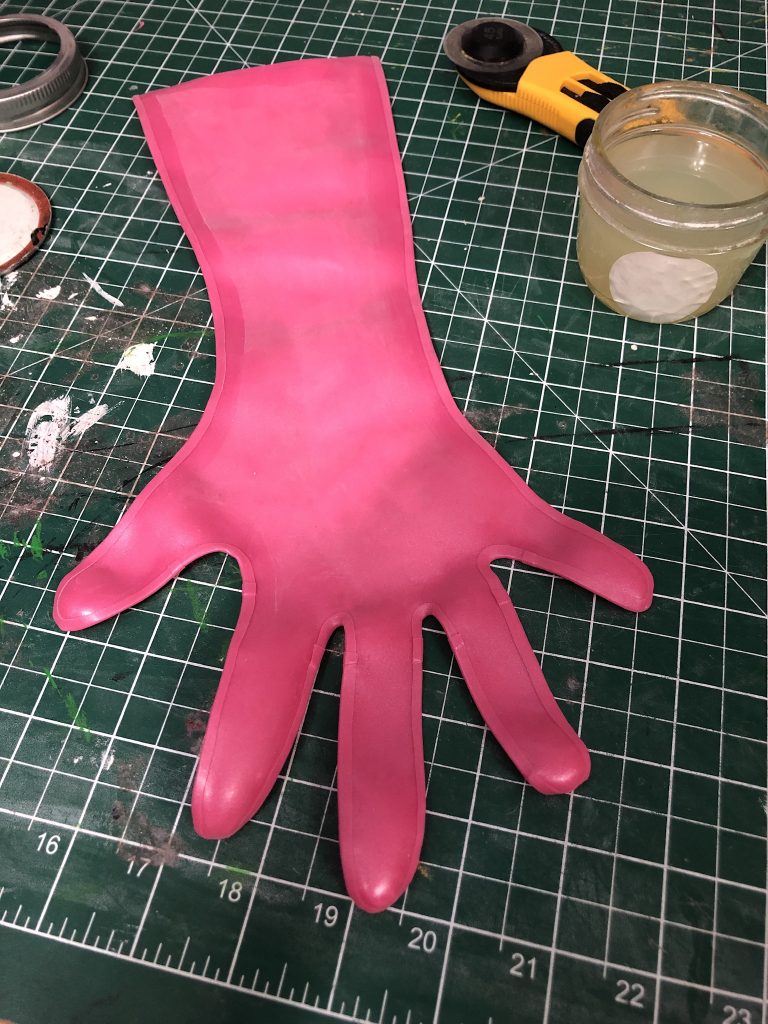
Once it’s cleaned and powdered, we’re going to flip the glove right side out again, and we’re going to pull apart the parts that are laminated together as we go.
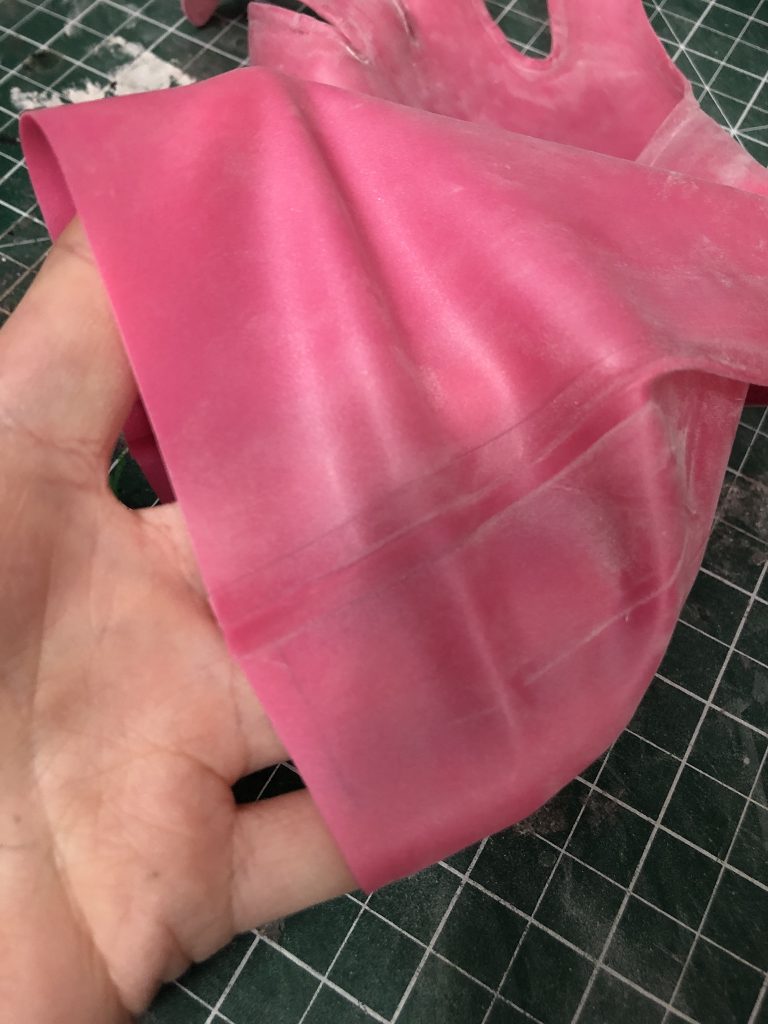
Once you have the glove completely pulled right-side out again, it’s ready to try on!
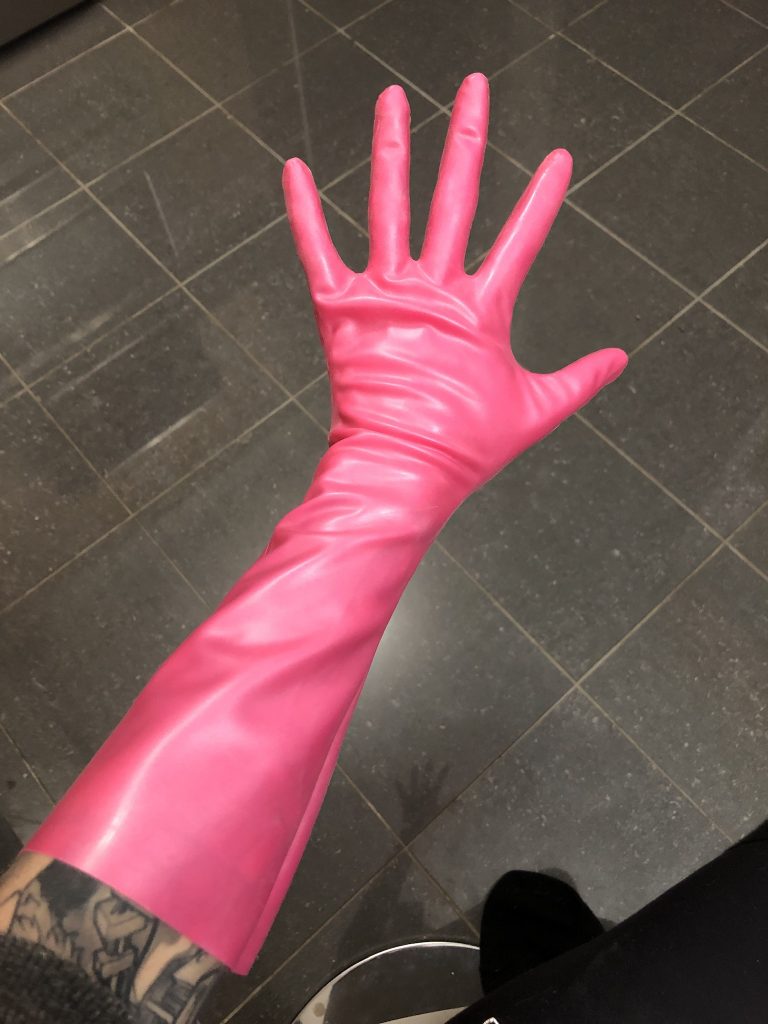
You can see here that I have a little bit of a worble between the ring finger and the pinkie at the knuckle, which I’m not super thrilled about. There’s a little too much fabric at the finger junction. Something to fix in the next one!
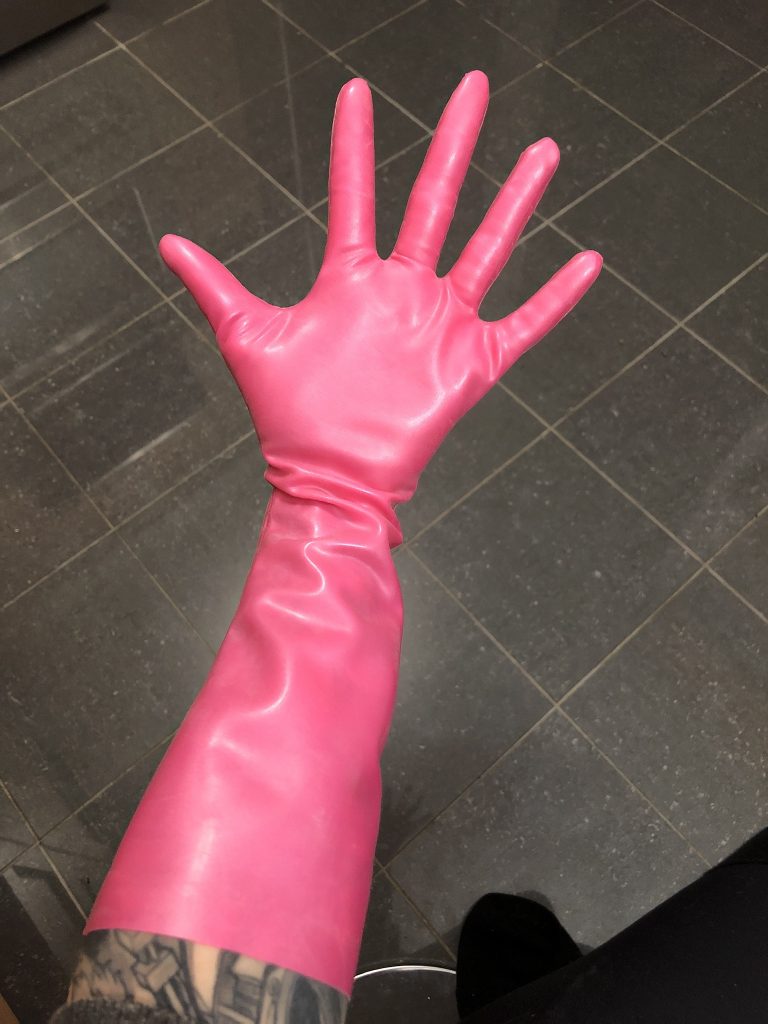
The seam on this isn’t super visible, for the most part, although if your glove isn’t completely skin-tight you might find that it folds in just a tiny bit where the seam is.
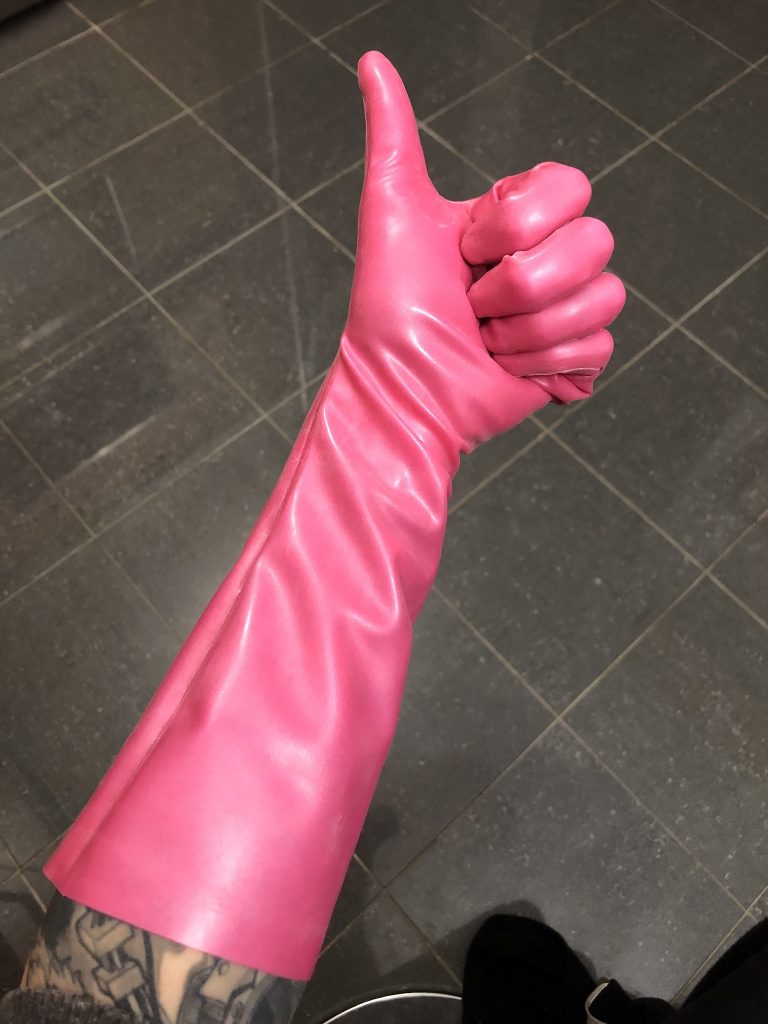
That’s it! That’s a glove!
Happy crafting! Let me know if you have any questions!

