
So! Reno’s wig! Where did it come from? I cut it from scratch!
This is actually the second wig that I’ve done a major overhaul to like this — the other one was Hawks, which is the other wig that people ask me about all of the time. Getting boy-short lacefront wigs is really hit and miss, I personally haven’t found a place that does them that I like yet, so I’ve been ordering long wigs and cutting them down to size.
This is especially good for Reno, because he has the world’s dumbest mullet.
Here’s some reference, in case y’all are new to seeing Reno —


You can see the length of his ponytail there in that last one. So this means I had to start with a long red wig.
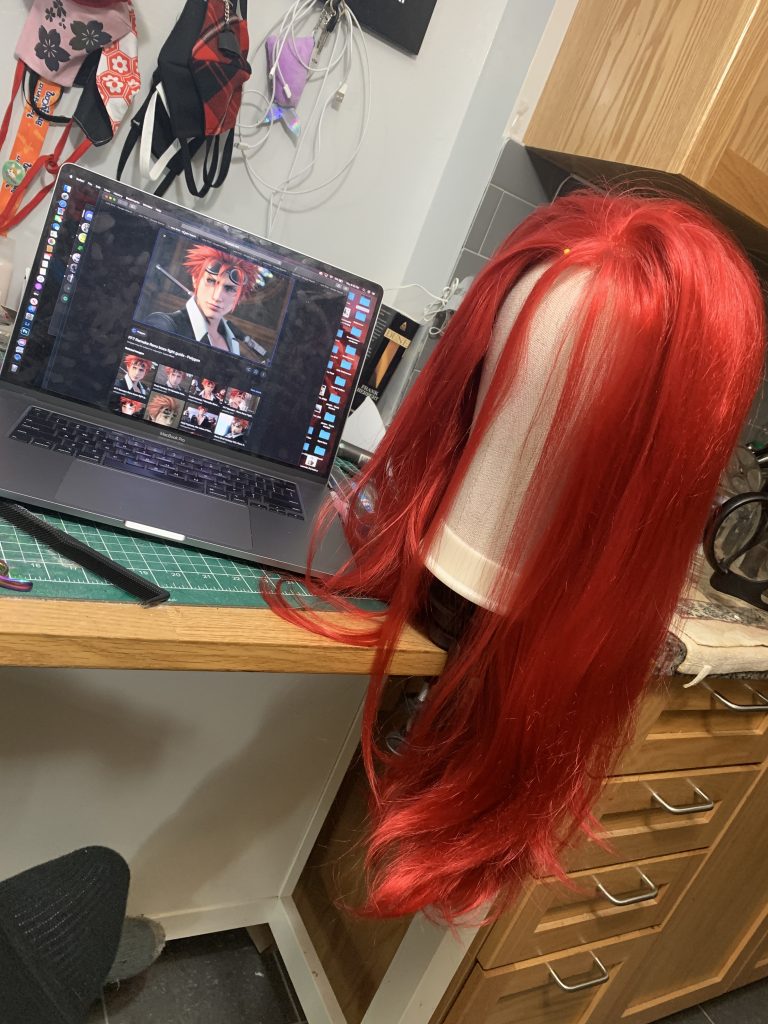
Like this one!
You might recognize this wig as my Jessie Team Rocket wig … At least at the moment!
Let’s quickly go over the tools I use for cutting wigs, because my last wig tutorials really focused on dyeing.
The wig is on a Wig Block — these are easily purchased off of ye olde Amazon, for ~$30. (I think about $10 if you have the time to wait for one from AliExpress.) They come in different circumferences, so that you can pick one that’s the right size for your head! And they come with either a clamp to attach it to your table and/or a tripod for the block to sit on while you work.
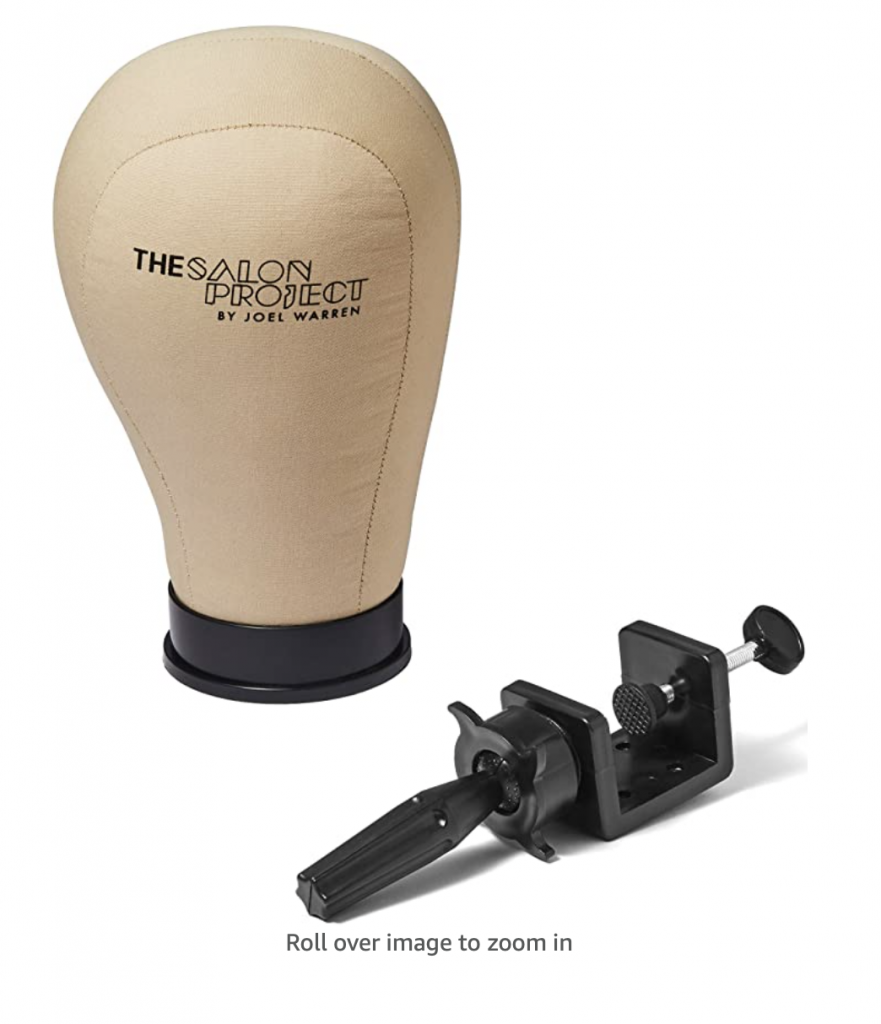
A random wig block photo that I pulled off of the web.
You’ll notice that I have the lace pinned to the block — I do this at the centre-front, and then the bottom edges of the lace, and sometimes I pin the back as well, depending on how hard I’m tugging on the wig as I work.
You’ll also need hair scissors. I looked into this, and I haven’t found solid information on whether more expensive hair scissors are “better” for if you’re styling primarily synthetic wigs, which is what I’m doing. So I’ve just been buying cheap hair scissors and then tossing them when they get dull — usually I’d try to get them sharpened, but, well, quarantine. I’m on my second set of hair scissors, I seem to go through a set about once annually, so every 4-6 wig cuts.
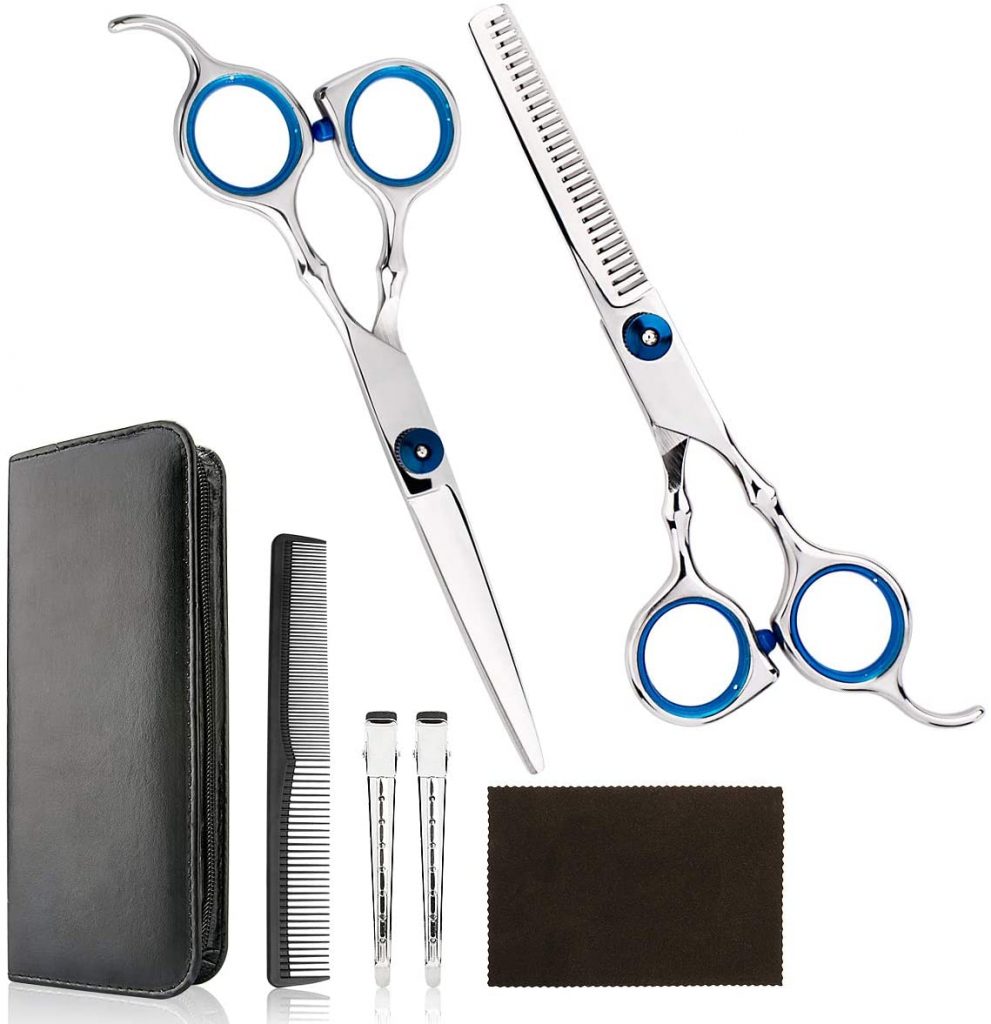
This is what your average, cheap set of hair scissors looks like — expect to pay anywhere from $15-$30. Personally, I tend to only use the regular scissors — I find the thinning shears mostly just chew up the ends of my wig hairs and makes them look terrible. (Would this happen with more expensive thinning shears? Probably not. 😂 I haven’t liked them enough to try.)
For Reno’s wig, you’ll also need another couple of things — A teasing brush, hairspray, and a hair dryer.
I have a cheap boar bristle brush from Conair —
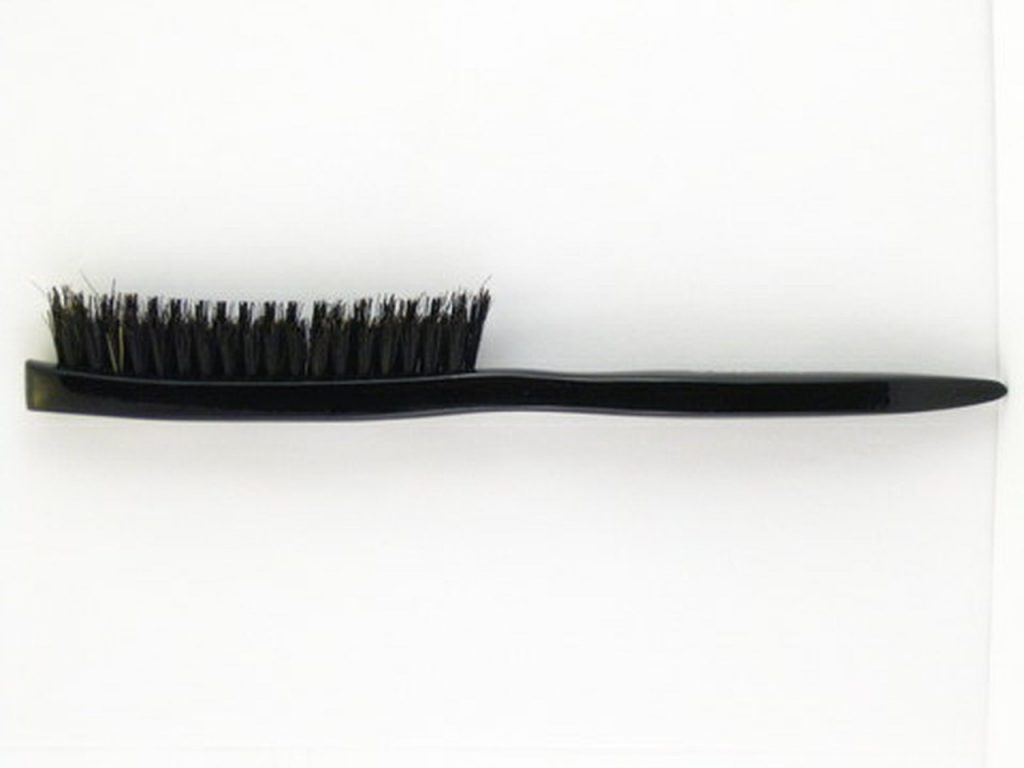
It looks like this! You can also get synthetic ones — and teasing combs that have boar bristle on one side, and synthetic on the other. Personally, I prefer the boar bristle, but synthetic is good too. I’d mostly just recommend not getting a teasing comb, stick with the brush. (I find it works better on synthetic fibres, combs work find on real hair.)
And for Hairspray I use Got2B Glued Freezing Spray, the one that comes in the very yellow can that looks a little like an Air Horn.
Alright, tools figured out — let’s talk about actually cutting the wig.
I tend to cut wigs in stages, gradually getting shorter and shorter. With this wig, the first thing I did was section out the ponytail, and then cut everything else to about half-length.
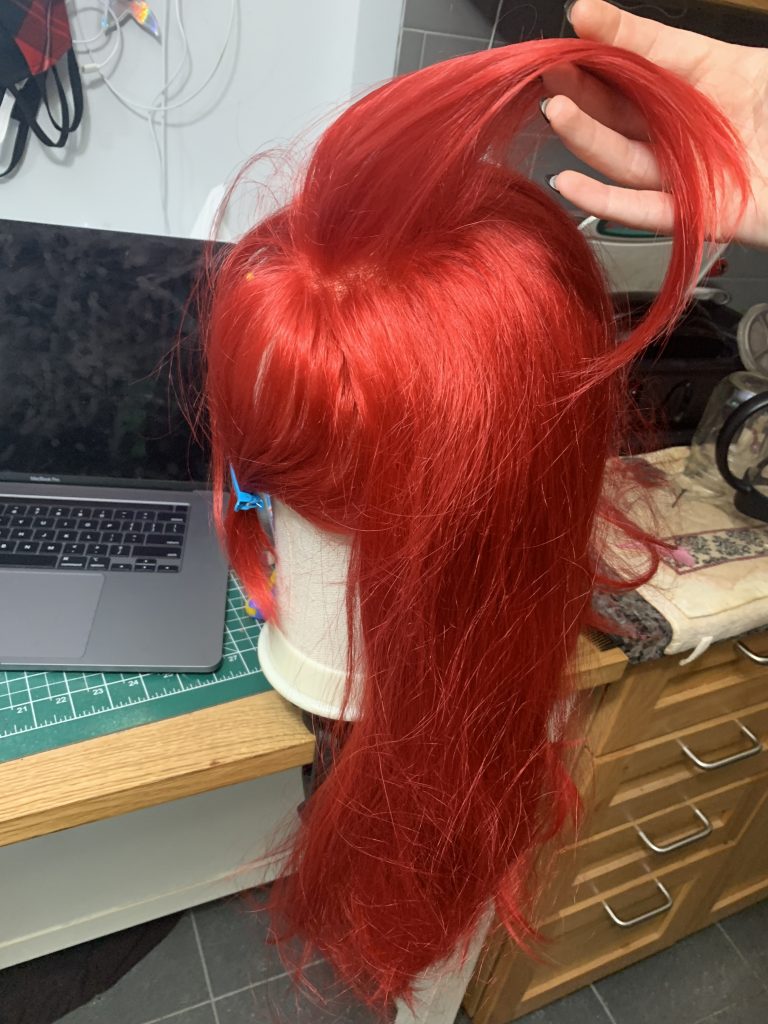
Once trimmed to half-length, I pulled some of the front pieces forwards, to be the bangs.
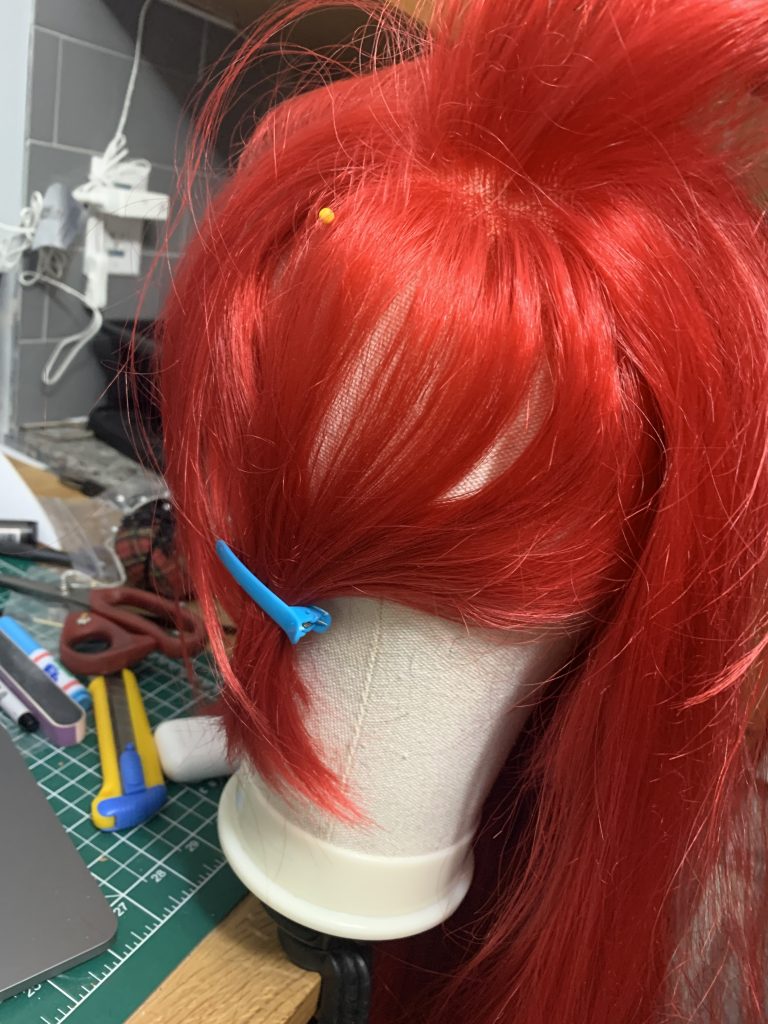
Then I worked through the wig, towards the back, cutting everything to half-length except for the back ponytail.
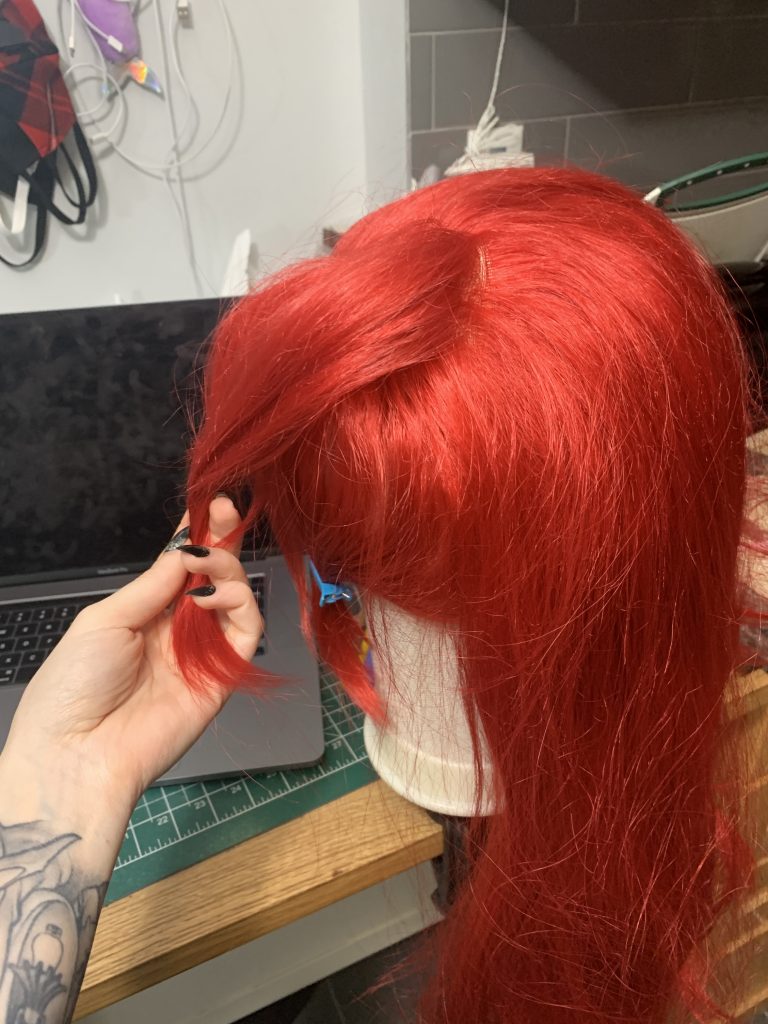
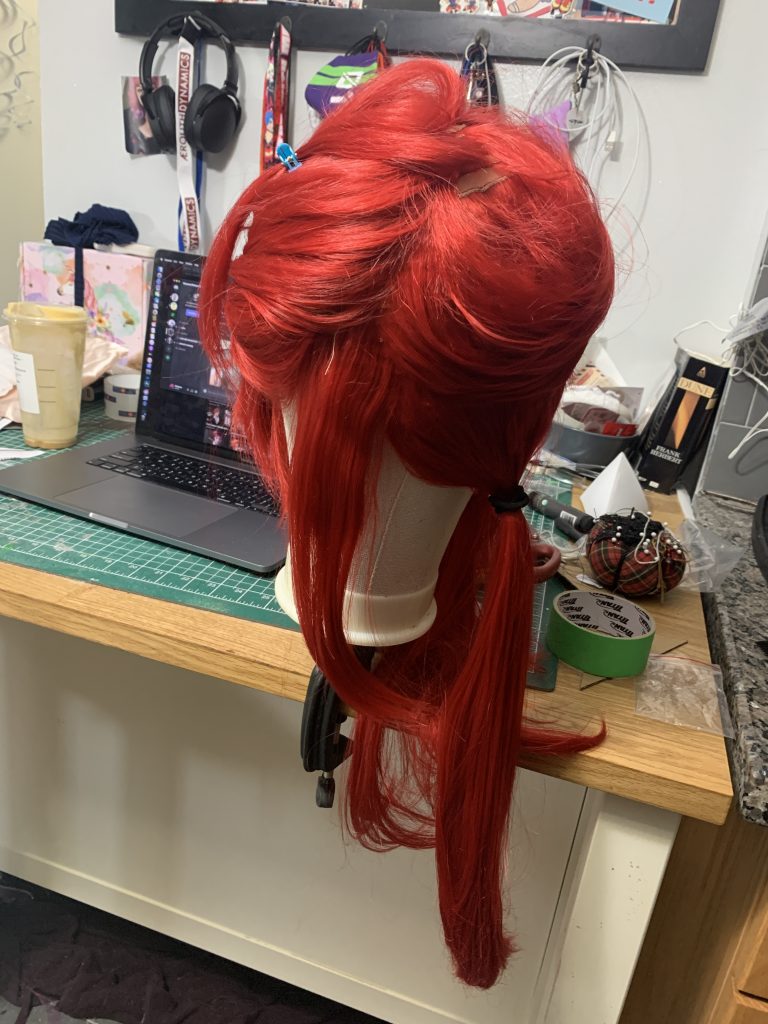
As I trimmed the hair, I clipped it in place, out of my way.
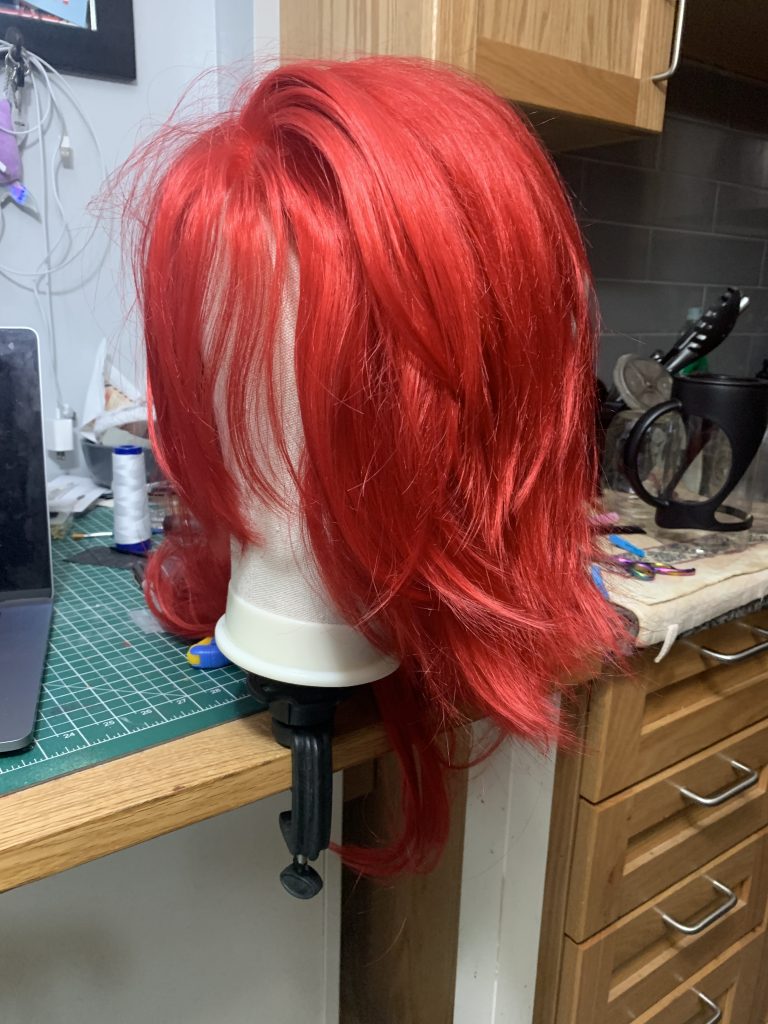
Here it is trimmed halfway.
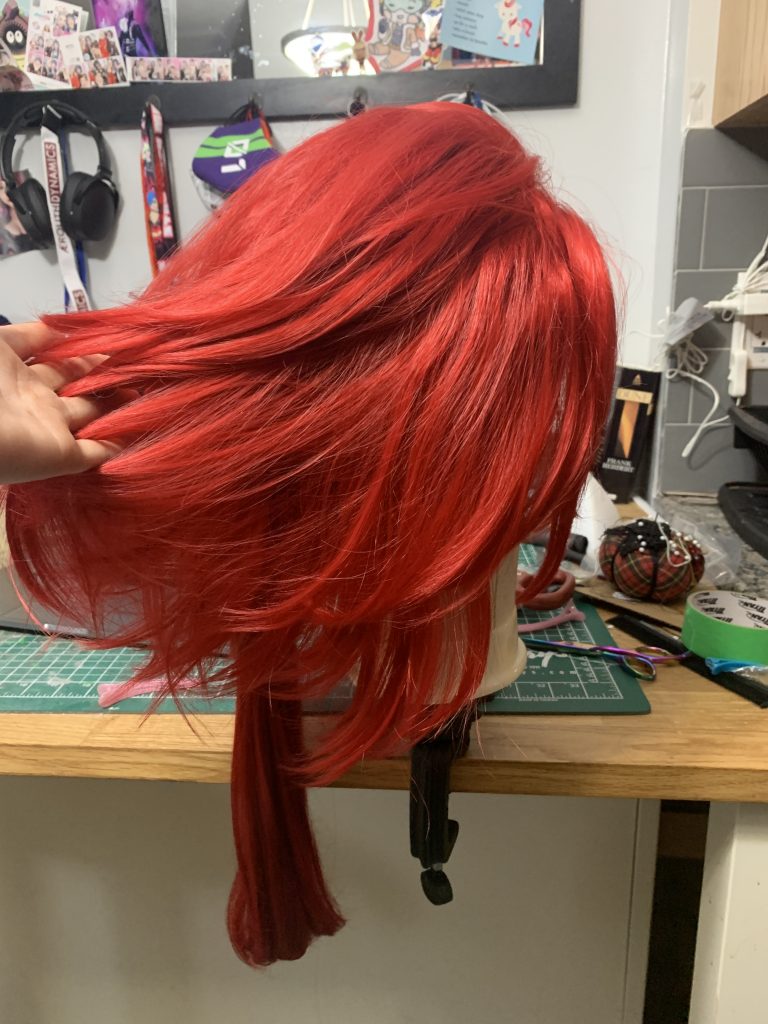
Now that I have less hair to deal with, I decided to start sectioning out the hair — bangs forwards, ponytail tied in as ponytail, and I lightly teased everything else, to give me some idea of how long the actual hair needed to be.
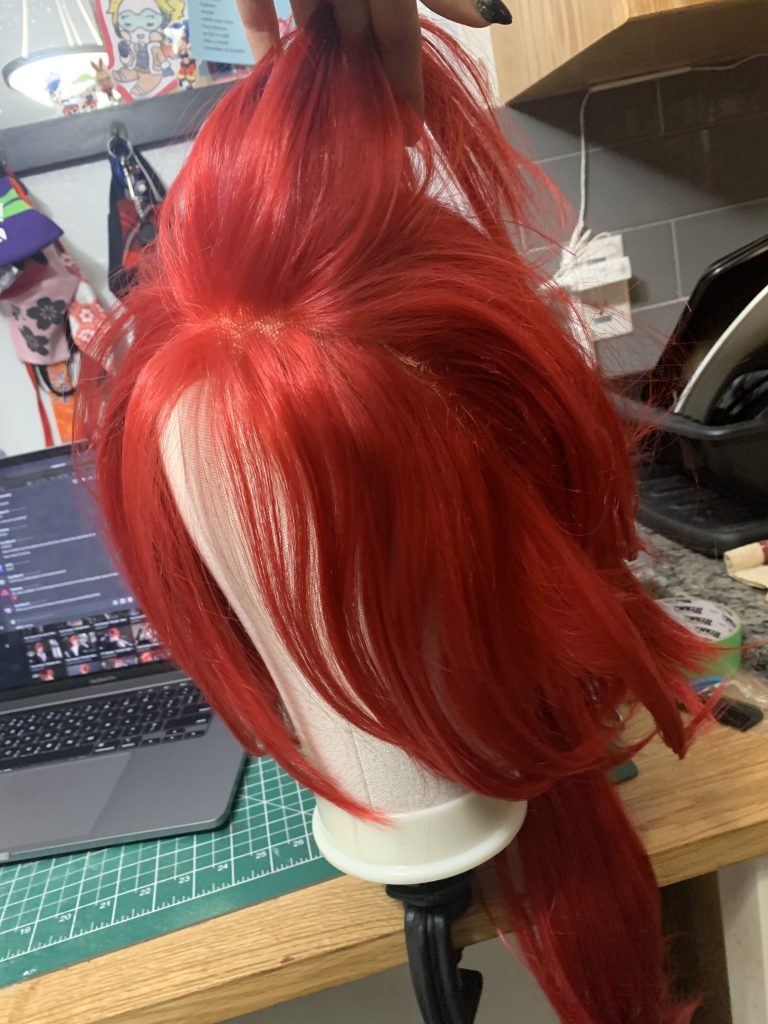
For sectioning the bangs, make sure that the part (where your bangs pull forwards and the rest of the hair pulls back) is within the actual lace at the front of your wig — if you put it too far back, you’re likely to see the wefts at the back of your lace, and they’re generally pretty ugly. (You can see the edge of the wefts at the back of the lace in the photo below; I pulled extra hair forwards just to be safe!)
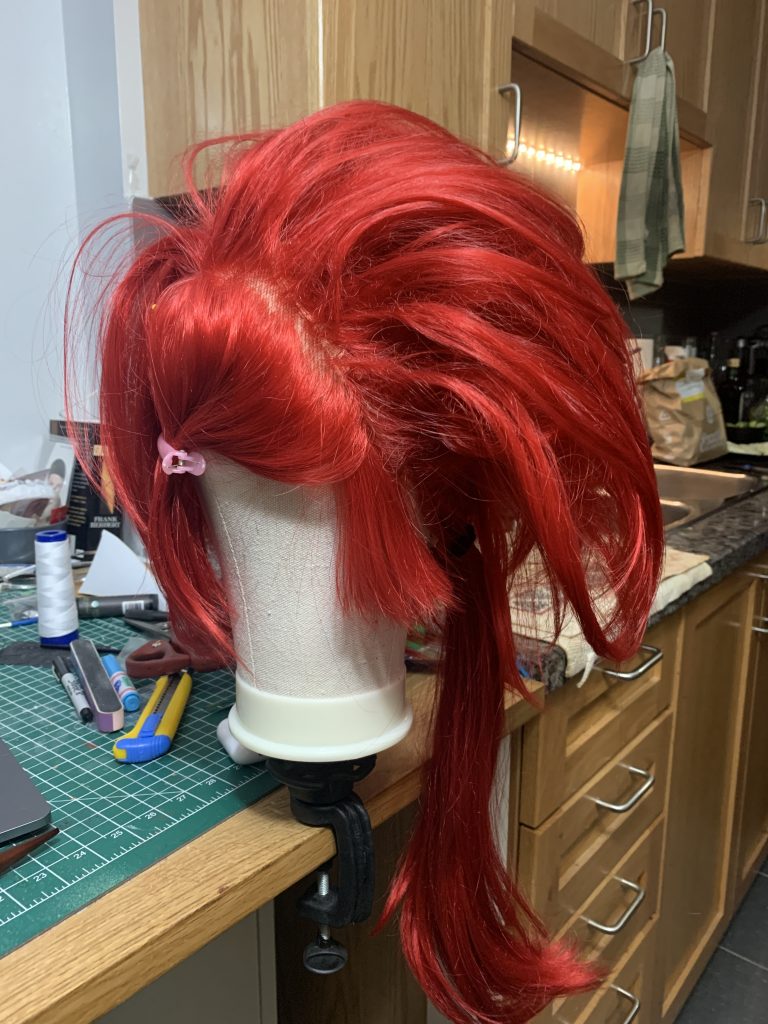
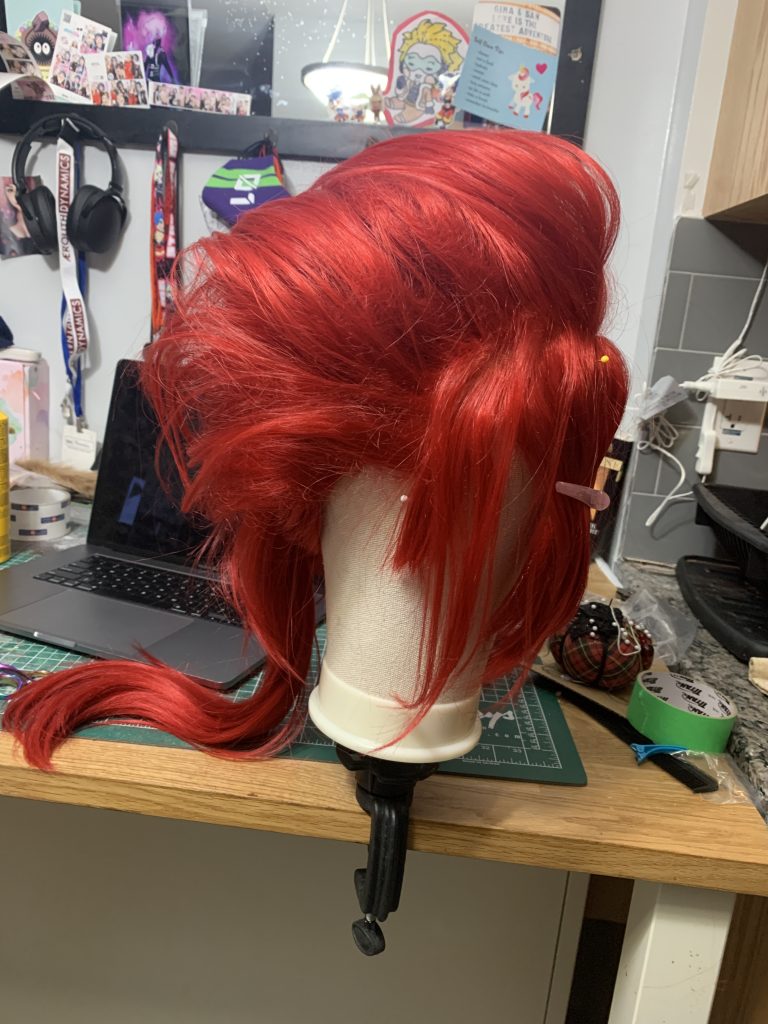
So here’s that giant mess of hair, but teased into shape! If you’ve never teased wigs, there are a ton of tutorials of people teasing wigs on Youtube, so I didn’t especially feel the need to do yet another video, but essentially you hold a chunk of hair, and brush backwards, into the roots. This will tangle the hairs together at the base, and allow for the hair to stand up. Then you can brush out the “outside” of your spikes/teased section, to make it look smooth.
Since this was all for me to get a feel for the wig, I just roughly teased the whole section, decided how much I wanted to cut off, and then mostly brushed the teasing out.
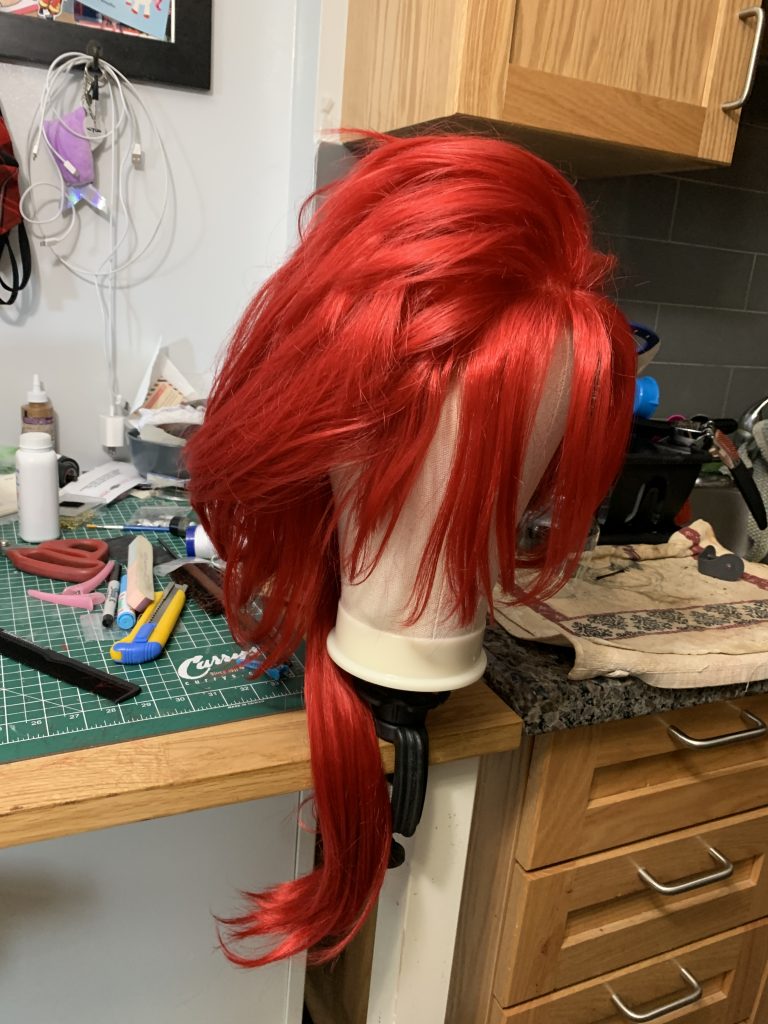
Why? Because I didn’t want extra-long tangled hairs in there during my cut. I knew how much I wanted to cut off, though, so it was time to get back to work.
I want to take a minute here and mention that I wasn’t just cutting straight across — that will give you a straight, blunt edge, which isn’t what’s happening in Reno’s hair. I did that for my preliminary cut — holding the hair like this stock photo I have so helpfully found (because it’s hard to take this photo by myself).

And cutting straight across, which is a blunt cut. But for this, you want some different hair lengths, which looks more natural for the spikes, and so —
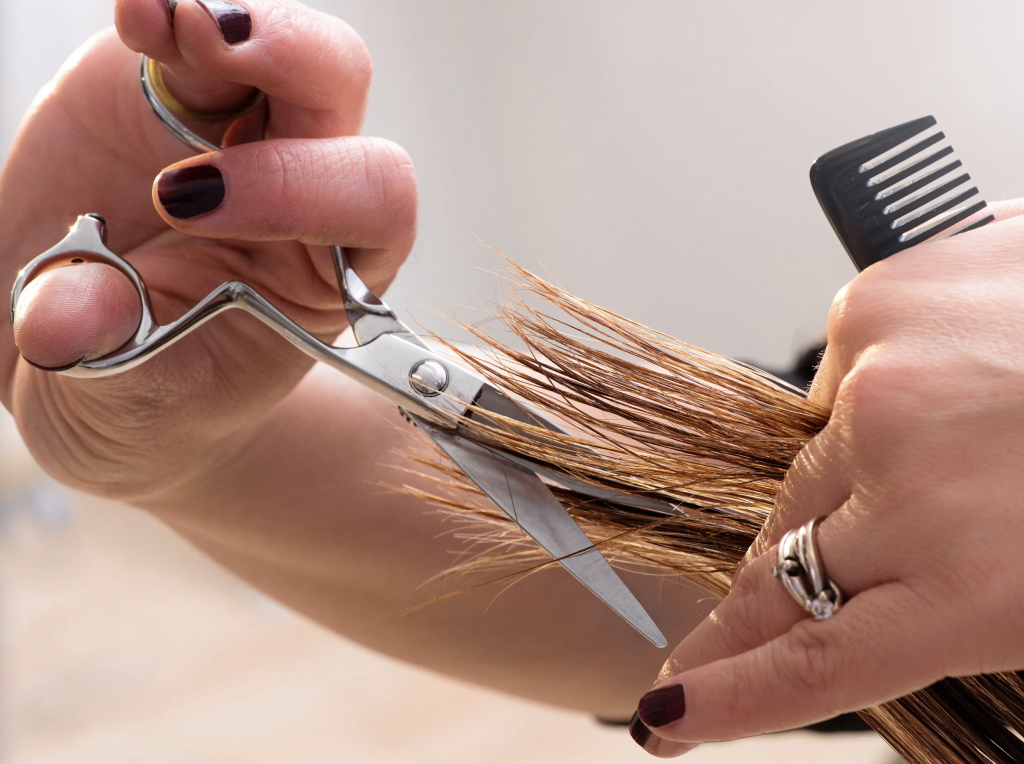
You cut more like this, into the hair, on a slight angle so that you’re still cutting hair, but you want an assortment of hair lengths for the spikes, which looks more natural. You can also cut hair straight across to get the right length, and then cut straight into it as is in the photo to “fix” your blunt cut, if you prefer.
(This is also how you cut hair to thin it — this is how I thinned out Lio’s bangs, the bottom of Reno’s ponytail, and all of the long bang pieces on Reno!)
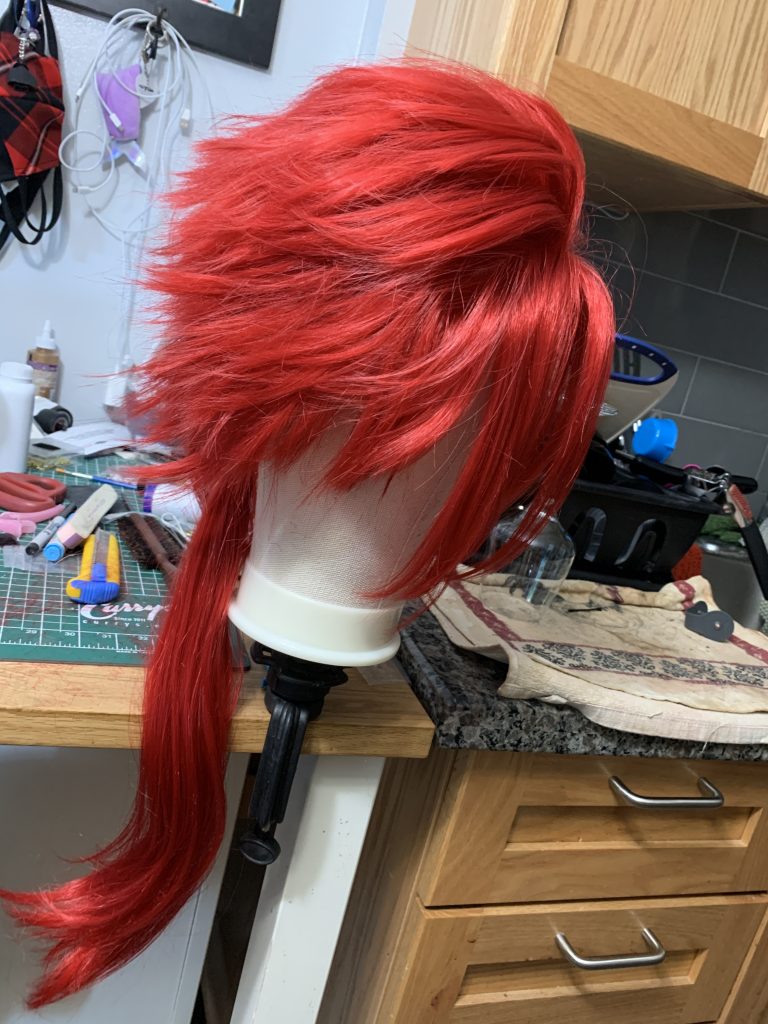
Closer again! I took another few inches off the wig, and it’s starting to look more like Reno!
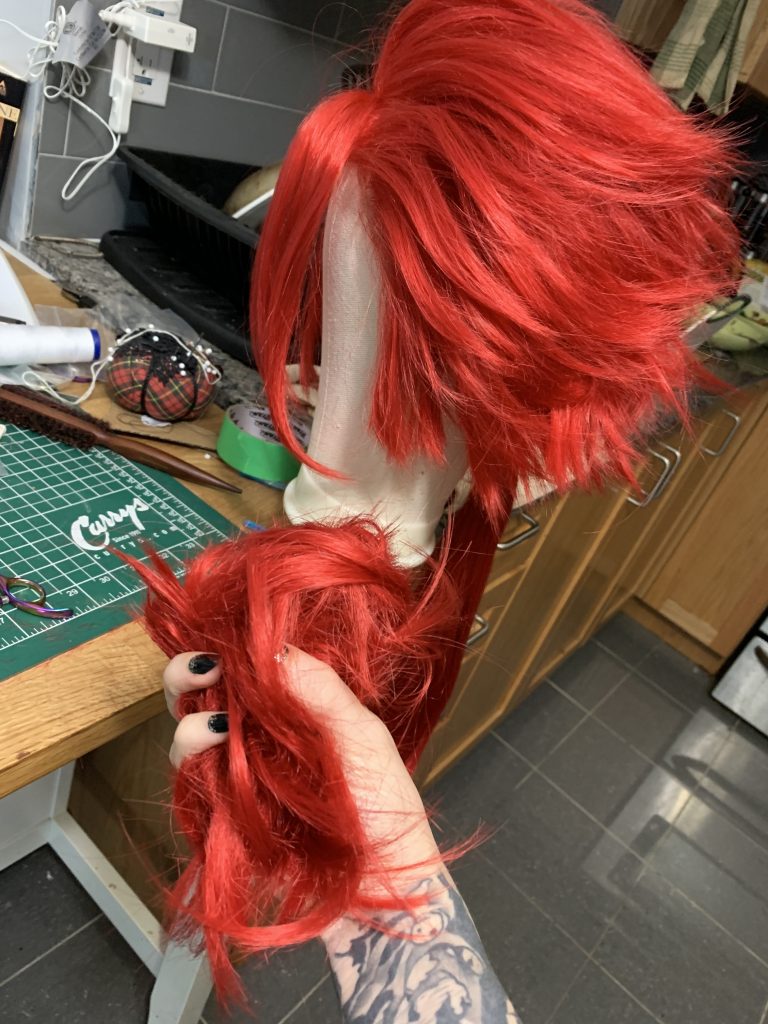
I more or less halved the length of the hair again for these.
The next thing that I did was go through and straighten the hair — you’ll notice it has a lovely little bit of wave in it, but Reno’s hair doesn’t, so we had to kill that. 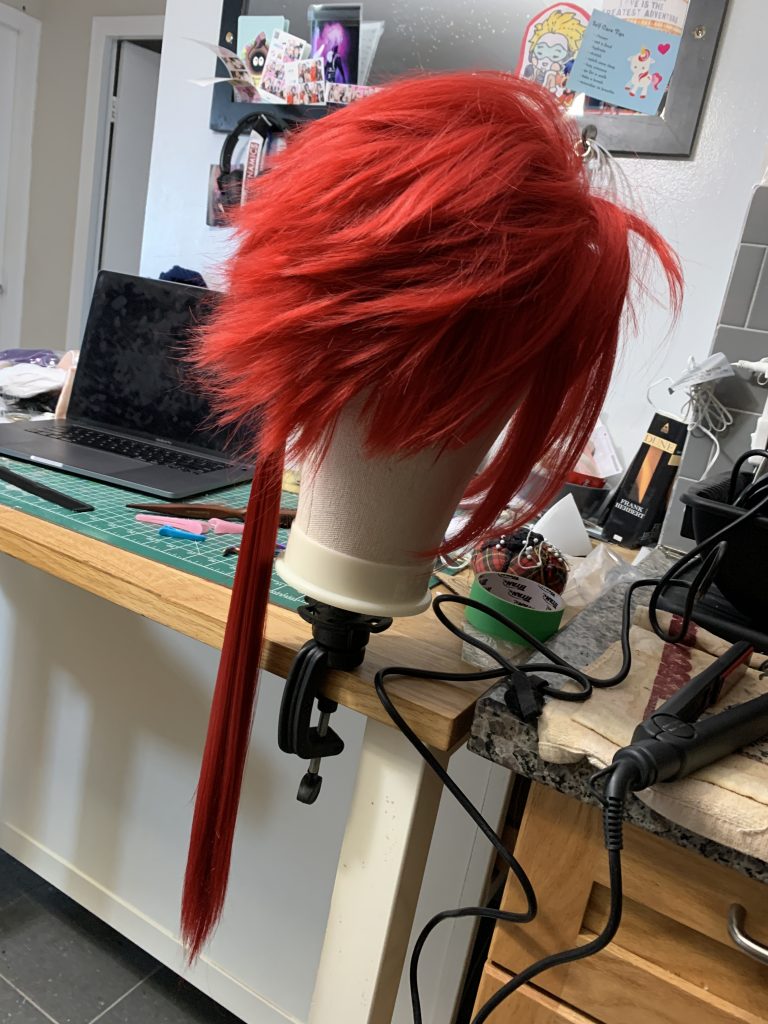
Most synthetic wigs these days are heat-resistant, I have a hair straightener that does relatively low temps, and I generally set it to ~100-120C for working on wigs. It takes a little longer, but I’ve had wigs that say they’re highly-heat resistant crisp a little on anything higher, so I just work in smaller sections with lower heat just to make sure.
It’s still a little long, though, so now it was time to go in and finish refining the wig —
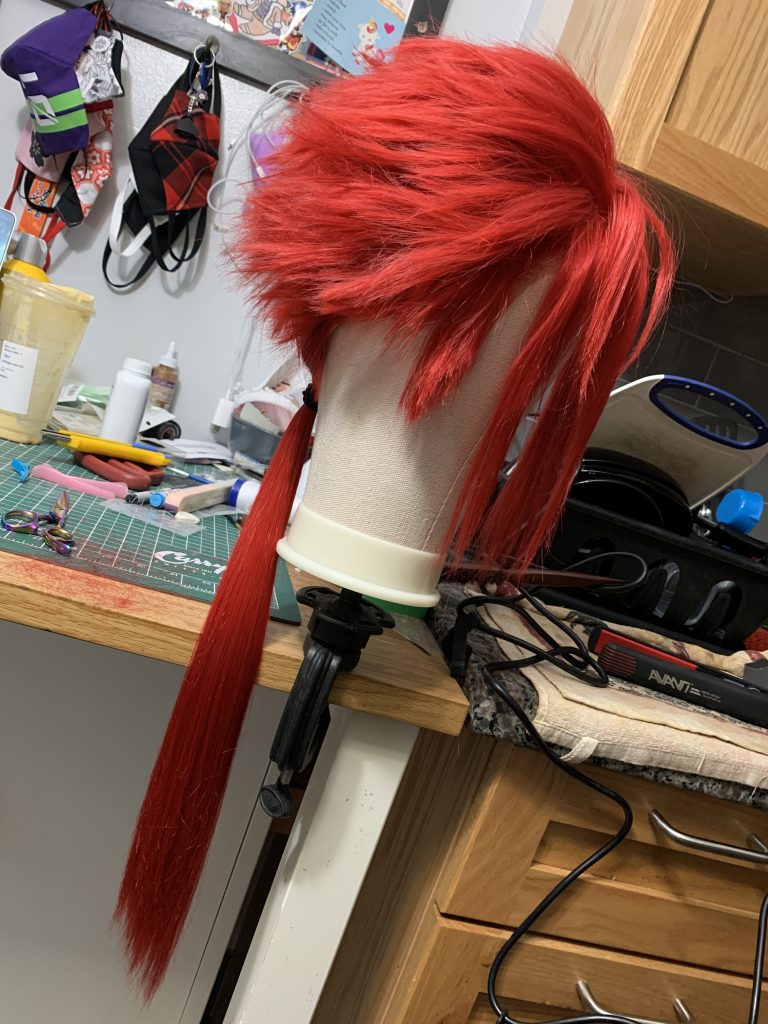
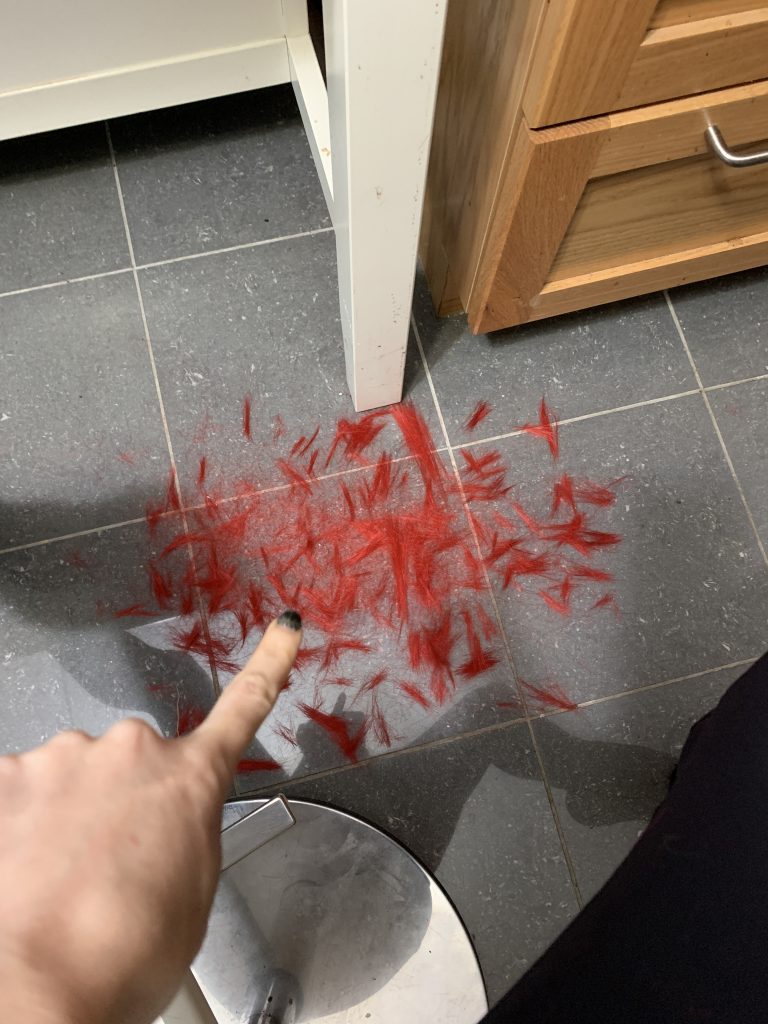
You can see that I wasn’t taking off anything too gigantic, like an inch or two tops. This part was really slow going, I stared at reference a lot. This is when I cut the sideburns as well — this is the side-most parts of the lace, I tend to cut those down to ~1/2″-1″ long, with as much thinning as I can get away with, so that they’ll sit as flat in front of my ear as possible.
(By the way, feel free to try your wig on and then cut away the side lace as much as you need to cover your natural sideburn but to let your ear out. Try to roughly follow your natural hairline with 1/4″-1/2″ extra don’t worry about cutting lace with hair off! It’ll make your wig sit so much nicer if it’s not over your ear.)
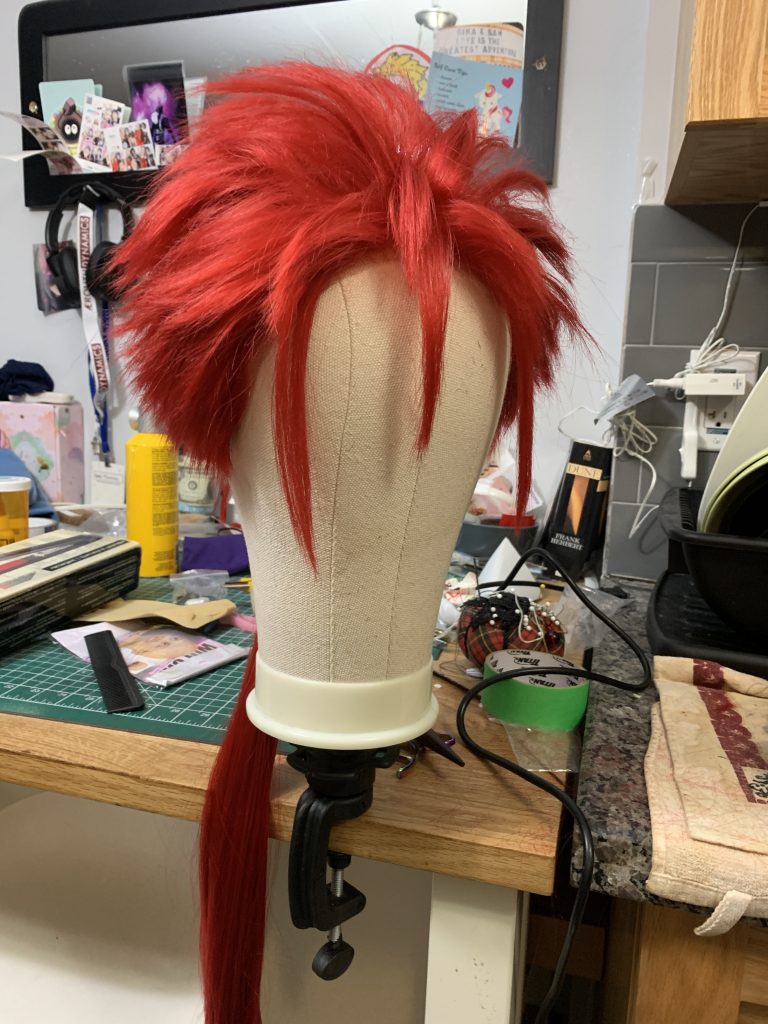
Then I had to figure out what I wanted with the bangs. You’ll notice these are a little shorter than most of the reference — to be honest, hair in my face drives me up a fuckin wall, so after the first time I tried the wig on, I hacked away at the bangs a little extra. 😂
Speaking of trying the wig on ..
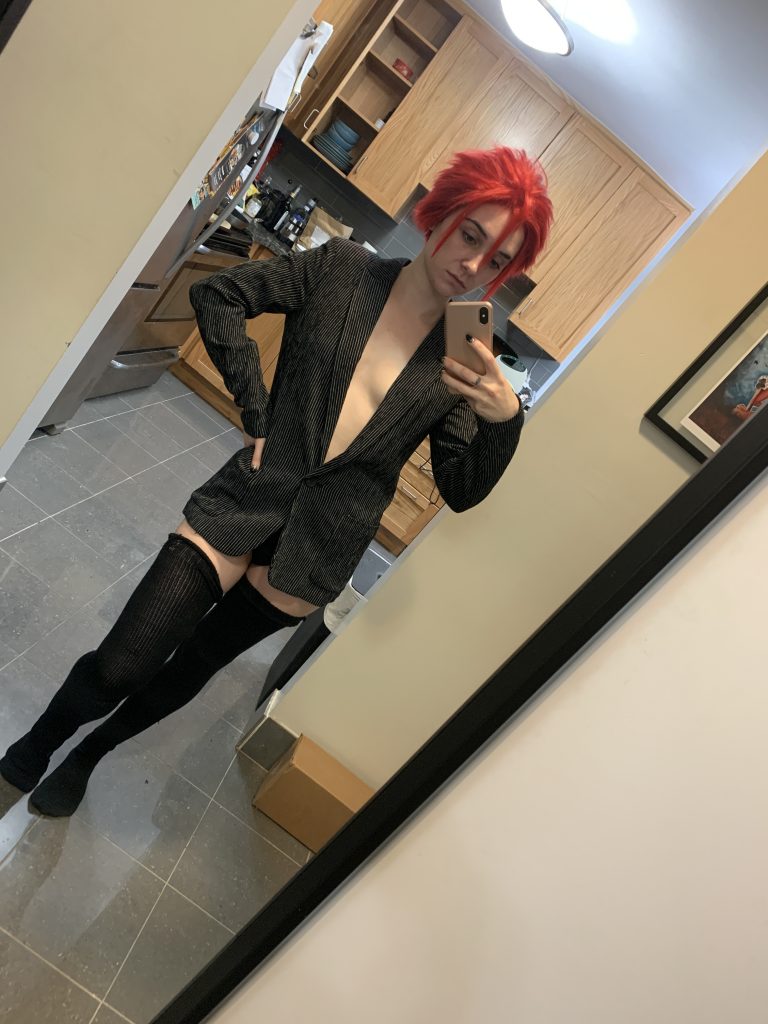
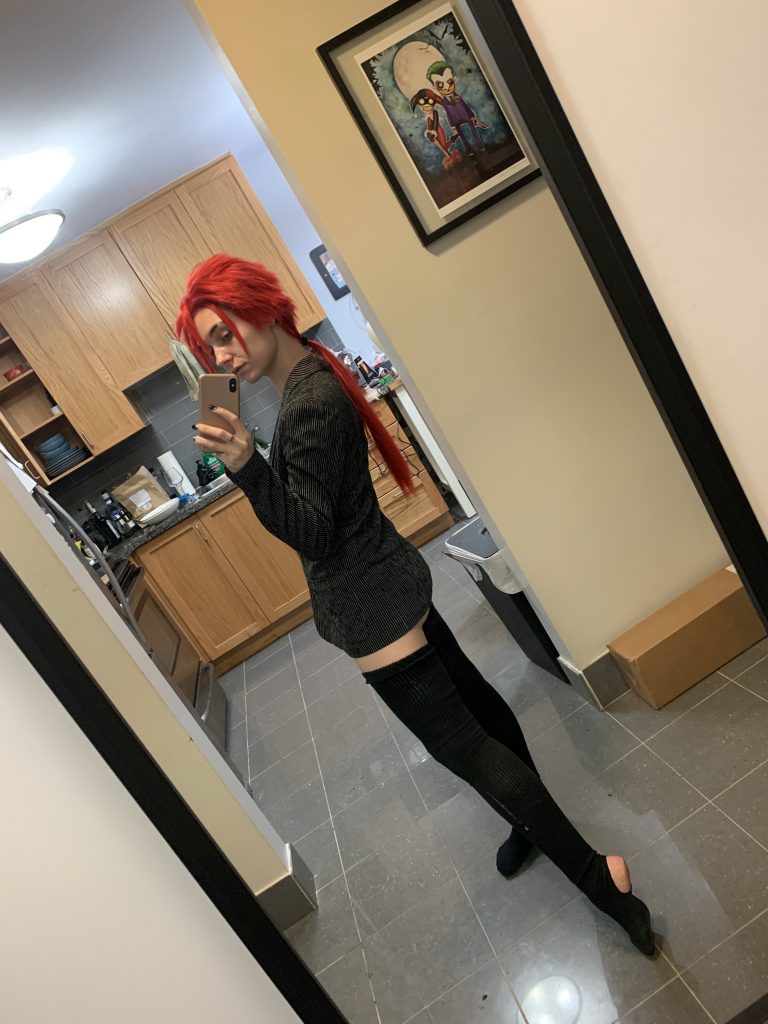
Not the real jacket (I hadn’t finished it yet!), and no pants because I’ve barely worn pants since February 2020, but this gave me an idea of whether it looked at all like Reno! Basically a low-key closet cosplay.
Then .. it was time to spike this wig.
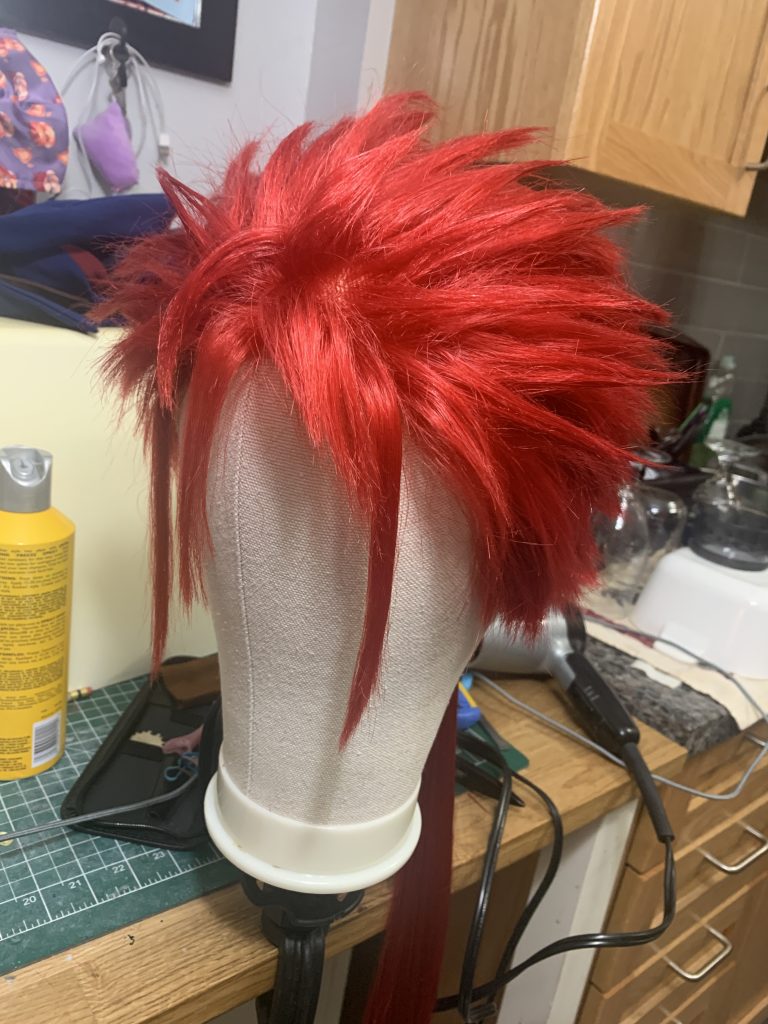
This is something that probably deserves its own tutorial — but I’m still learning, so I haven’t done it yet. But! Spiking wigs! Reno’s wig was, in my opinion, much harder to spike than say, my Cloud wig, because the spikes are so skinny.
The TL;DR of making spikes is: select the hair that you want to be a spike. Tease the hell out of it. Then gently brush out the outsides of the spike to be smooth, so that all of the teasing is inside of the spike, and the outside doesn’t look like a teased up mess. Then spray it — with as little hairspray as you can get away with, from at least 5″ away (but for better coverage, try to be 8-10″ away, to let it aerosolize). Then gently blow-dry the spike — I generally set my hairdryer to low, and cup my hand behind the spike so that it’s not blowing the rest of the wig around — especially if there are other spikes around it, waiting to be set themselves. I’ll tend to do a whole section of spikes, and then spray them one at a time.
You might need to fix up the very tips of the spikes, if they’re not knife-sharp (I basically always have to go in and gently fix the spikes) — you can do that by spraying a little bit of hairspray on your fingers, then using your hairsprayed fingers to gently press the tip of the spike into the shape you want, then quickly blow-drying it again.
This will make your fingers feel like they’re coated in still-tacky glue, and it’s awful, so I tend to do a bunch of these at once, and then wash my hands, and then start the whole process over again.
Now, specifically with Reno, his spikes are really thin, which I found made brushing them out smooth to be really difficult, without getting rid of all of the teasing the was holding the spikes up. I, more or less, teased up all of the hair again, and then just started separating it into spikes — but I was left with all of these little hairs that were bothering me.
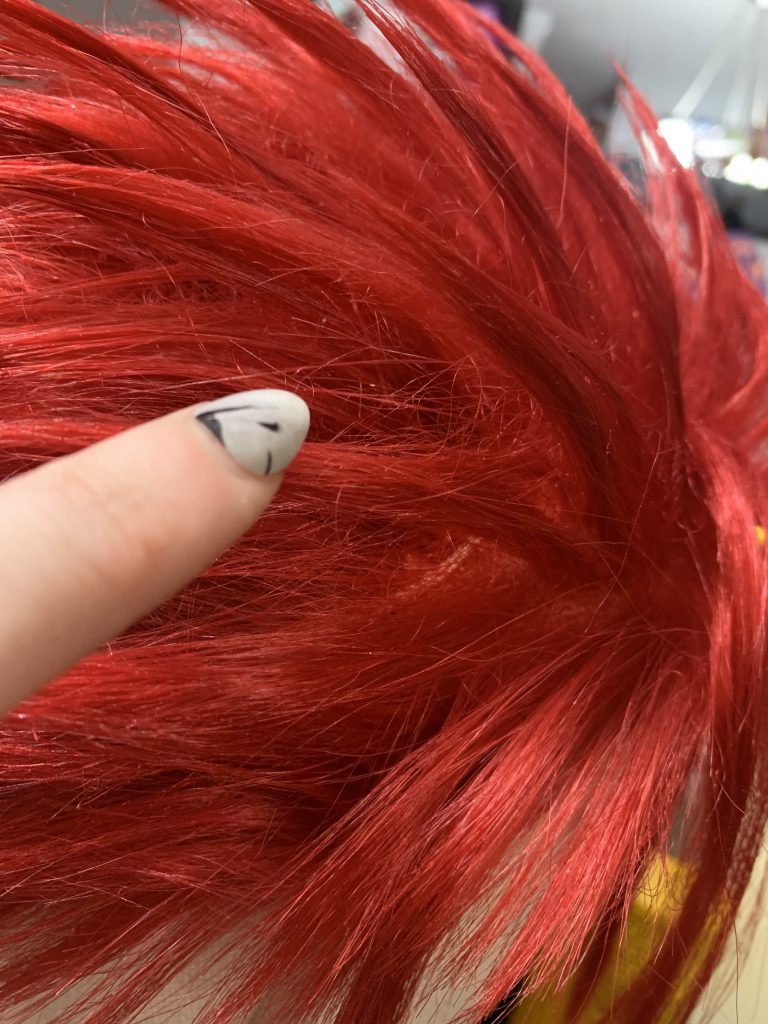
I asked Twitter about this, and most people insisted that was a normal level of extra hairs … but I did brush this out and do it again. Practice really did make for improvement in this case.
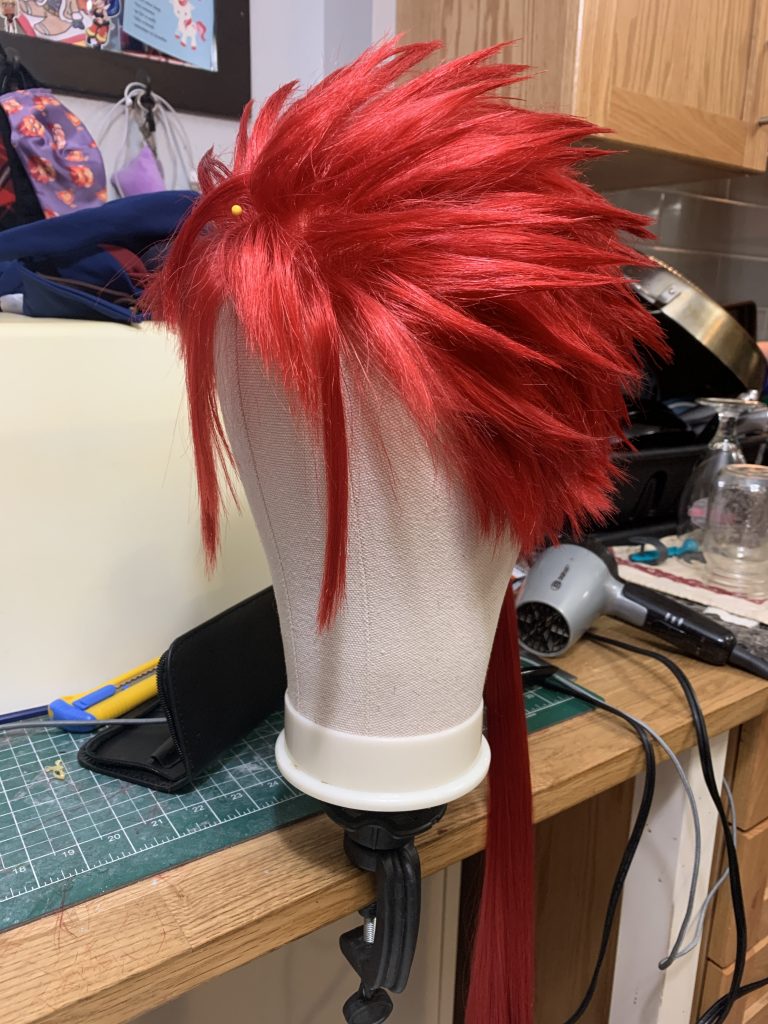
Less hairs!
I found that I needed to be less concerned about keeping all of the teasing — although there is definitely still teasing in there, the spikes are thin enough that they can be largely held up by hairspray. There are still some flyaway hairs, but the ones that really bothered me I either plucked or trimmed once the spikes were done.
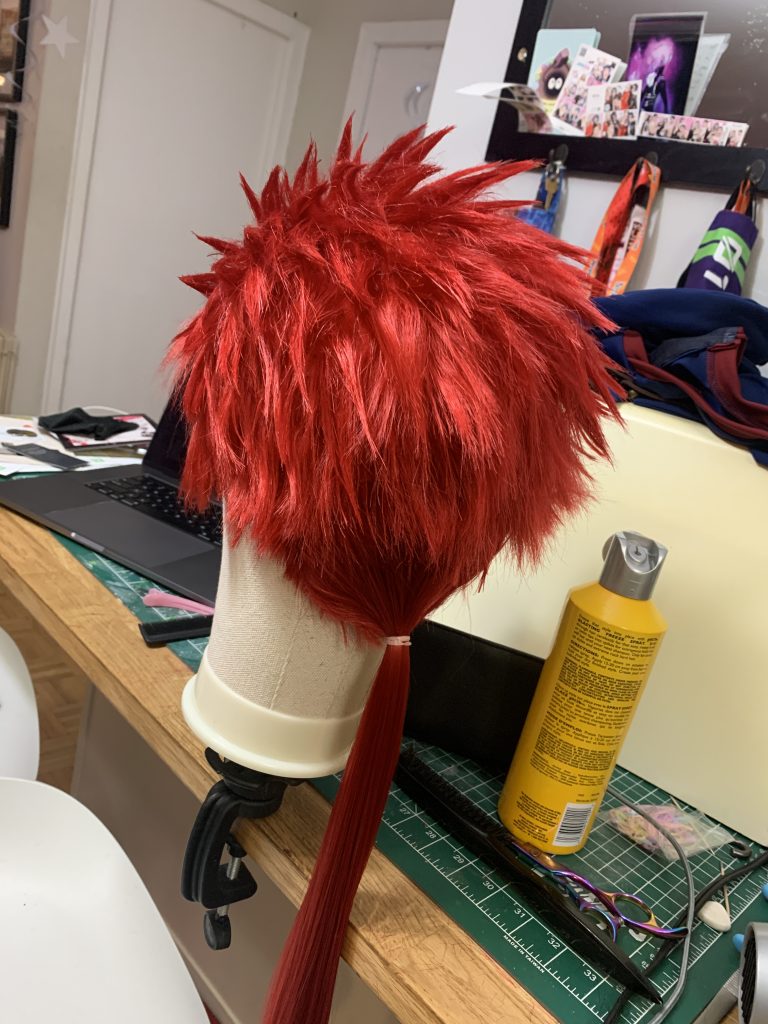
Here I am working on the back of the wig; I didn’t spike all the way down, although I put some hairspray in those bits to keep them sticking outwards. I decided to keep this part a little more organic, because wigs tend to be a little thinner in that area, and I didn’t add extra wefts to this one so leaving the spikes fluffier keeps the wefting from showing through.
It’s also not a part of the wig that’s going to show too prominently in any pictures, so I made myself chill a little. 😂
I gave the bangs a final trim and style after I finished the goggles — which were from The Dangerous Ladies, huge shoutout to them for hand-forming lenses for me, they’re insane and I love them — so that I could make sure that everything sat right.
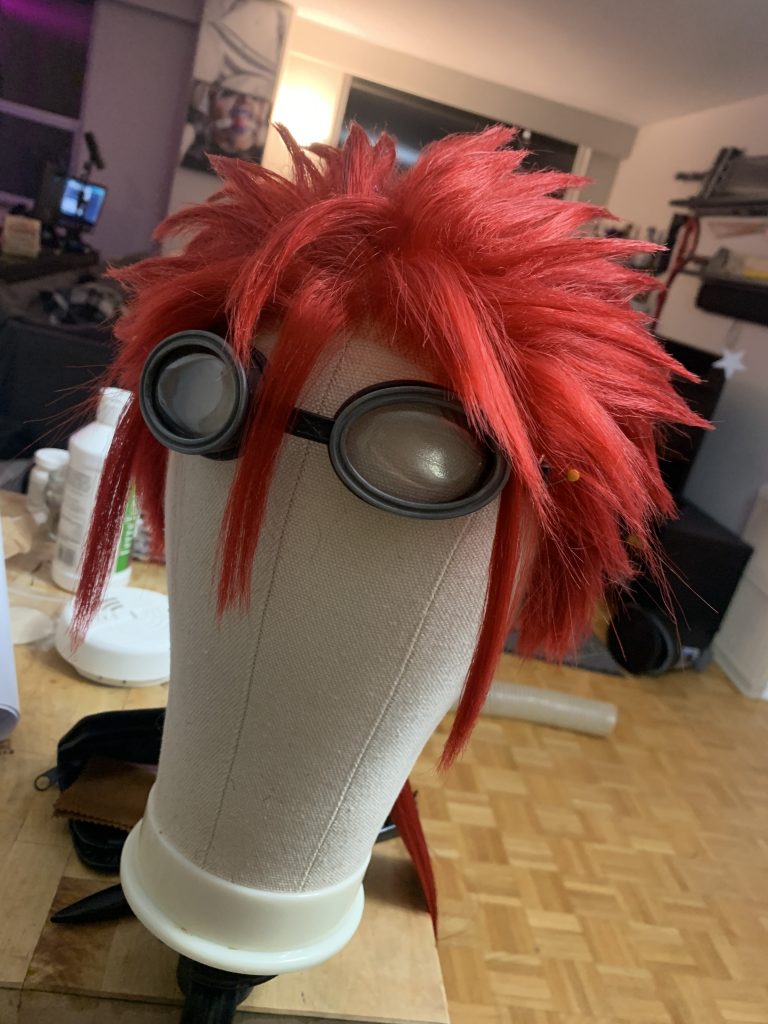
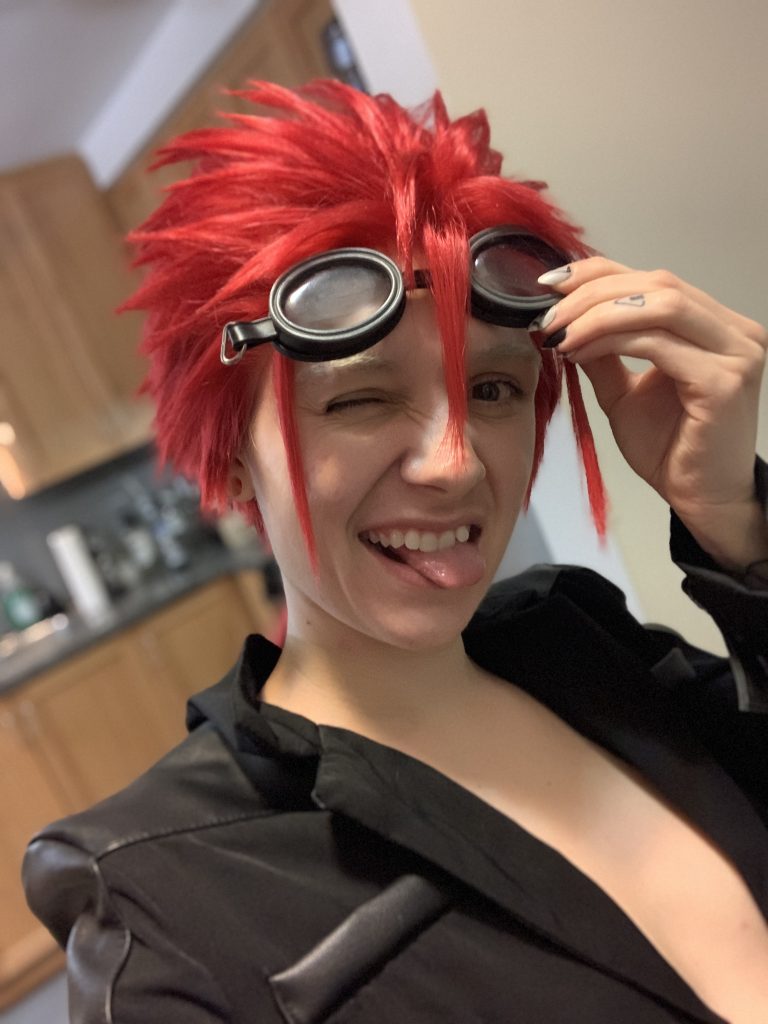
You can see that I’ve done the spiking technique on some of those little pieces that sit on top of the goggles and thinned out the bottoms of the long pieces that sit forwards in front of my face.
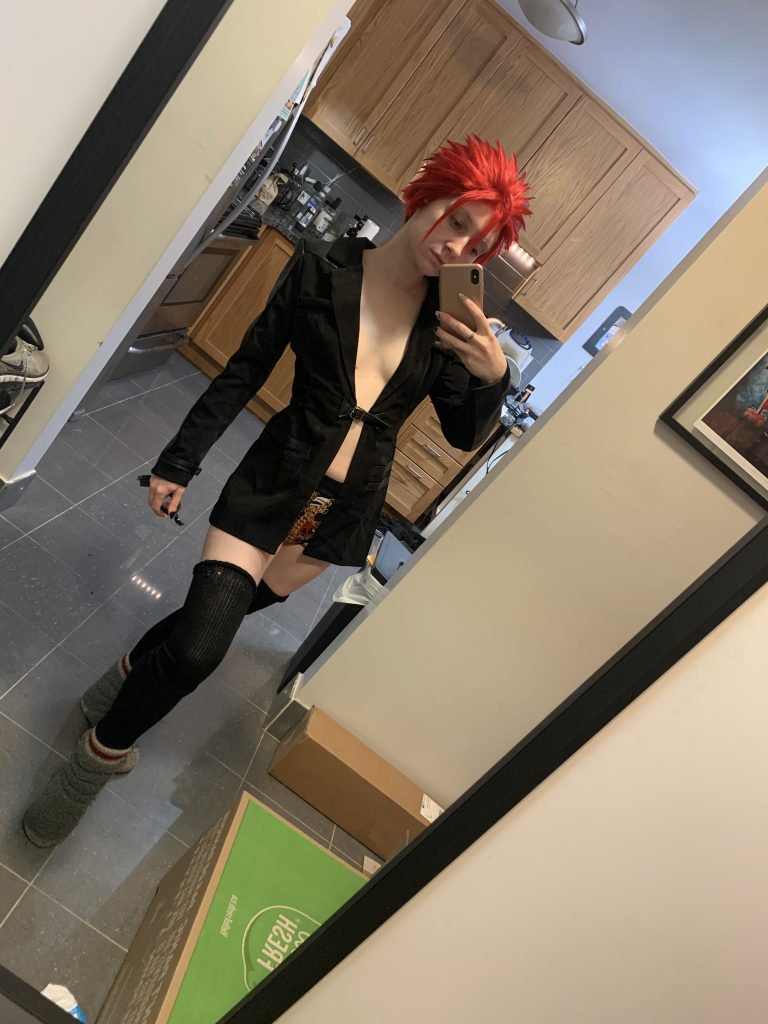
One final try-on with the actual jacket this time. I think this was something like the night before I took him out to shoot the first time? 😂 Somehow conventions aren’t even happening and I still managed to low-key con-crunch.
Here’s a look at a couple finished photos of the wig from a couple of different angles …
Of course, the photo by Paul Hillier that I used at the top of the post; I like this one because you can see some of the small hairs in the spikes caught in the lighting.

And I have this one, that shows the back of the wig pretty well, from something that I’ll be posting in the next few days …

I know I talked a lot about cutting the lace around your ear, but the hair is over my entire ear here. 😂 I might trim this wig down a little further in the future, but at the moment I’ve been pleased with how the wig sits so I haven’t gone in and trimmed the hair around my ear. (I might for wearing it for longer in the future, though, if/when Cons come back and I decide to do those again.)
That’s it for Reno’s wig! Hope you learned something. 💕 Let me know if you’re looking for anything specific re: write-ups and tutorials, and I’ll try to add it to my docket of things to do!

