
This is an old post ported over from my now-defunct Patreon Page. Enjoy!
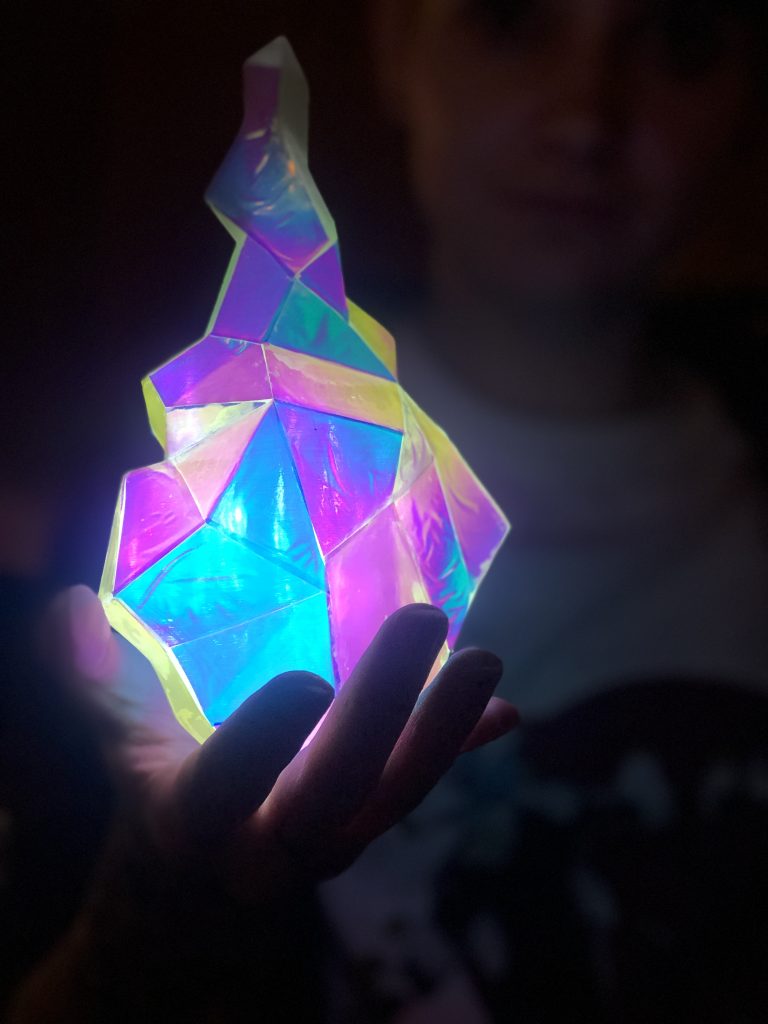
This got a lot of attention on Twitter over the past couple of days, so I thought I’d do a quick post explaining how exactly this thing came to be!
First — the base. This is a 3D print, modelled and printed by The Dangerous Ladies, who you might recognise as being the ladies who do the majority of my 3D printing and modelling. I love them, they’re super dependable, and their work is top notch. Heartily recommend.
(Specifically you can purchase your own Lio flame HERE and the files to print your own HERE — full disclosure, I absolutely will be getting things modelled and printed for me gratis based on the success of this, so go forth and purchase!)
The 3D print is semi-transparent, which allows the light to pass through, as illustrated here with my phone flashlight:
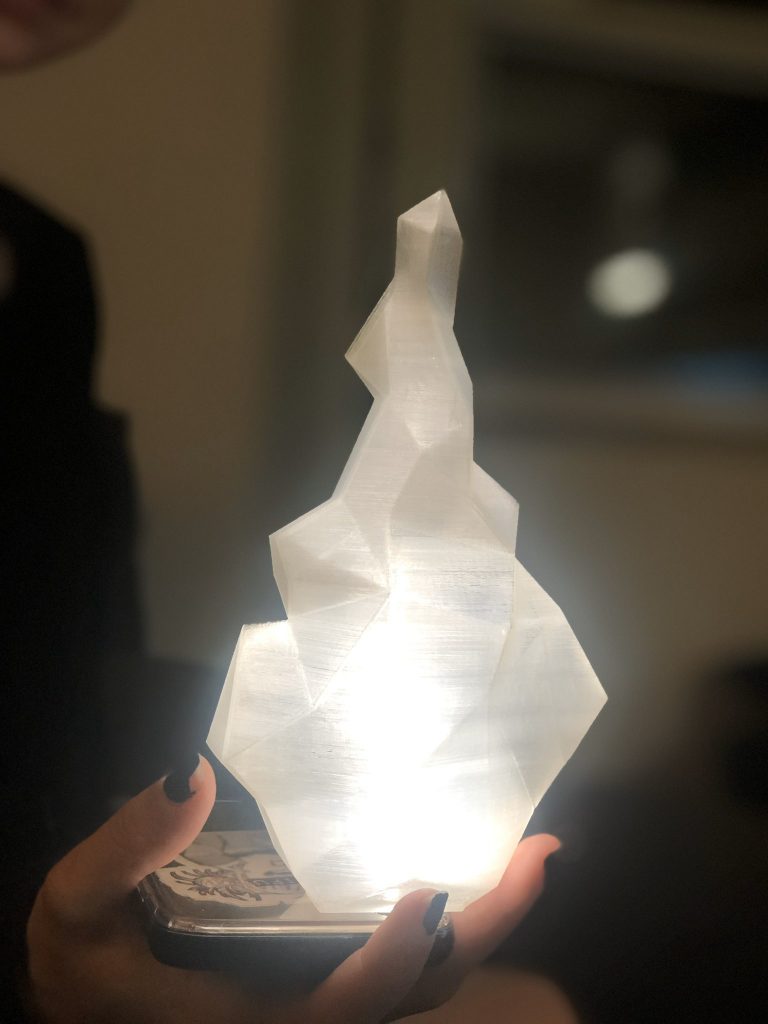
First step, as always with a 3D print — sand off all of those print lines you can see.
My quick How-To on Sanding 3D Prints:
- I wet-sand for all of these steps by having a small container of water that I dip the sandpaper into
- sand with 150 grit until most of the lines are gone
- 2-3 thin layers of High-Fill Automotive Primer (I use Duplicolour) to fill in any remaining print lines
- sand with 220-300 grit, all of the lines should be sanded off at this point
- another couple thin layers of Automotive Primer
- polish with 600, then 800 grit
- if you need more smoothness, proceed to 1500 and then 3000 grit
I sanded the burnish flame to 3k grit because I was stressed and the repetitive motions of sanding are soothing to me. You’ll also notice that I didn’t use any automotive primer — that would have defeated the purpose of printing this in translucent, so I had to skip those steps on this print, which did mean that the sanding took a little longer, in this case.
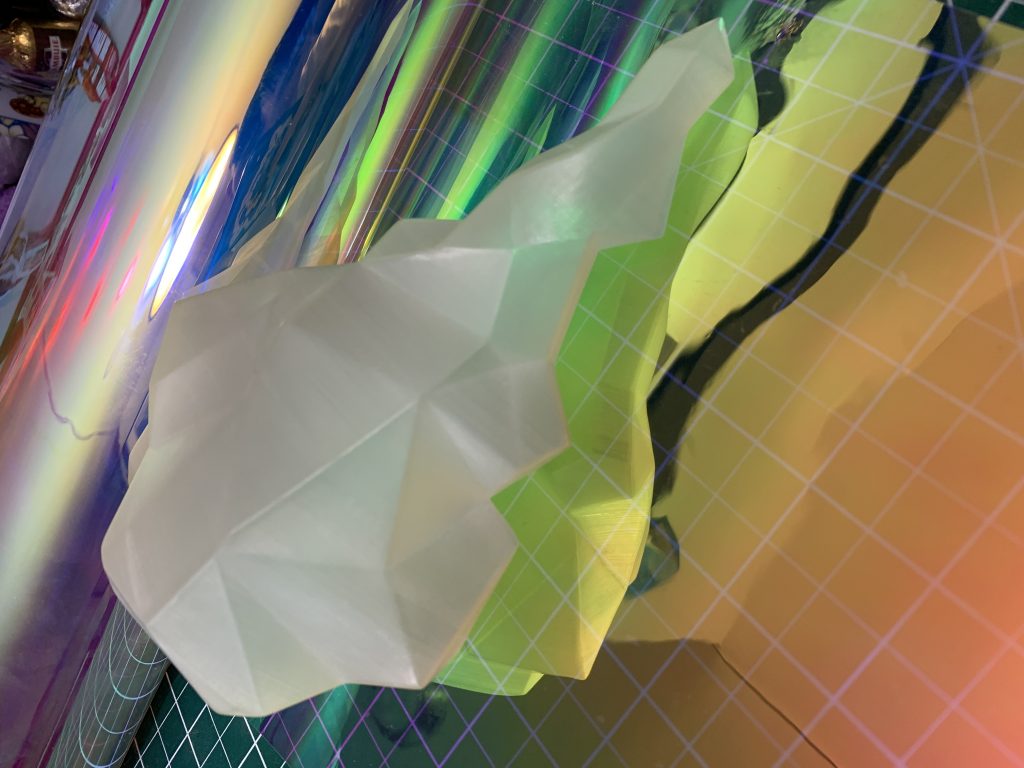
Pictured: hella smooth.
I covered the whole thing in holographic window film, because I wanted the lights to be seen through the film, but I wanted something with a pretty high opacity as well, to cover and diffuse the lights inside.
Specifically, I purchased this:
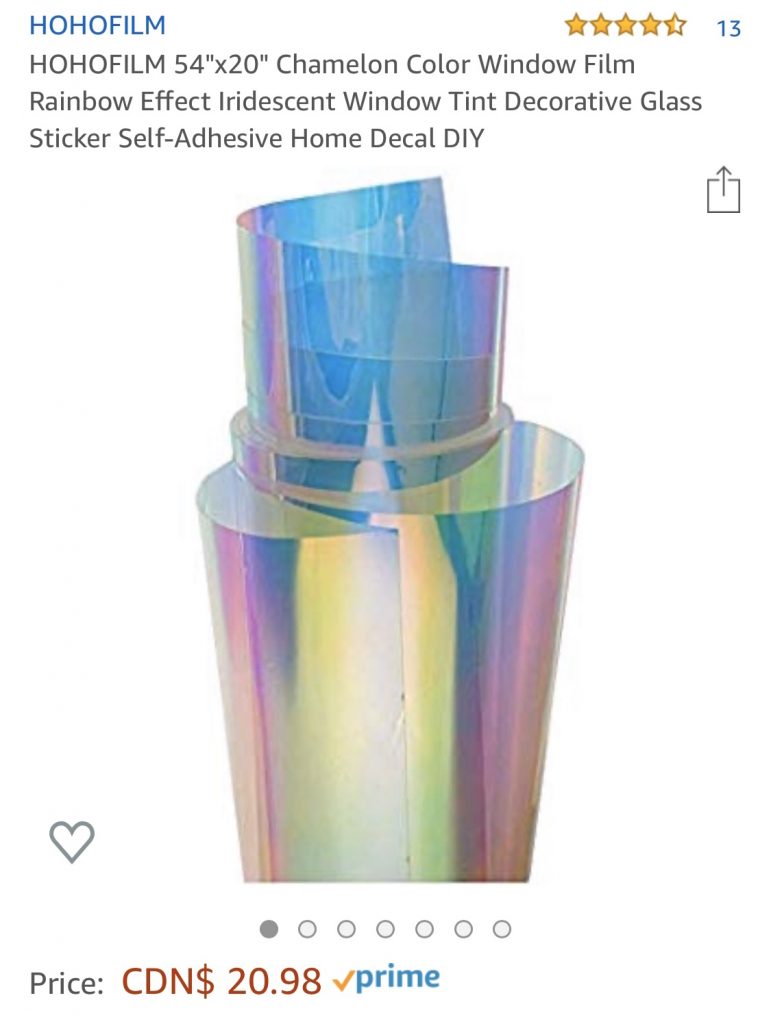
But anything similar to this should work pretty well. (Because I’m in Canada, and the majority of my followers are not, I don’t really know what’ll be available to you in your area.)
Once it arrived, then there was the problem of actually getting it on the 3D print.
Spoiler: it took forever.
So the 3D print of Lio’s flame is nothing but tiny facets. I patterned each facet with painter’s tape (just from the dollar store), like so:
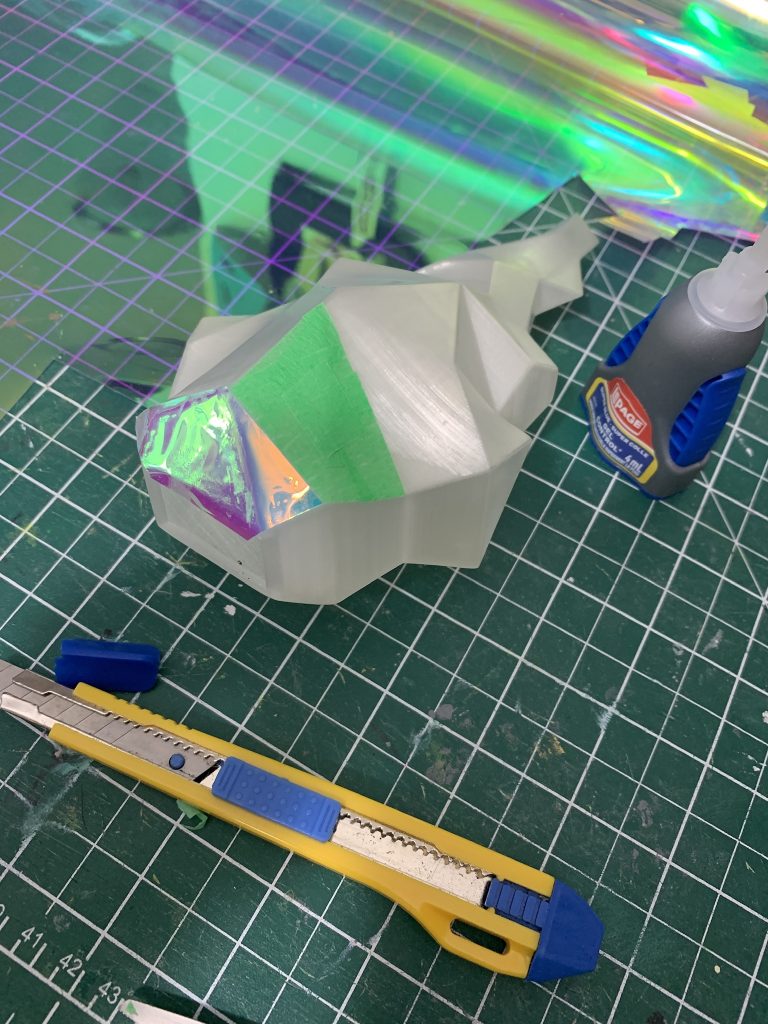
(To pattern with Painter’s Tape, line up the flat edges of the tape with the flat sides of each facet, and then collage together lots of smaller pieces of tape until you have the shape, instead of trying to put a big piece of tape off and then cut it down.)
Then I carefully pulled the tape off in one piece, stuck it to the window wrap, and cut it out with an exacto knife.
To glue it on I was using superglue — some people asked on Twitter for my opinions on superglue, and personally I prefer Bob Smith Industries Cyanoacrylate glues — but I ran out the other day, so I mostly used LePage control Gel Superglue (because it was at my local hardware store and I didn’t have time to be picky, haha) and it worked fine. For this project I used almost entirely thick glue, so that I had more control with it staying exactly where I wanted it.
To answer the inevitable question: the entirety of this took about 8 hours, with me taking semi-frequent breaks to rest my eyes and stretch. So roughly a day’s work.
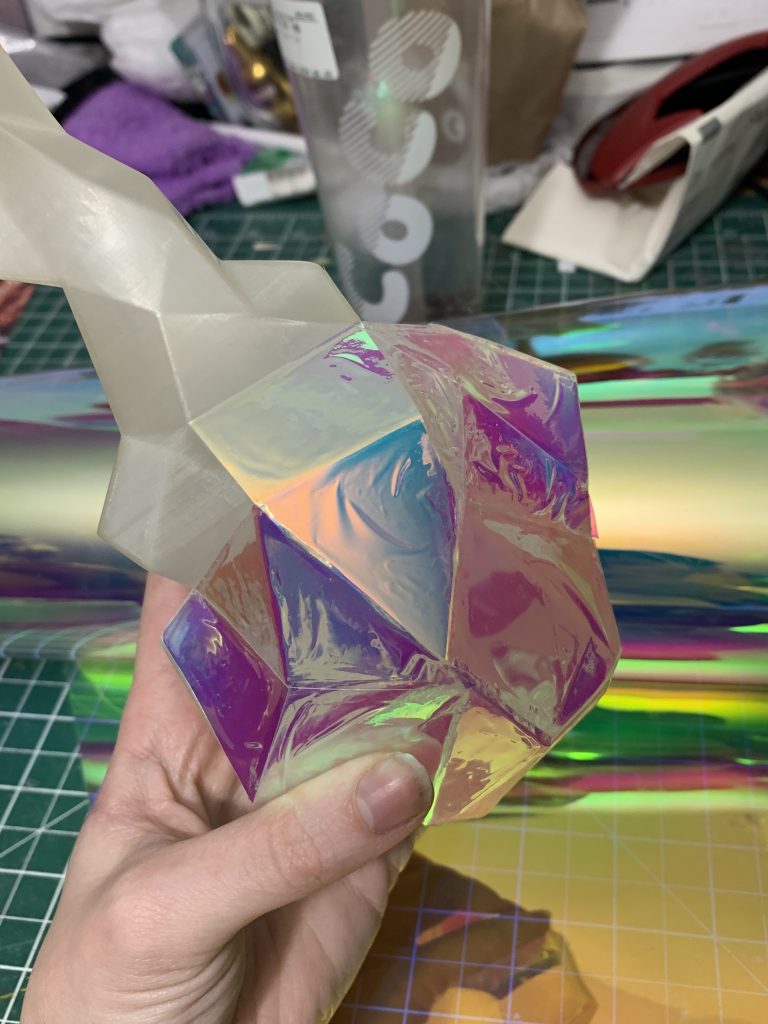
Here it is about half covered.
Then the other thing was — it lights up. So I ordered a couple of different kinds of lights, and ultimately settled on this one being the best for my situation:
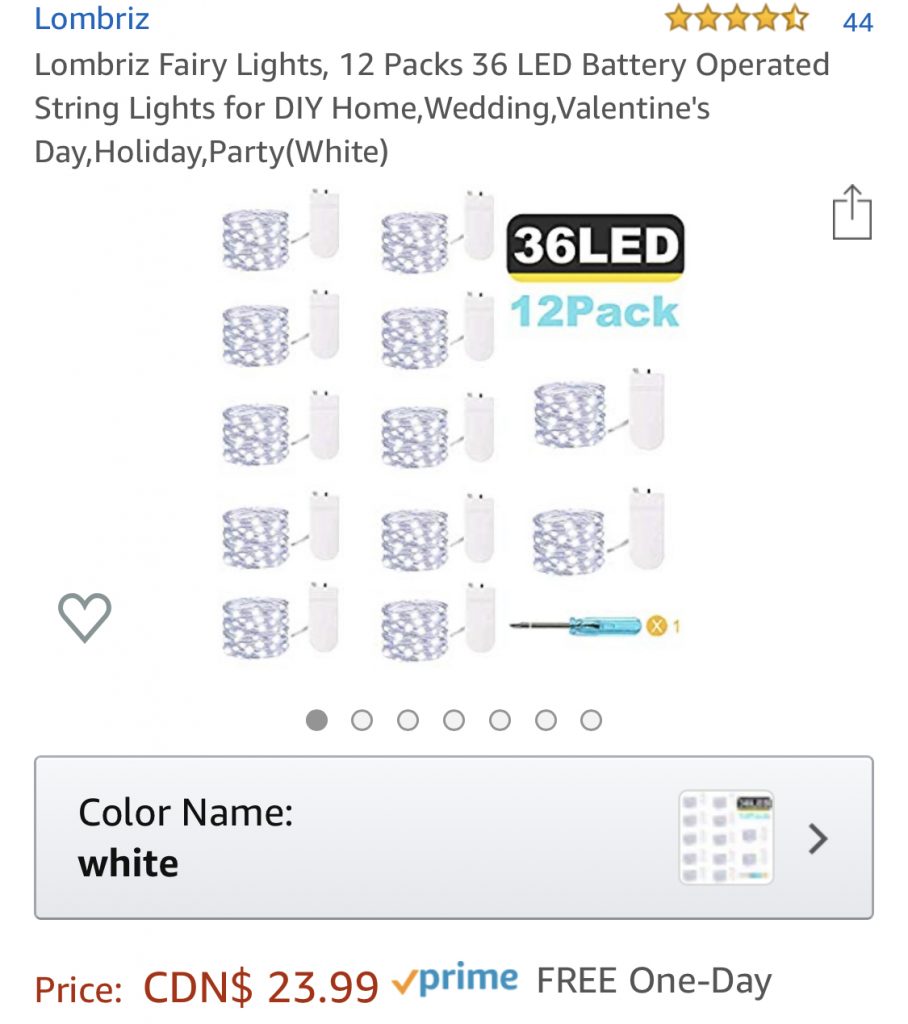
I ordered this one specifically because of the tiny battery packs, I needed something that would fit in this, and in the body of the sword I was also making at the same time.
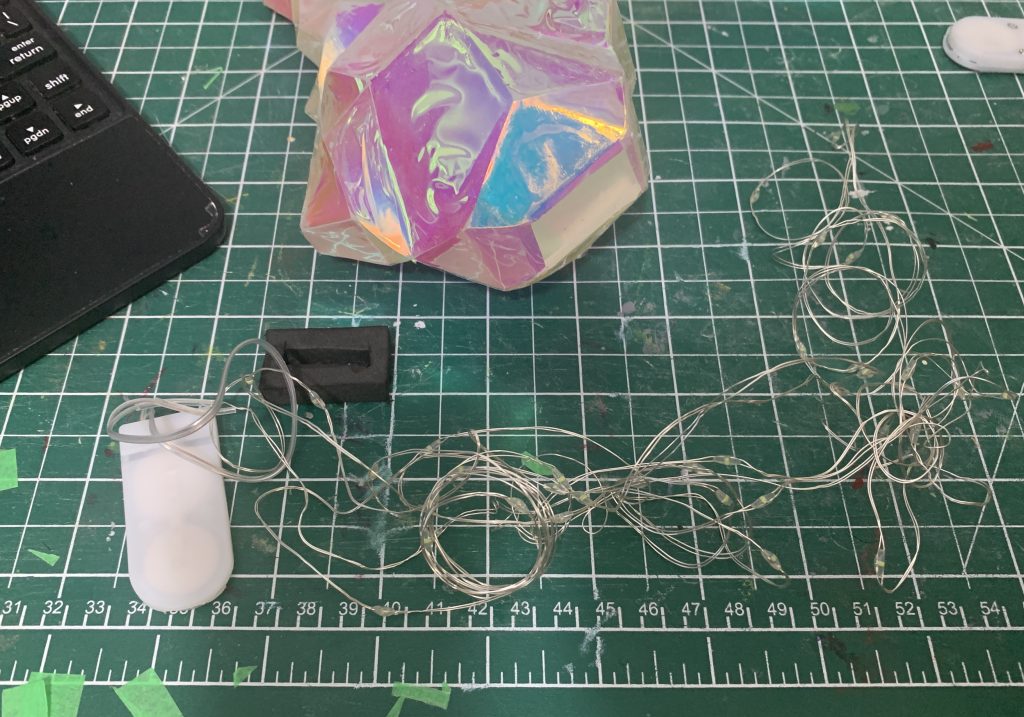
The burnish flames come with a cap but I wanted my light switch to be easily-accessible so I whipped up a quick foam cap to shove in there — literally just a piece of cosplay foam with a battery-case sized slit in it.
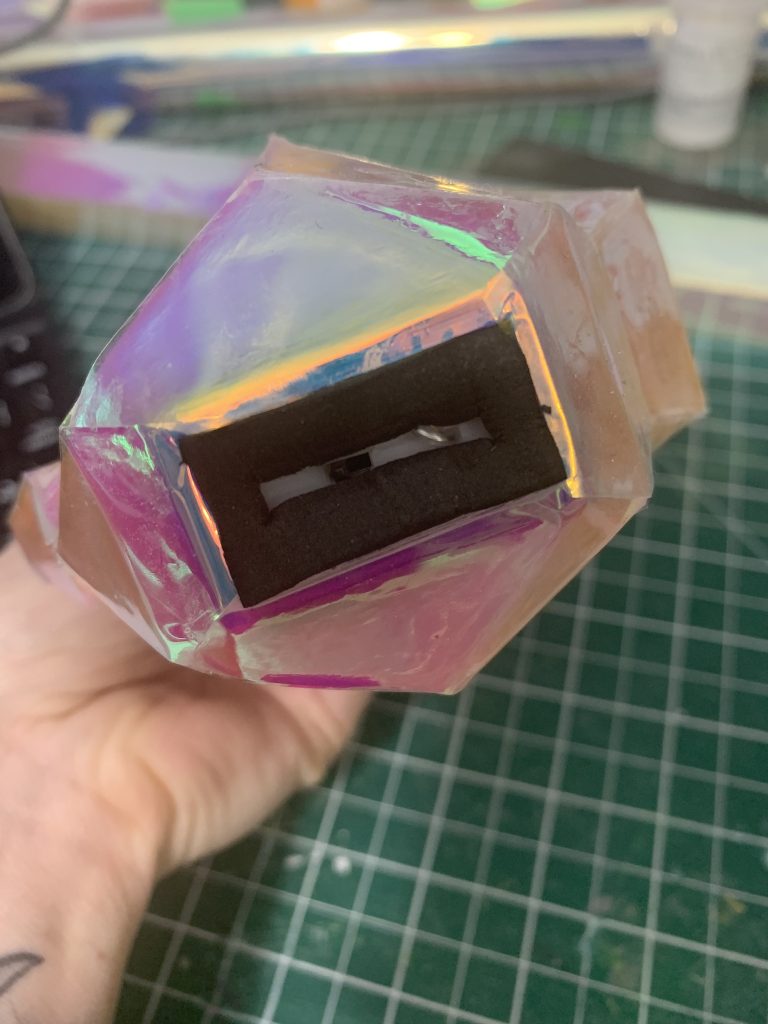
Which means I can flick it on and off whenever I want, to save battery life at a con!
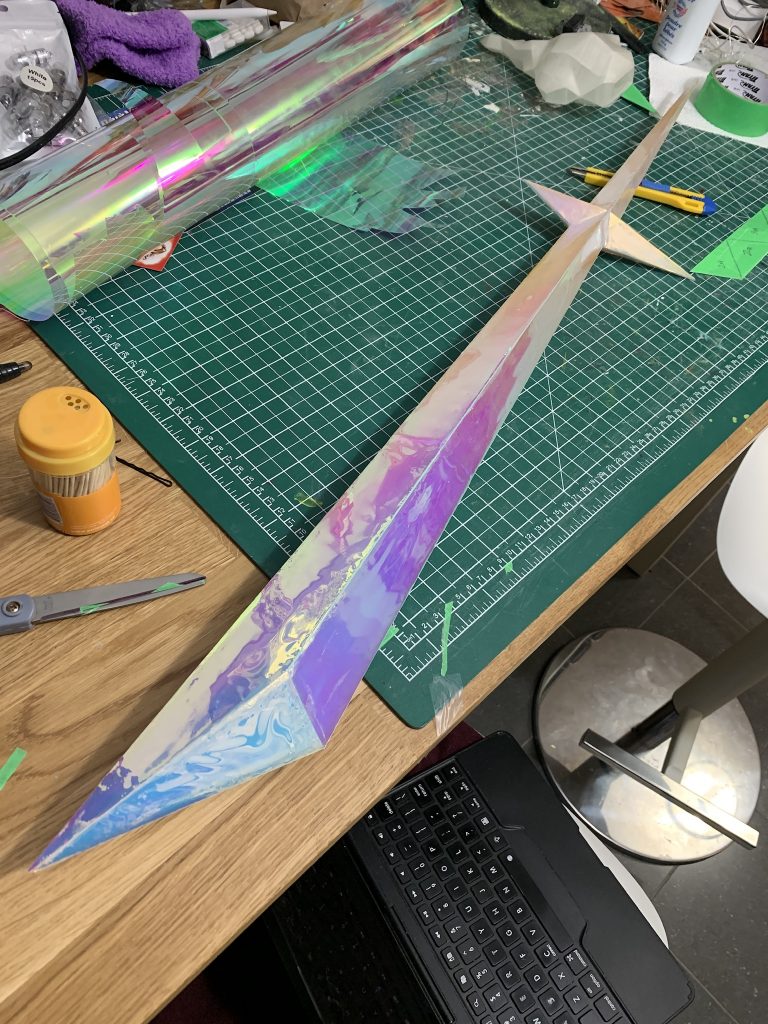
This is also the same basic idea behind my other Lio Prop, which at the time of this original writing I was just finishing up …
Hopefully this helped you with something — or at least it was a fun read, if you don’t cosplay! Happy crafting!

Photos of finished props by Paul Hillier!


2 Comments
Hi! I just recently purchased the same flame prop from Dangerous Ladies and I had some questions about your process!
For the sanding, you mentioned starting with the 150 grit sandpaper then steadily moving up to the 3k sandpaper. I’ve never used sandpaper before, how did you know when to move onto the next one?
You also stated you skipped the automotive primer between the steps because the flame was translucent, which is the one I bought. Does that mean I also don’t need to spray the flame down between sandpaper types?
I did a bit more of an in-depth writeup on bodyshopping for members recently — but! For the sanding, at a certain point you’ll notice it’s no longer really “working” — this might mean that it’s time to move on to a new piece of sandpaper, if yours is all clogged up, but if that’s not the case, it’s likely just time to move to a finer grit. Personally, I 150 grit sand until the print lines are almost gone, but everyone kind of develops their own level of “done” to move onto the next highest grit.
The point of high-fill automotive primer in bodyshopping is to fill print lines (it’s made to fill scratches) and essentially make your job easier — but it’s never really necessary as a step. In this case, you want light to shine through the flame — and it won’t shine through primer, which tends to be grey or rust red. There are some clear products you can use for bodyshopping, but I personally haven’t had good luck with any of them so I don’t recommend them, I just found they added more work.
Good luck!