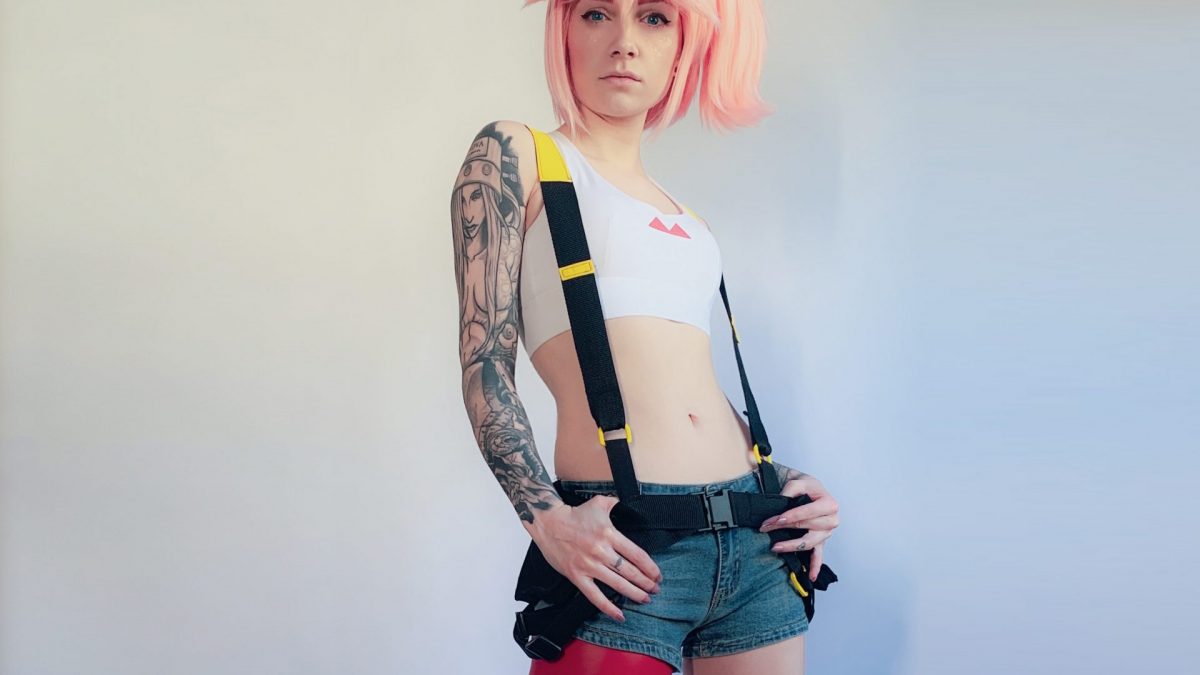
… When you don’t have any photography gear!
This isn’t an intensive, by any stretch of the imagination, because I am only a photography insomuch as I have needed to figure out some things while I sit at home. 😂 But I hope this will help some people who are maybe worried about how difficult it is to start shooting stuff themselves..
For this set, you will need: a piece of Seamless Paper OR a piece of white fabric that you can tape to a wall, OR … just a wall, to be honest; a phone; someone to press the button to take the picture (but you can absolutely do this without if you’re alone); and a couple sources of light.
Here’s my set, roughly:
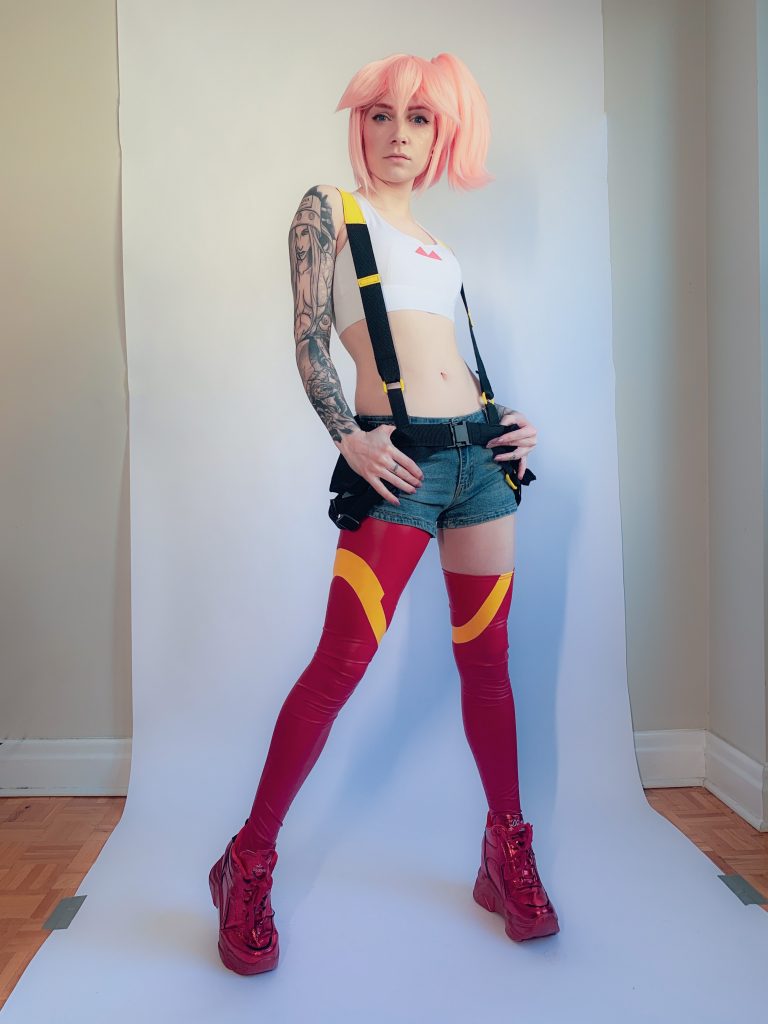
But let’s break this down with this photo that I have scribbled on to make a point:
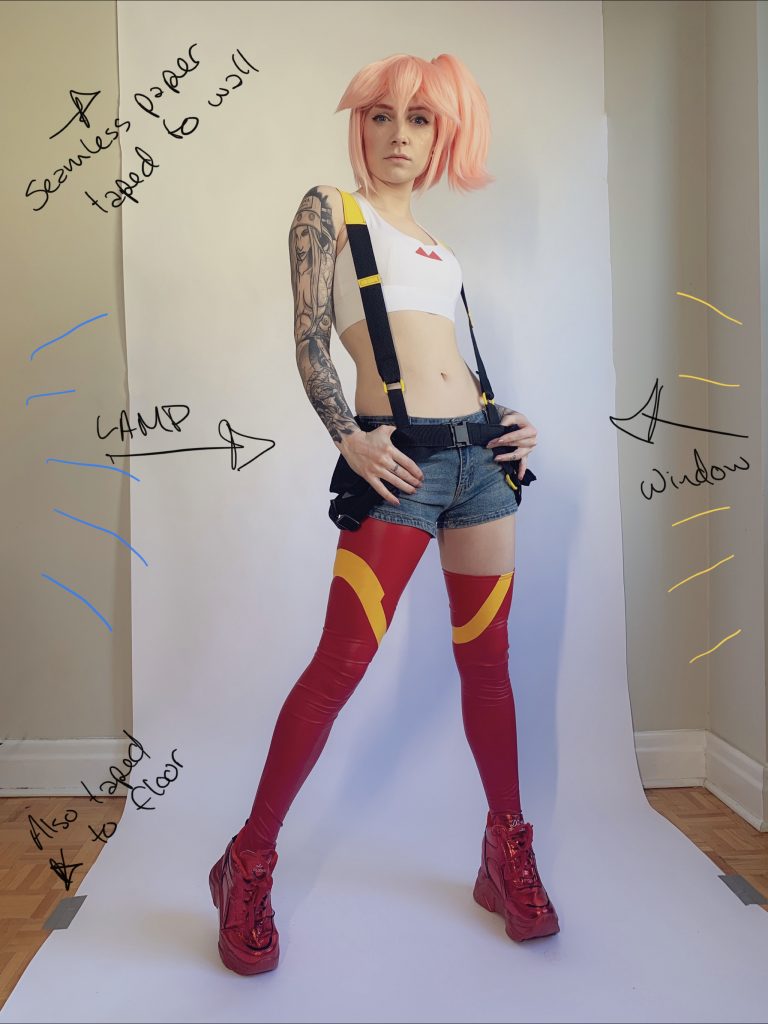
My piece of seamless paper is taped to the wall with literally just duct tape. (I had silver laying around, at some point I’m going to replace it with white Gaffer’s tape at some point when I get my hands on that.)
I have a large, north-facing window on my left-hand side, that provides a half-decent amount of fill lighting. I then put a counter-light on my right-hand side, it’s filling from the corner of my seamless, at about chest-height. You can easily use a standing lamp for this; I’ve used IKEA lamps laying across a table, so that the light-bulb is facing me with a bright light bulb in it — and if the light is too intense, you can just put a white t-shirt over it, to make your own, cheap, DIY almost-softbox.
You can substitute the window for another light as well, obviously, or if you have just a very well-lit room you might not need an extra fill light at all! Play with your space and see what gives you the best lighting, but having two front-side fills, like this, will give you a good beginning.
Next, some quick photo editing (I still use photoshop, so your mileage may vary) to pull the background out to fill the frame:
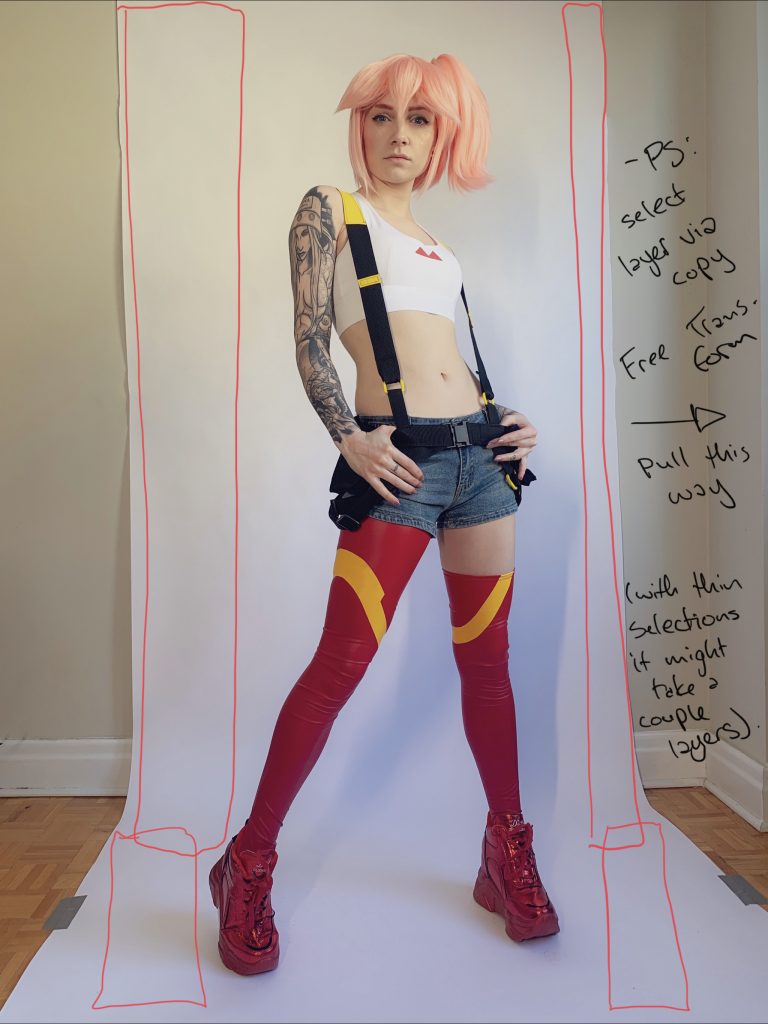
Each of the little red boxes is what I selected with the square selection tool, and then Right/Command Clicked and selected Layer via Copy. Then selected that layer, and used the Free Transform tool to pull the background out sideways.
Personally, I tried not to select anything with a shadow on it, which is why my selection on my left-hand side is so thin. It took me a couple of repetitions of the steps to get enough white background stretched out. Just be patient with it. On the other side, though, I just pulled it straight outwards and it worked.
That will give you something like this:
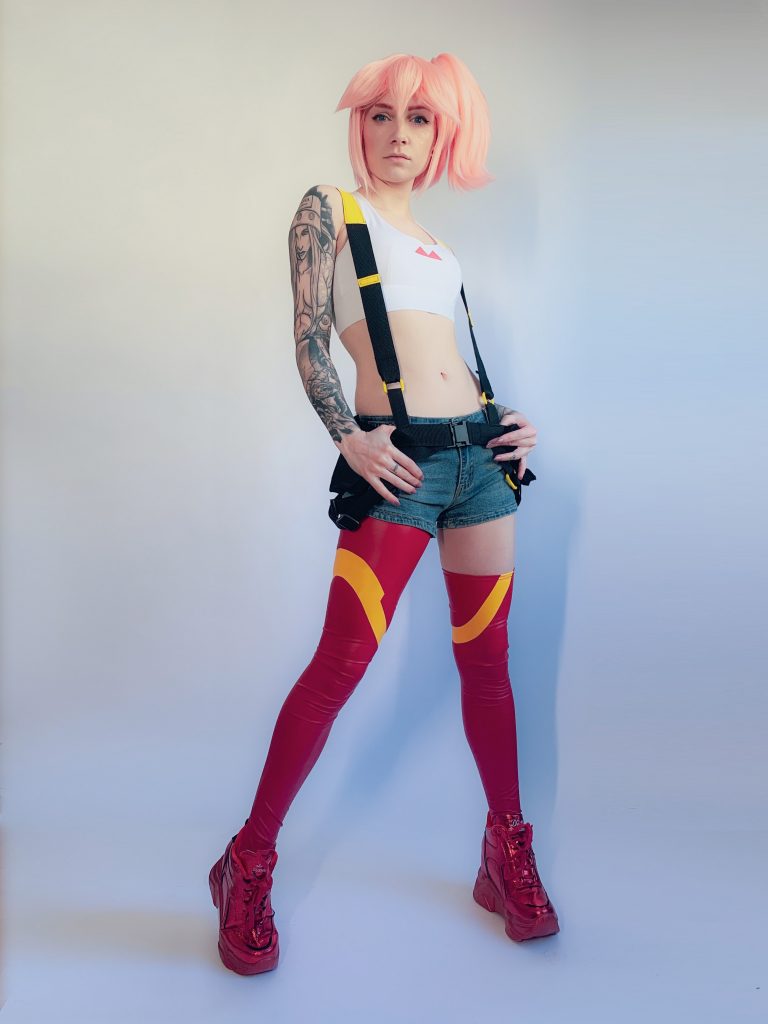
You can mitigate shadows by using fill lights right beside the backdrop — I usually do this with flashes, but I’m going to try it with some cheap flood lights when they’re delivered to see if that’ll work for people who want some extra lighting when phone shooting. 💕 Good luck, stay safe out there, everyone!

