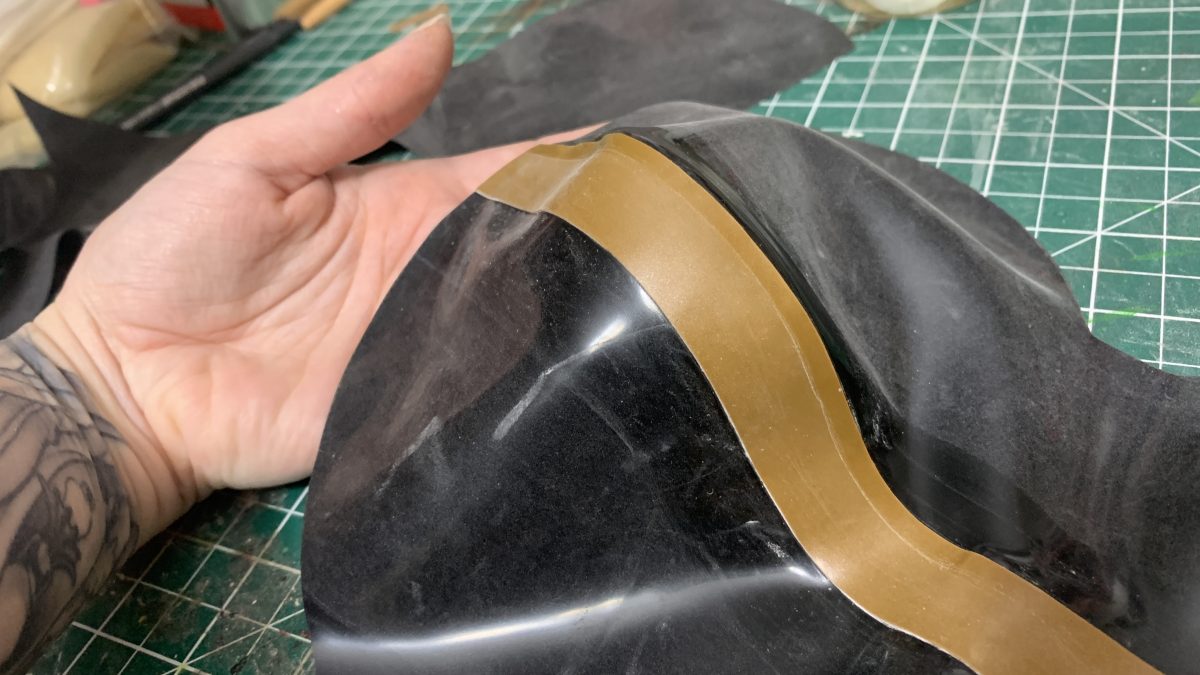
In what should come as a surprise to no one who’s ever worked on making clothing — not all seams are straight! Such is the case with latex as well. Curved seams appear in princess lines (seams that run along the bust), hips, butts, calves — basically, anything that’s designed to fit the human body, it’s probably not going to be entirely straight.
As a reminder, when doing straight seams in latex, it’s very important not to stretch either piece, because you’ll get wavy seams that don’t lie straight.
Now, internalize that information. Put it in a little box. Wrap it up all nice and tight. And shove it somewhere else because curved seams basically break every rule that I’ve just taught you. 😂
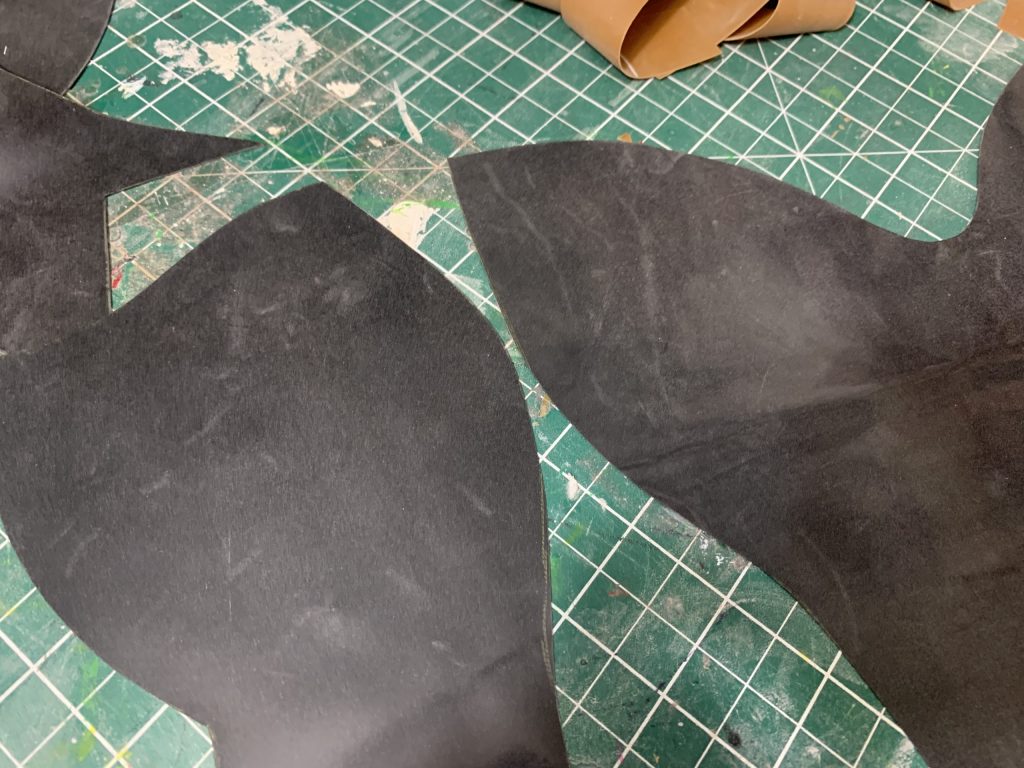
Here’s an example of a curved bust seam; this seam goes through the middle of the breast, and over the nipple (referred to in pattern terms as a princess seam!). This one is for someone who’s bustier than I am, I don’t generally put this much boob allowance into my personal pieces because I don’t need it! (But it’s excellent for the purposes of this tutorial!)
To properly get a curved seam to fit together, you have to stretch the latex — the trick is to stretch both sides the same amount. This is the tricky part, getting all of your fingers to cooperate enough that you’re stretching both the top and bottom pieces of latex roughly the same, so that your piece still goes together properly — if you only stretch the bottom, then the top will come up short, and vice versa.
Start with your usual Clean, mark seam allowance, glue, leave to dry.
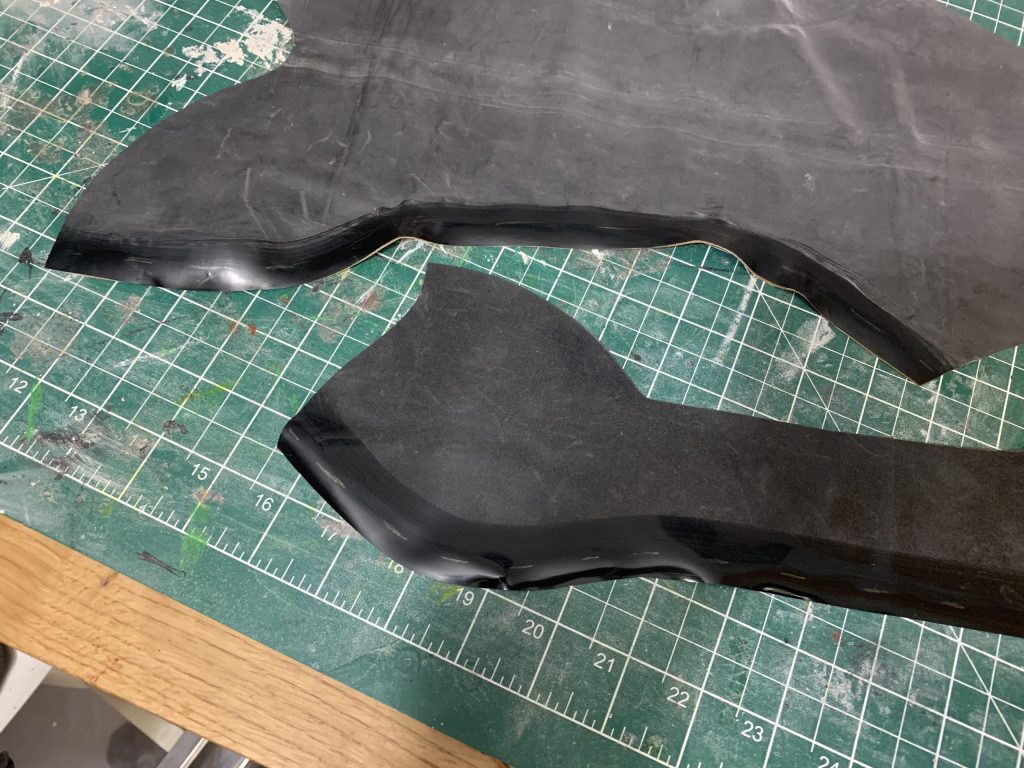
Remember to put glue on the front of one piece and the back of the corresponding piece! (For mine, I like to have the centre-front piece on top, and the side-front pieces on the bottom for the seams, but this is an aesthetic choice that I guarantee most people don’t notice.)
Start with lining up the top of your seam — even if it’s only a few mm that you’re able to adhere, it gives you a base to work off of.
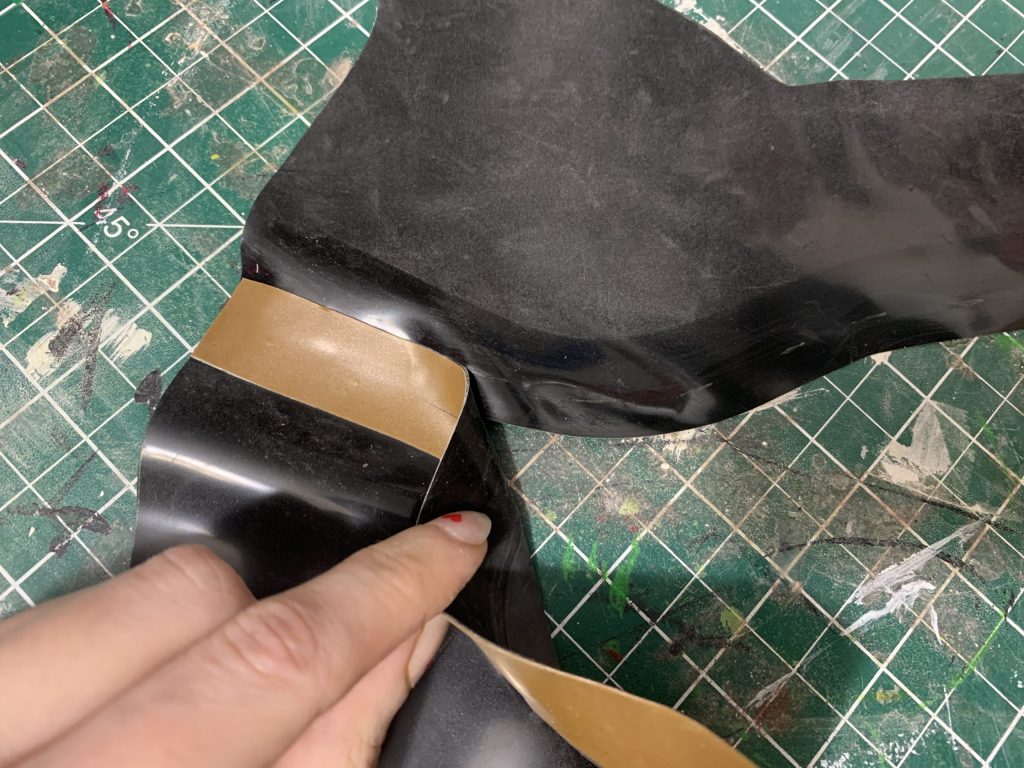
Here’s the first little bit of the bust cup adhered together.
Now you have to do the actual stretching … there’s a very particular way that I place my fingers for this, so let me try to explain this with screen grabs from the video I took — which will be at the bottom of the post, don’t worry!
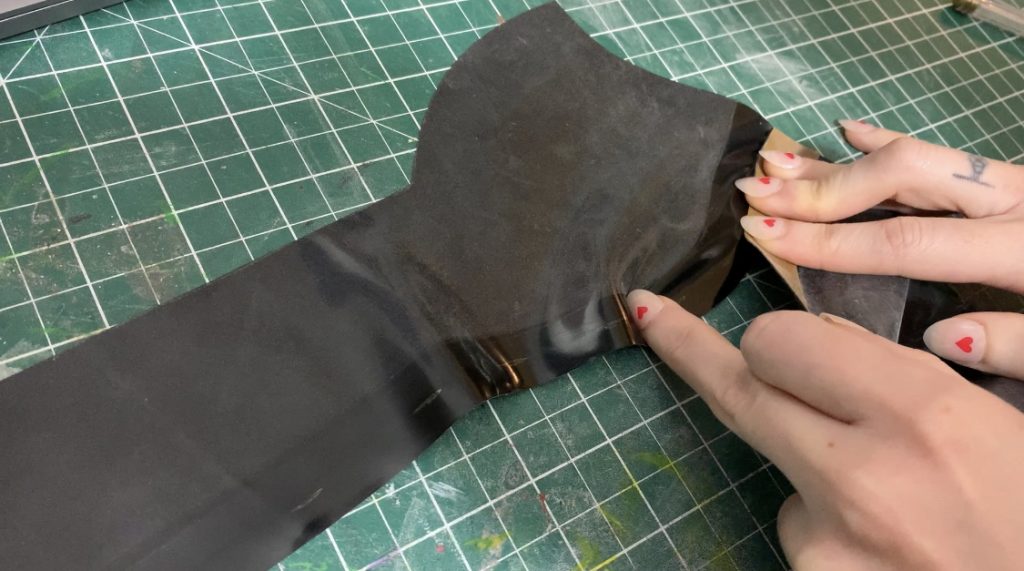
Sorry about the orientation change in the images, this takes both hands so I had to have a roommate hold the camera.
Here you can see both my left and right hands — my right hand is the one with the Tie fighter on my middle finger. With my middle and ring finger on my right hand, I’m holding down the part of the seam I’ve already put together (the part that was relatively straight, anchoring it in place against the table. With my middle finger on my left hand, I’m stretching the bottom piece so that it’s relatively straight. I only do an inch or two of this at a time, don’t try to do the whole curved seam in one fell swoop (unless you only have an inch or two of curve, in which case, have at it.
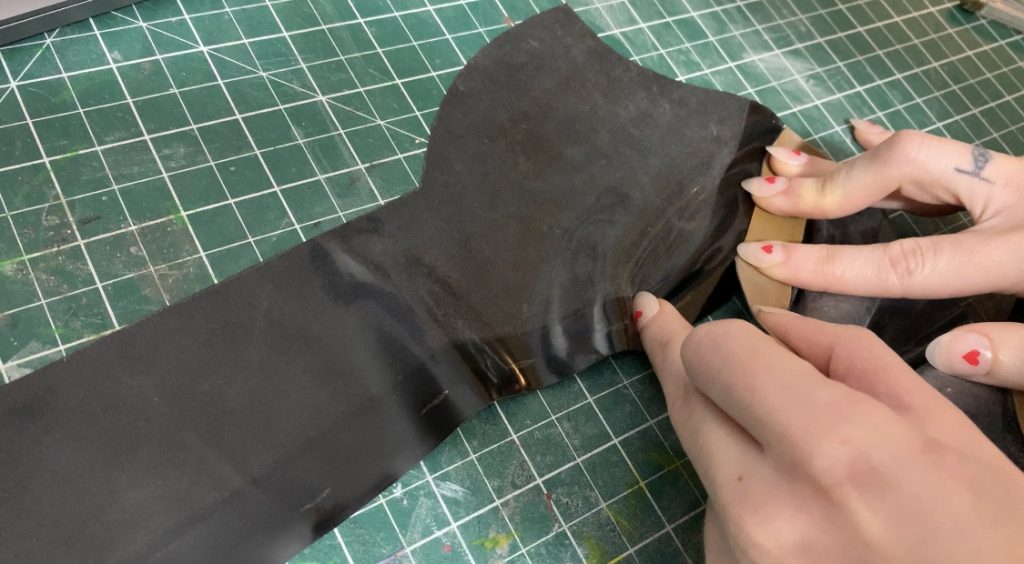
Then I’m stretching the top to match the bottom. I’m pulling the latex with my left hand thumb and pointer finger, to stretch it so that it matches the bottom piece, and then the pointer finger of my right hand is following along and gently pressing the seams together, like I would do on a straight seam.
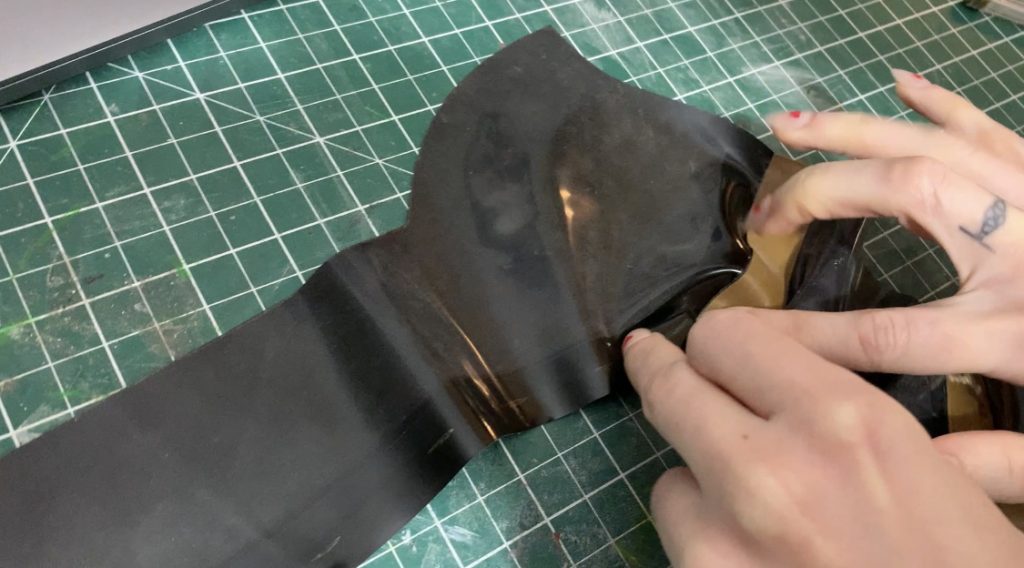
If you’re having trouble making sure that you’re stretching the seams the same amount (you’ll get the feel for this with practice, I promise), add a little dot or line every half inch or so, on both sides, outside of the seam allowance, and work to get those ticks lining up as you go.
It’s not necessary that you are exact with your stretching; as long as the tick marks are close, you’ll be ok. Focus more on getting a smooth seam than lining the ticks up exactly. As long as they’re in the same neighbourhood, you’ll be okay.
And remember! It’s alright if your seams are off, overall, by a couple of mm; just trim that off! Latex is forgiving enough that it won’t affect your fit too badly!
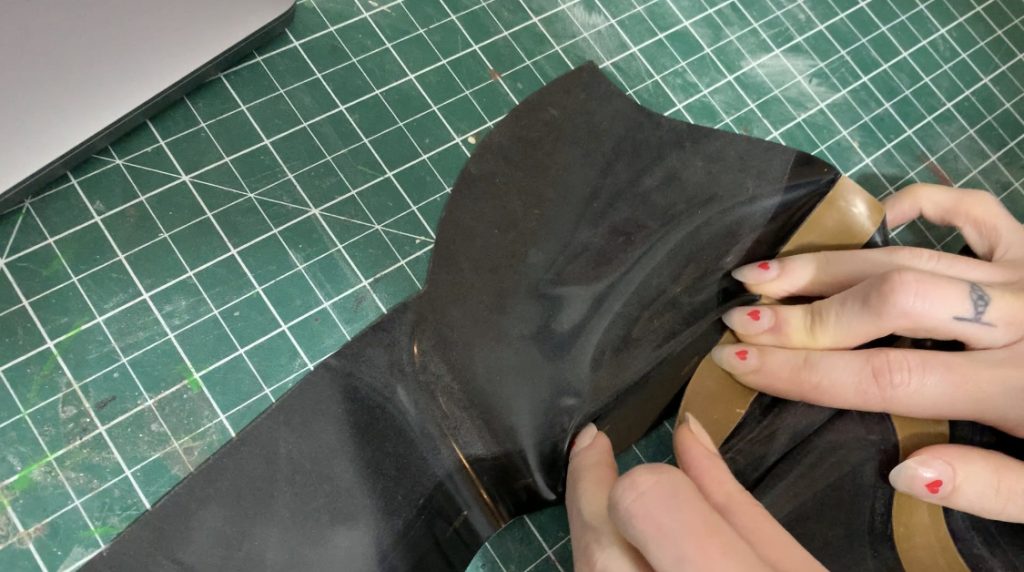
Here you can see that I’ve readjusted my fingers; — still using my middle finger of my left hand to stretch out the inch or so of seam I’m about to glue, and using my middle finger on my right hand to anchor the latex against the table. (You can really see the pressure I’m putting on it here!)
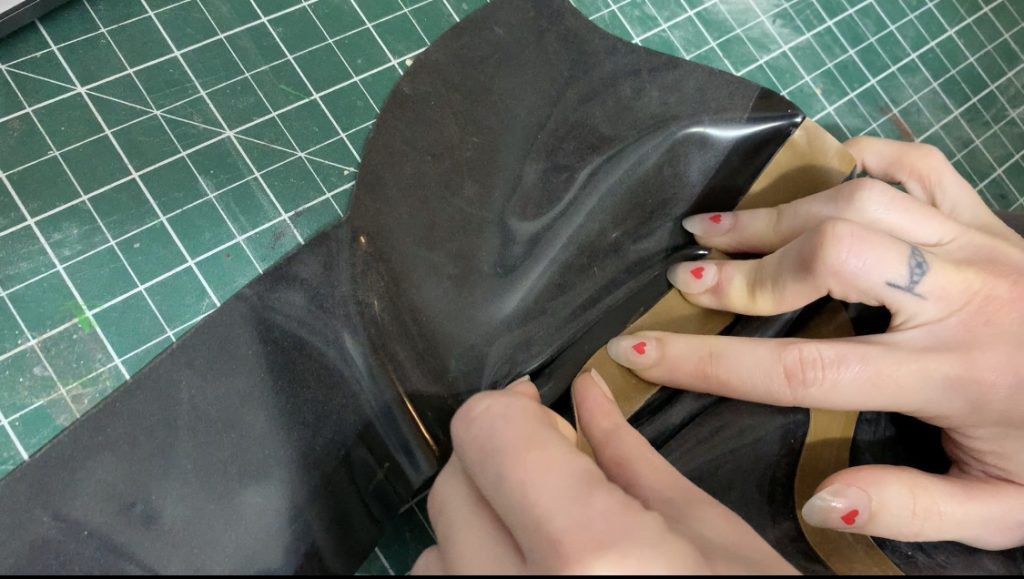
Then guiding and stretching the latex into place with my thumb and pointer finger on my left hand, and pressing the seams together with my right pointer finger.
Don’t get RIGHT up to the edge of where you’re stretching, you’re more likely to wind up with areas that are stretched inconsistently. This shot shows about as close as I get to the finger stretching the bottom, probably within 1/4″-1/2″.
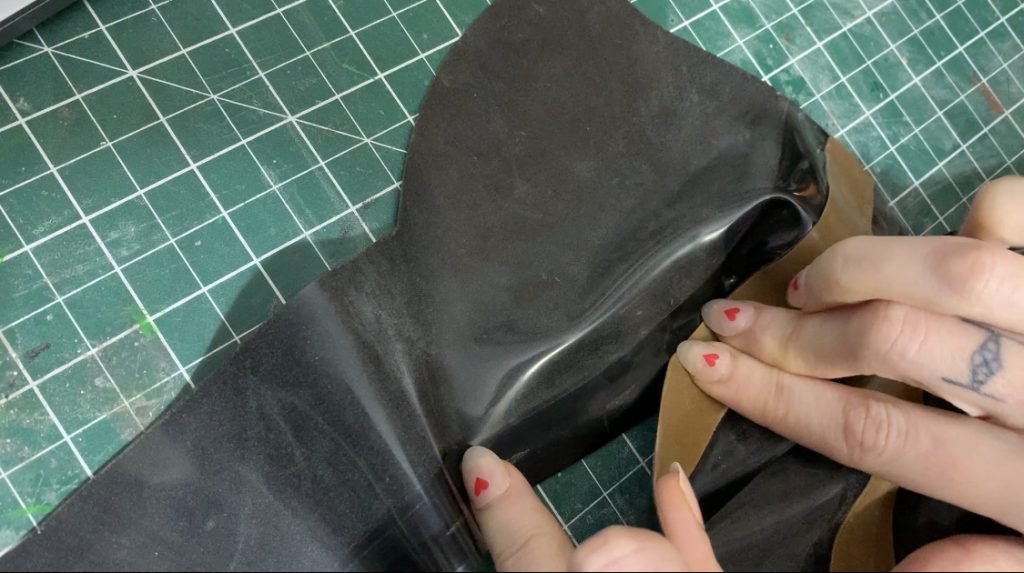
And one more stretch for the bottom part of the curve, one more time stretching with the left middle finger, anchoring with the right …
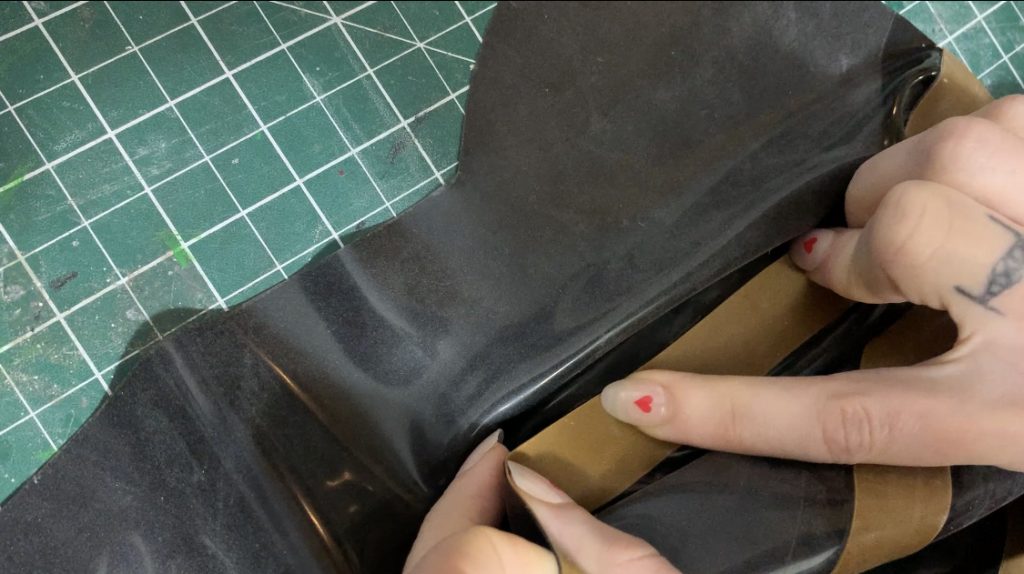
And sliding it all together! The rest of this seam on the bodysuit is mostly straight, so from there it’s just like doing a regular seam.
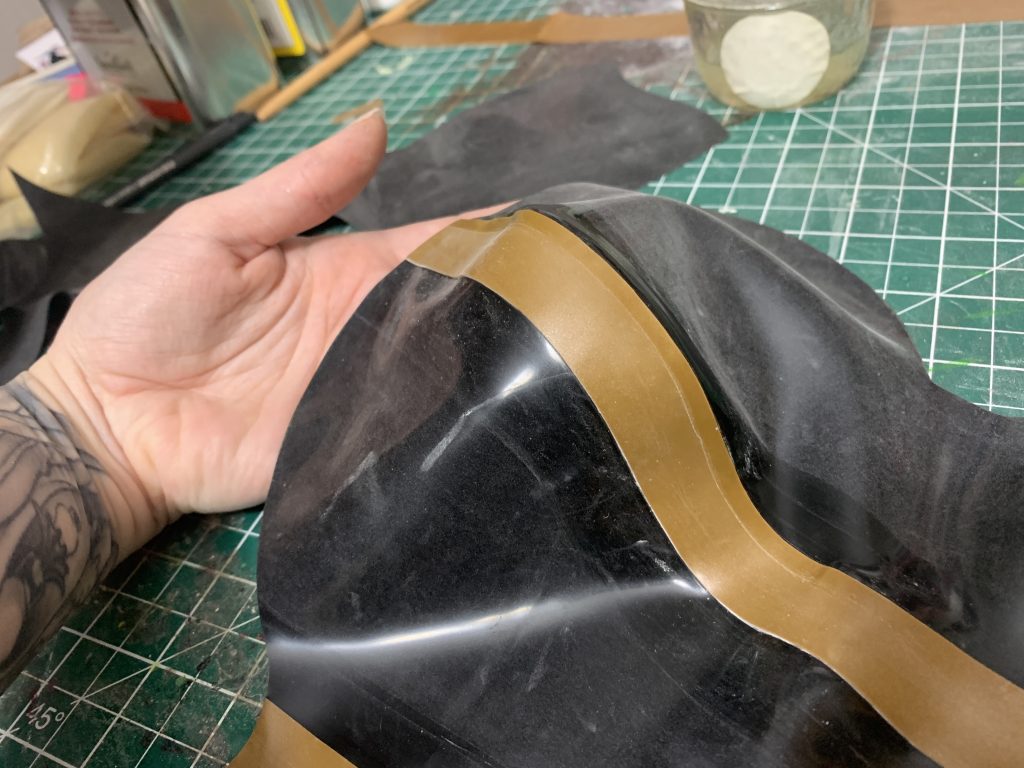
Here’s the seam when it’s done — nice and smooth!
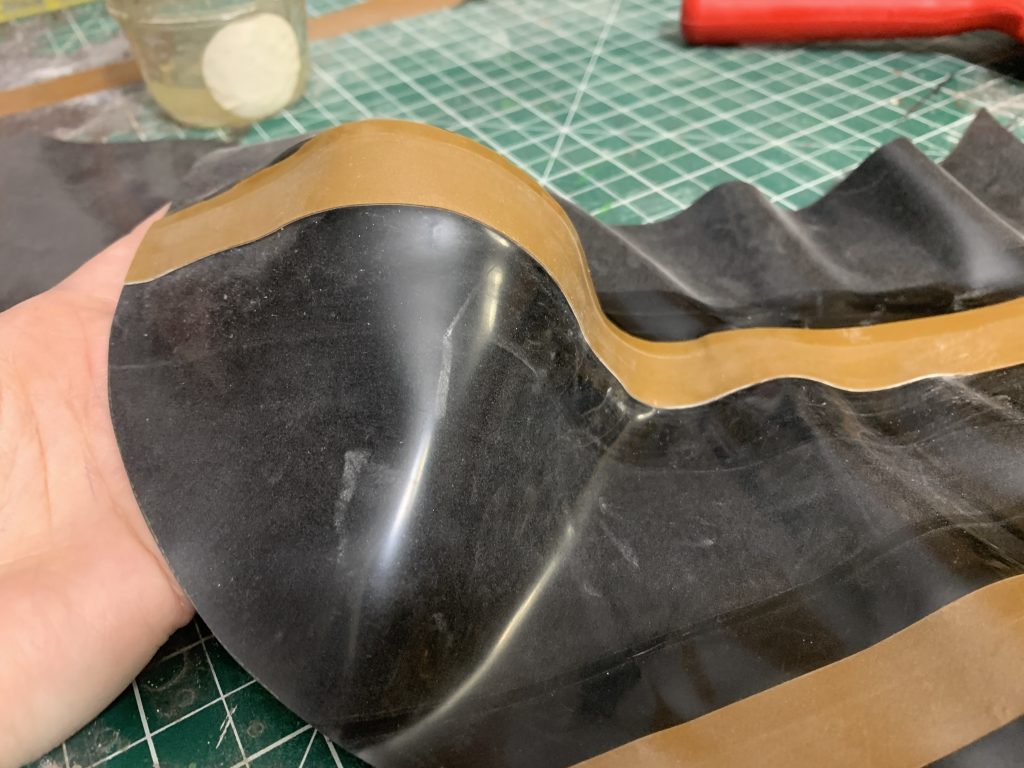
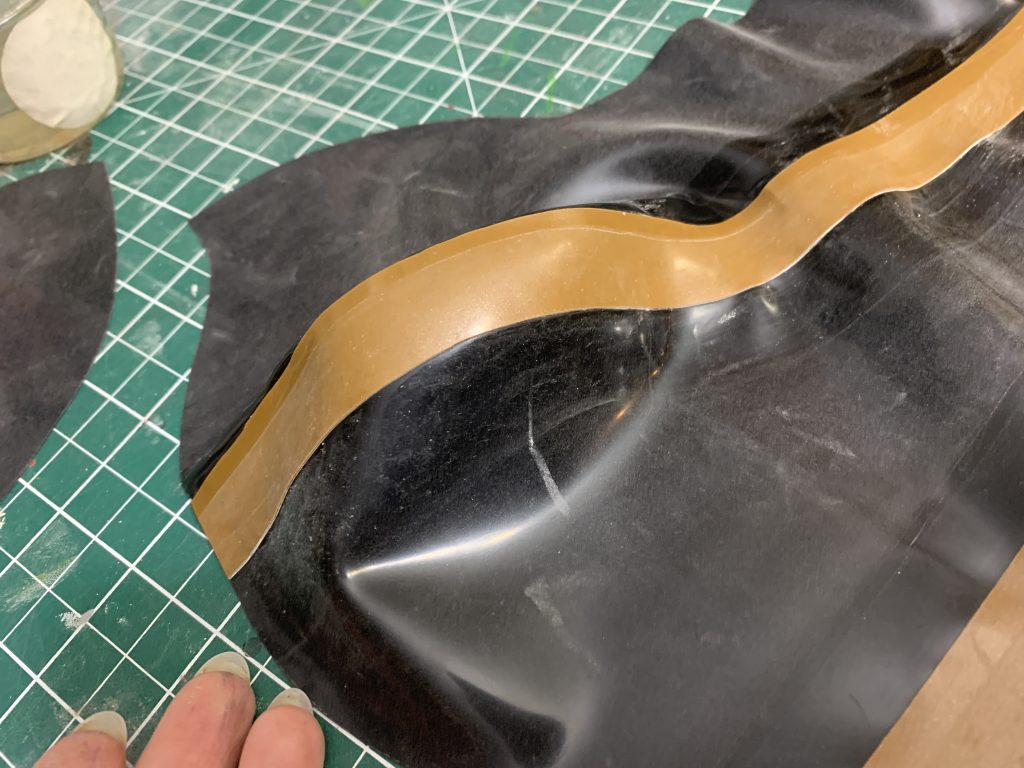
It’s ok if you get a little bit of waviness in your curves — sometimes that happens to me, as well. Remember, you can always try the garment on, see if it translates onto your body, and then redo the seam if the natural stretch of the garment doesn’t get rid of the waviness!
See below for the video where I talk through all of what I just did, and happy crafting!

